
My Kiddos school was having a Trunk or Treat Event. I volunteered without maybe fully understanding what it was. I was only given a week’s notice so I did some research and found out what all went into a Trunk or Treat. Basically, it is where the parents decorate their car trunks and the kids go to each car trunk trick or treating.
I immediately started brainstorming a theme. My little guy loves Elmo so I wanted to do a Cookie Monster Theme display. I picked this so I can incorporate treats into the design, and it was a character that small kiddos his age would recognize and like.
Supplies
- Poster Board
- Spray Paint (Rust-O-Leum Nutmeg and Ink Blue)
- Sharpie
- Letter Stencil
- Scotch Tape
- Elmer’s Glue or Glue gun
- Cardboard
- Blue Trash Bag
- Blue Tissue Paper
- Blue Painters Tape
Cookie Jar
I wanted to make some Cookie Monster accessories, so I started with a Cookie Jar. I thought it would be fun to have a big cookie jar that would hold the candy bowl inside so kids can reach in and grab the treats.
I used two pieces of poster board and wrapped them around a box for the cookie jar base. I used my letter stencil kit I got on Amazon to write out the Cookie Font with sharpie on the front facing poster board.
I cut two pieces of poster board about 4in wide. I spray painted them nutmeg and taped them together to make the lid. I attached it onto the top of the base.

Cookies
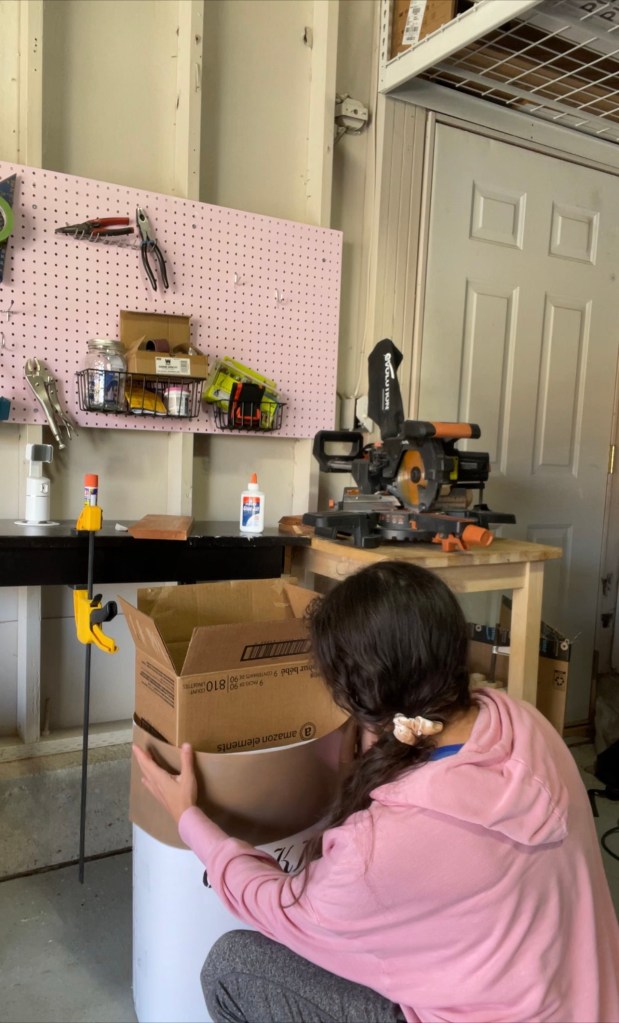
Next I made the Cookies. I stacked some flattened carboard boxes together and drew some circles with the painters tape roll. I used my jigsaw to cut out the circles. Since the cardboard was stacked, I cut multiple cookies at once. I made about 12.
I spray painted the circles with the Nutmeg colored spray paint and let them dry. I added a couple of layers of paint.
I tried making the chocolate chips with sharpie first but it didn’t stick to the spray paint. Instead I used black spray paint and sprayed dots on the cardboard cookies. This looked much better.

Cookie Monster Eyes
I used a compass and drew a large circle. I stacked two layers of carboard to cut both eyes out at one time. I cut out the circle with an exacto knife. This was very tiring. I would recommend cutting the circles with the jigsaw next time. I did the same for the small black pupils and colored them in with black sharpie. I spray painted the eyes white and then glues on the pupils with Elmer’s glue.

Cookie Monster Claws
I used leftover Amazon brown paper packages and traced my own hand. I added some claw tips on the fingers and cut them out. I spray painted them with the Ink blue and glued them on the Cookie Jar.

Cookie Monster Fur
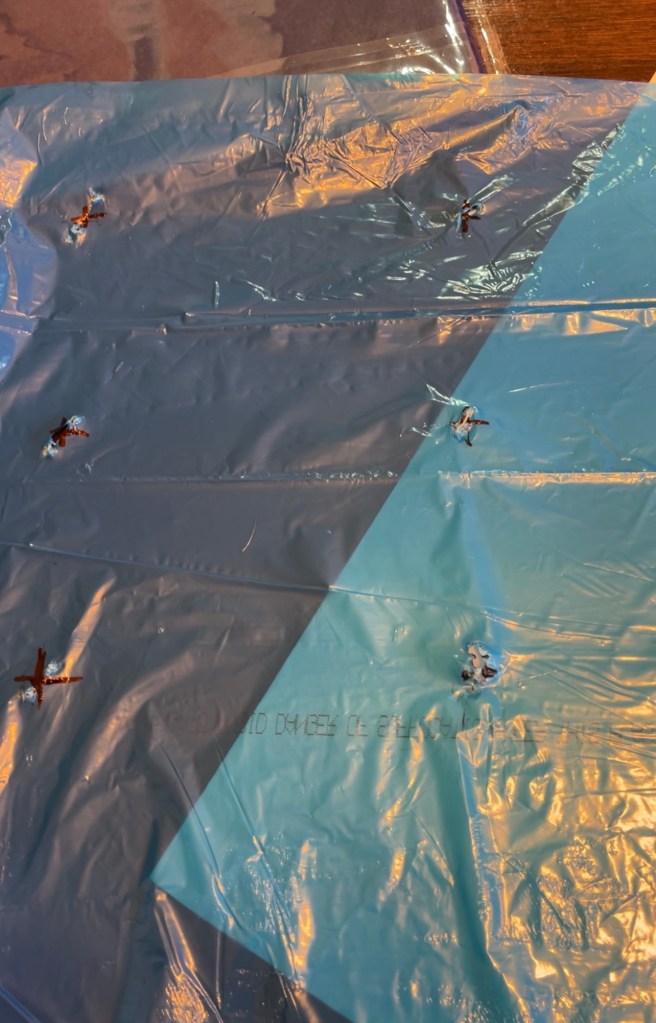
I taped two blue gallon sized trashed bags together top side up so they were 45 in across. I used a tufting method kind of like making a rug. I made a grid and marked exes 5 in apart wide and 3 in down from each other.
I cut out small holes where the exes were marked. I used blue tissue paper and put one piece through each hole. Once I filled all the holes I flipped the bag over and tapes the back of the paper down so that it would stay in the holes. I folded the extra trashbag half over and stapled it to the top half.
I repeated these steps four times creating 4 wreathes 1 for the top 1 for the bottom and 2 for the sides.
I taped on the eyes to the wreath for the top of the car. I taped on some of the cookies to the fur when I got to the event.

Here is how it turned out


