At our vacation rental I wanted to create more outdoor spaces for guests to relax. We have patio furniture in the backyard but there aren’t very good views back there. Plus, it backs up to the neighbor’s yard.
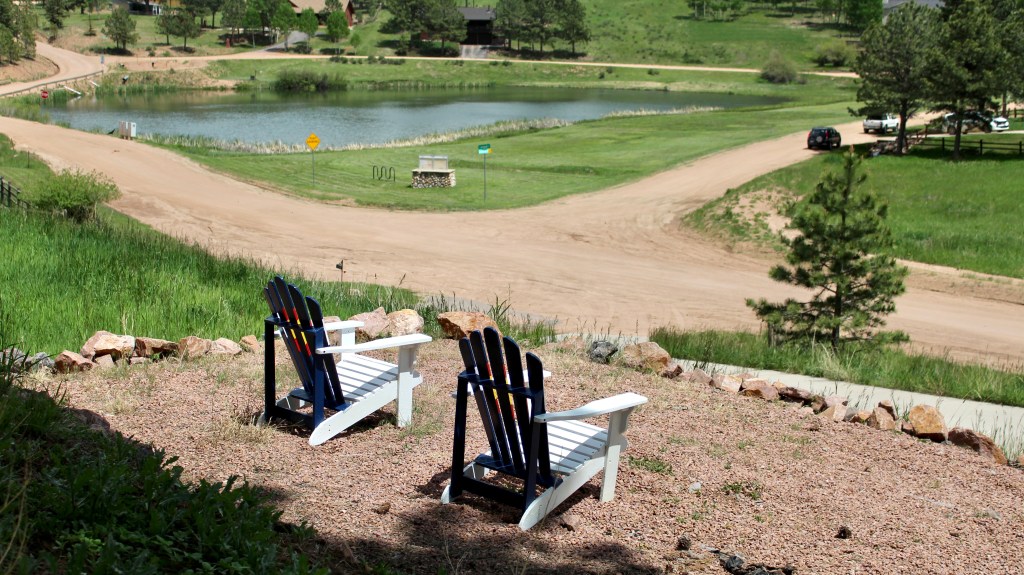
In order to solve this problem, I wanted to create more outdoor lounge space in the front so that guests can enjoy the lake and mountain views you can see from the front of the house.
I thought Adirondack chairs would be a perfect solution. To me they symbolize vacation and relaxing so they would be perfect to help set the tone at the vacation rental as soon as guests arrive. Also, I didn’t want to invest anymore in patio furniture with cushions because it’s so hard to keep them clean and dry all the time when I am not there.
I went on the hunt for Adirondack chairs that were affordable yet sturdy. It is very windy here, so I wanted to make sure they didn’t blow away. The ones I saw in stores that were affordable were pretty flimsy.
Luckily, I found these Adirondack chairs at an estate sale for only $20 each on half price day. They were in need of some restoration, but I thought it was worth the investments since they were sturdy and good quality. Plus, I can make them into a customized design.
In some of the mountain ski towns here in Colorado they have Adirondack chairs made of skis that have the Colorado flag on them so I thought it would be a fun idea to recreate them with a regular Adirondack. I thought this might create a fun experience for guests traveling here to Colorado.
Supplies List:
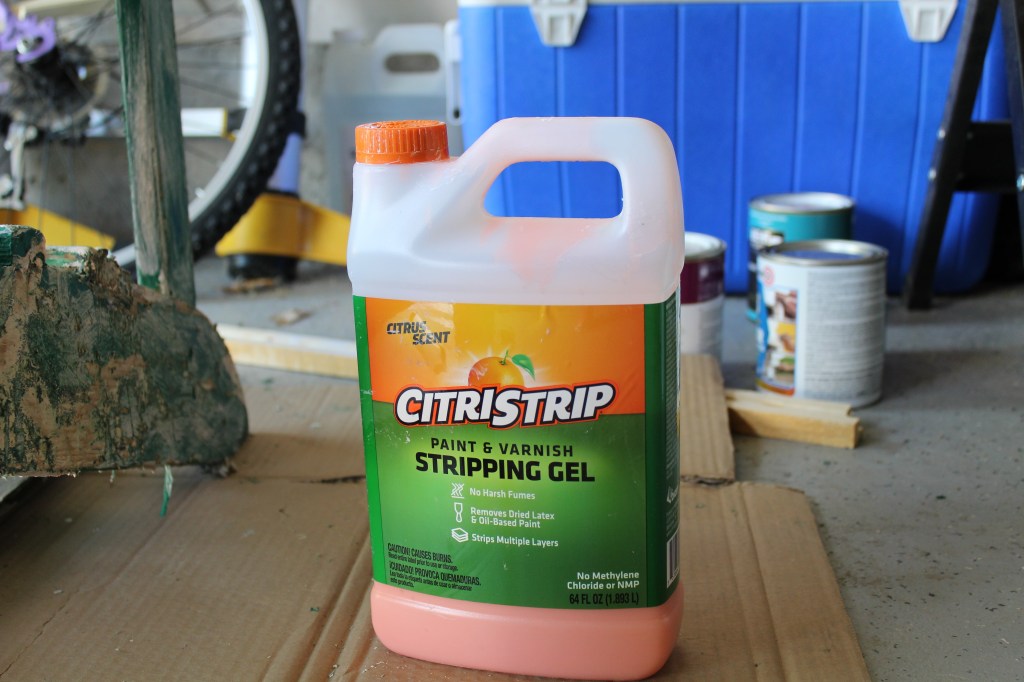
- Citristrip
- Electric sander
- Primer
- Behr Paint: Compass Blue, No More Drama Red and Lasor Lemon
- Zinsser Bulls eye Outdoor Primer
- Varathane Extrior Seal

Removing the Paint
The first thing I did was try to remove the existing paint. I thought this would be easy since the paint that was on there was already chipped. This turned out to be the harderst and most time-consuming part of the projects.
I painted on the citrus strip and then let it set overnight. I tried scraping it off, but it was hard to get it all off especially in the tight corners. I think the main problem was that I didn’t put it on thick enough. I would recommend putting on a thicker layer. I don’t think the amount of time I let sit made much of a difference. I tried letting it sit for an hour once and then overnight and I didn’t see much of a difference. I think the layer of thickness makes it more effective it seemed.
I removed as much paint as I could.
Sanding
I used my electric sander on the larger areas to try and remove the remaining paint and prep it. I used my small gator tools sander for the corners and tight spaces
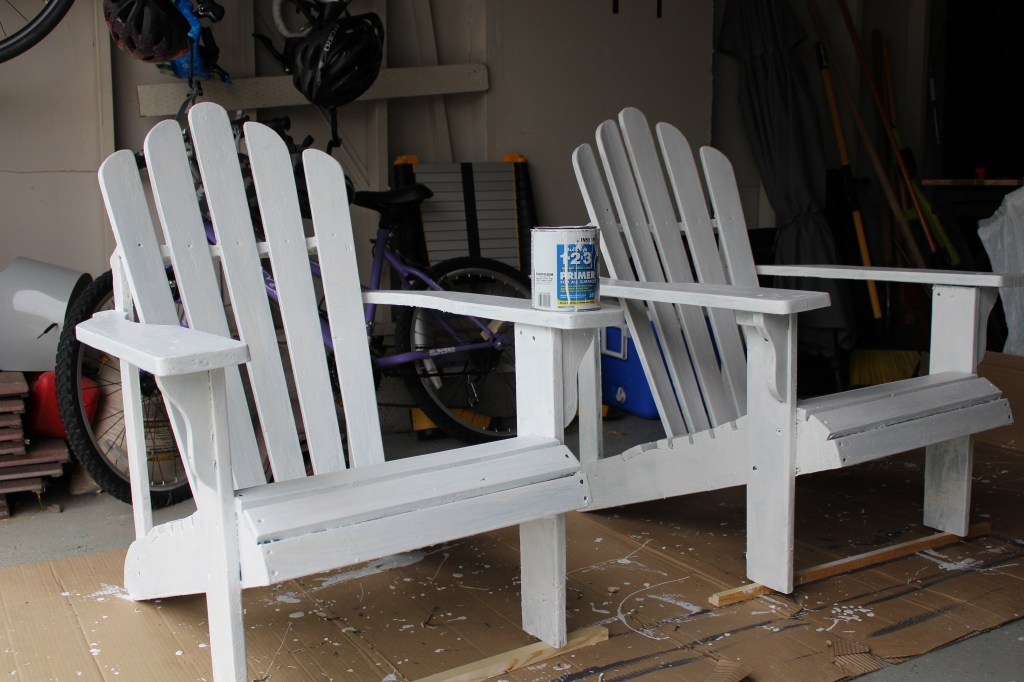
Primeing
I used an outdoor primer called Zinsser Bulls eye Outdoor Primer. It protects from mold and outdoor elements.
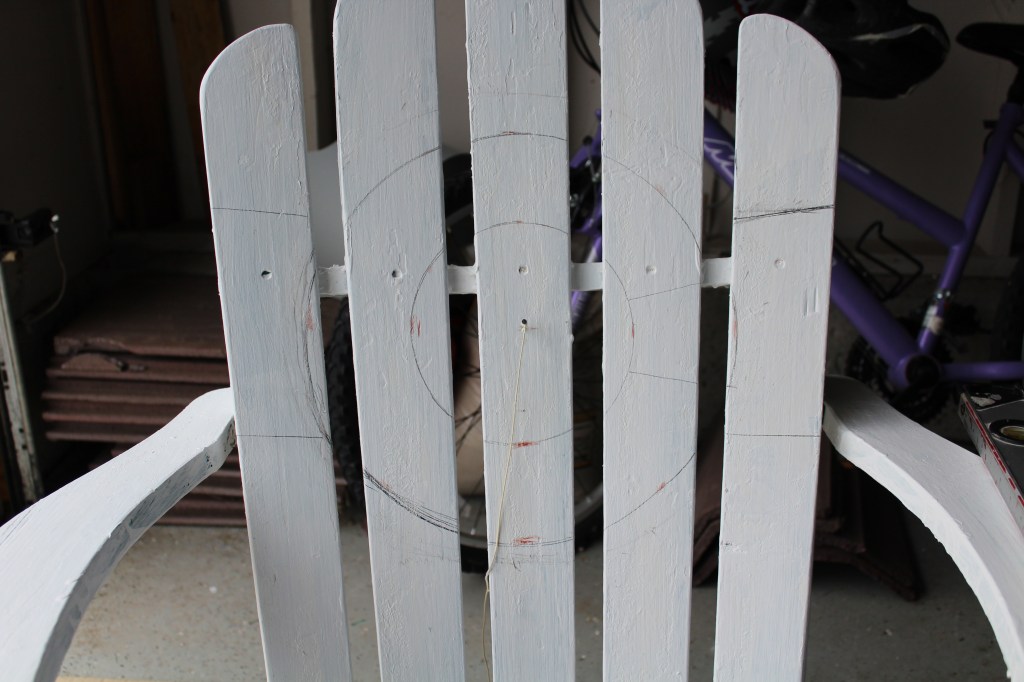
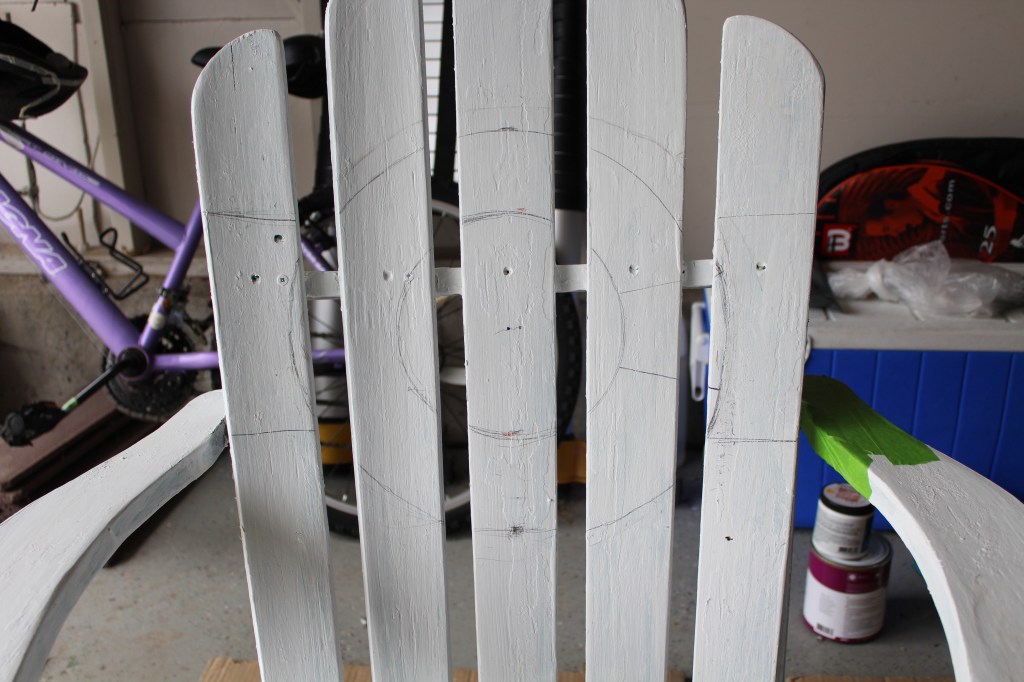
Drawing Flag design
I used a pencil string and nail to make the circle for the C and the inner yellow circle. I drew in the other lines using my level.
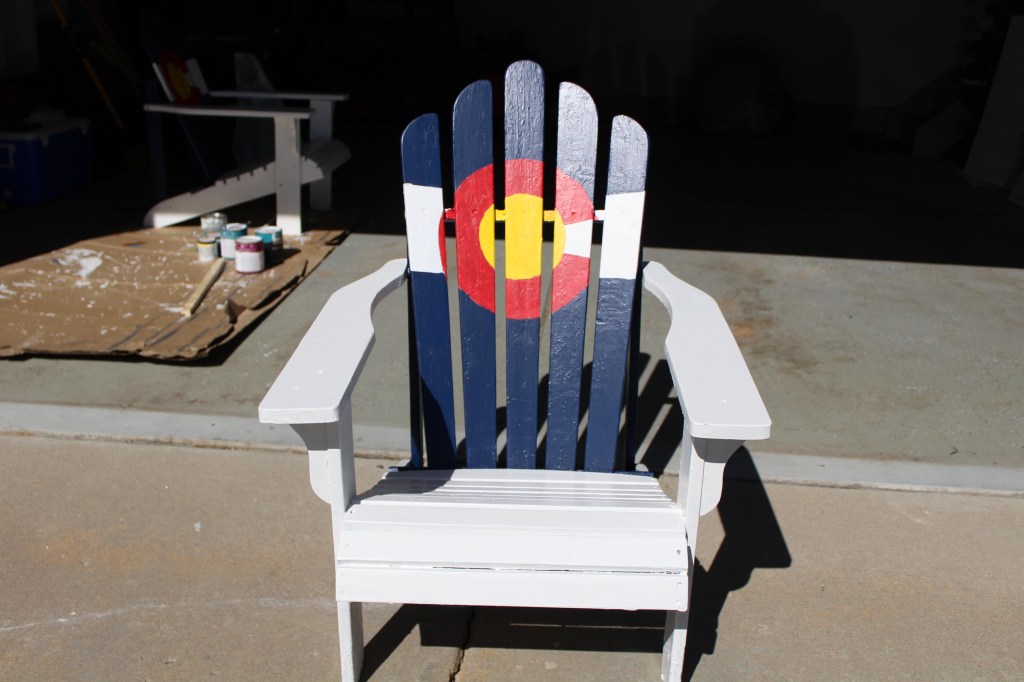
Paint Flag
I painted in the Flag. I used Behr compass blue for the flag background. No more drama red for the C and Laser Lemon for the inner circle

Seal the Paint
I painted a coat of exterior outdoor seal with Varanthane outdoor seal. This gave it a more finished gloss look and will hopefully protect the paint more.
Here is how they turned out