
This is my second set of bar stools that I upgraded. The first set turned out well and gave me the confidence to take on these larger bar stools. See my previous bar stool project No Sew Barstool DIY. This set of Bar Stool Chairs were more involved because it required sewing and tufting. I got these Bar stools for my very first apartment over 10 years ago. They have held up well but I thought they were pretty plain and flat. I wanted to make them more comfortable and cozier by adding additional cushion, softer fabric, and tufting. I have done tufting before but I did it a little differently this time. Here is how I did it.

Items I used:
- Measuring Tape
- Large staple Remover (arrow staple remover)
- Rotary Cutter
- Seam Remover
- Navy Blue Velvet Upholstery Fabric 110” total
- Sewing Machine
- Upholstery thread
- Large Sewing Needle
- Allen wrench(I had to take the seat and the back apart)
- Ziploc Bag
- Button Thread
- 10 Buttons
- Pillow Stuffing
- Craft Spray Glue
- Staple Gun
- Drill
- Decorative Tacks
Here is how I did it
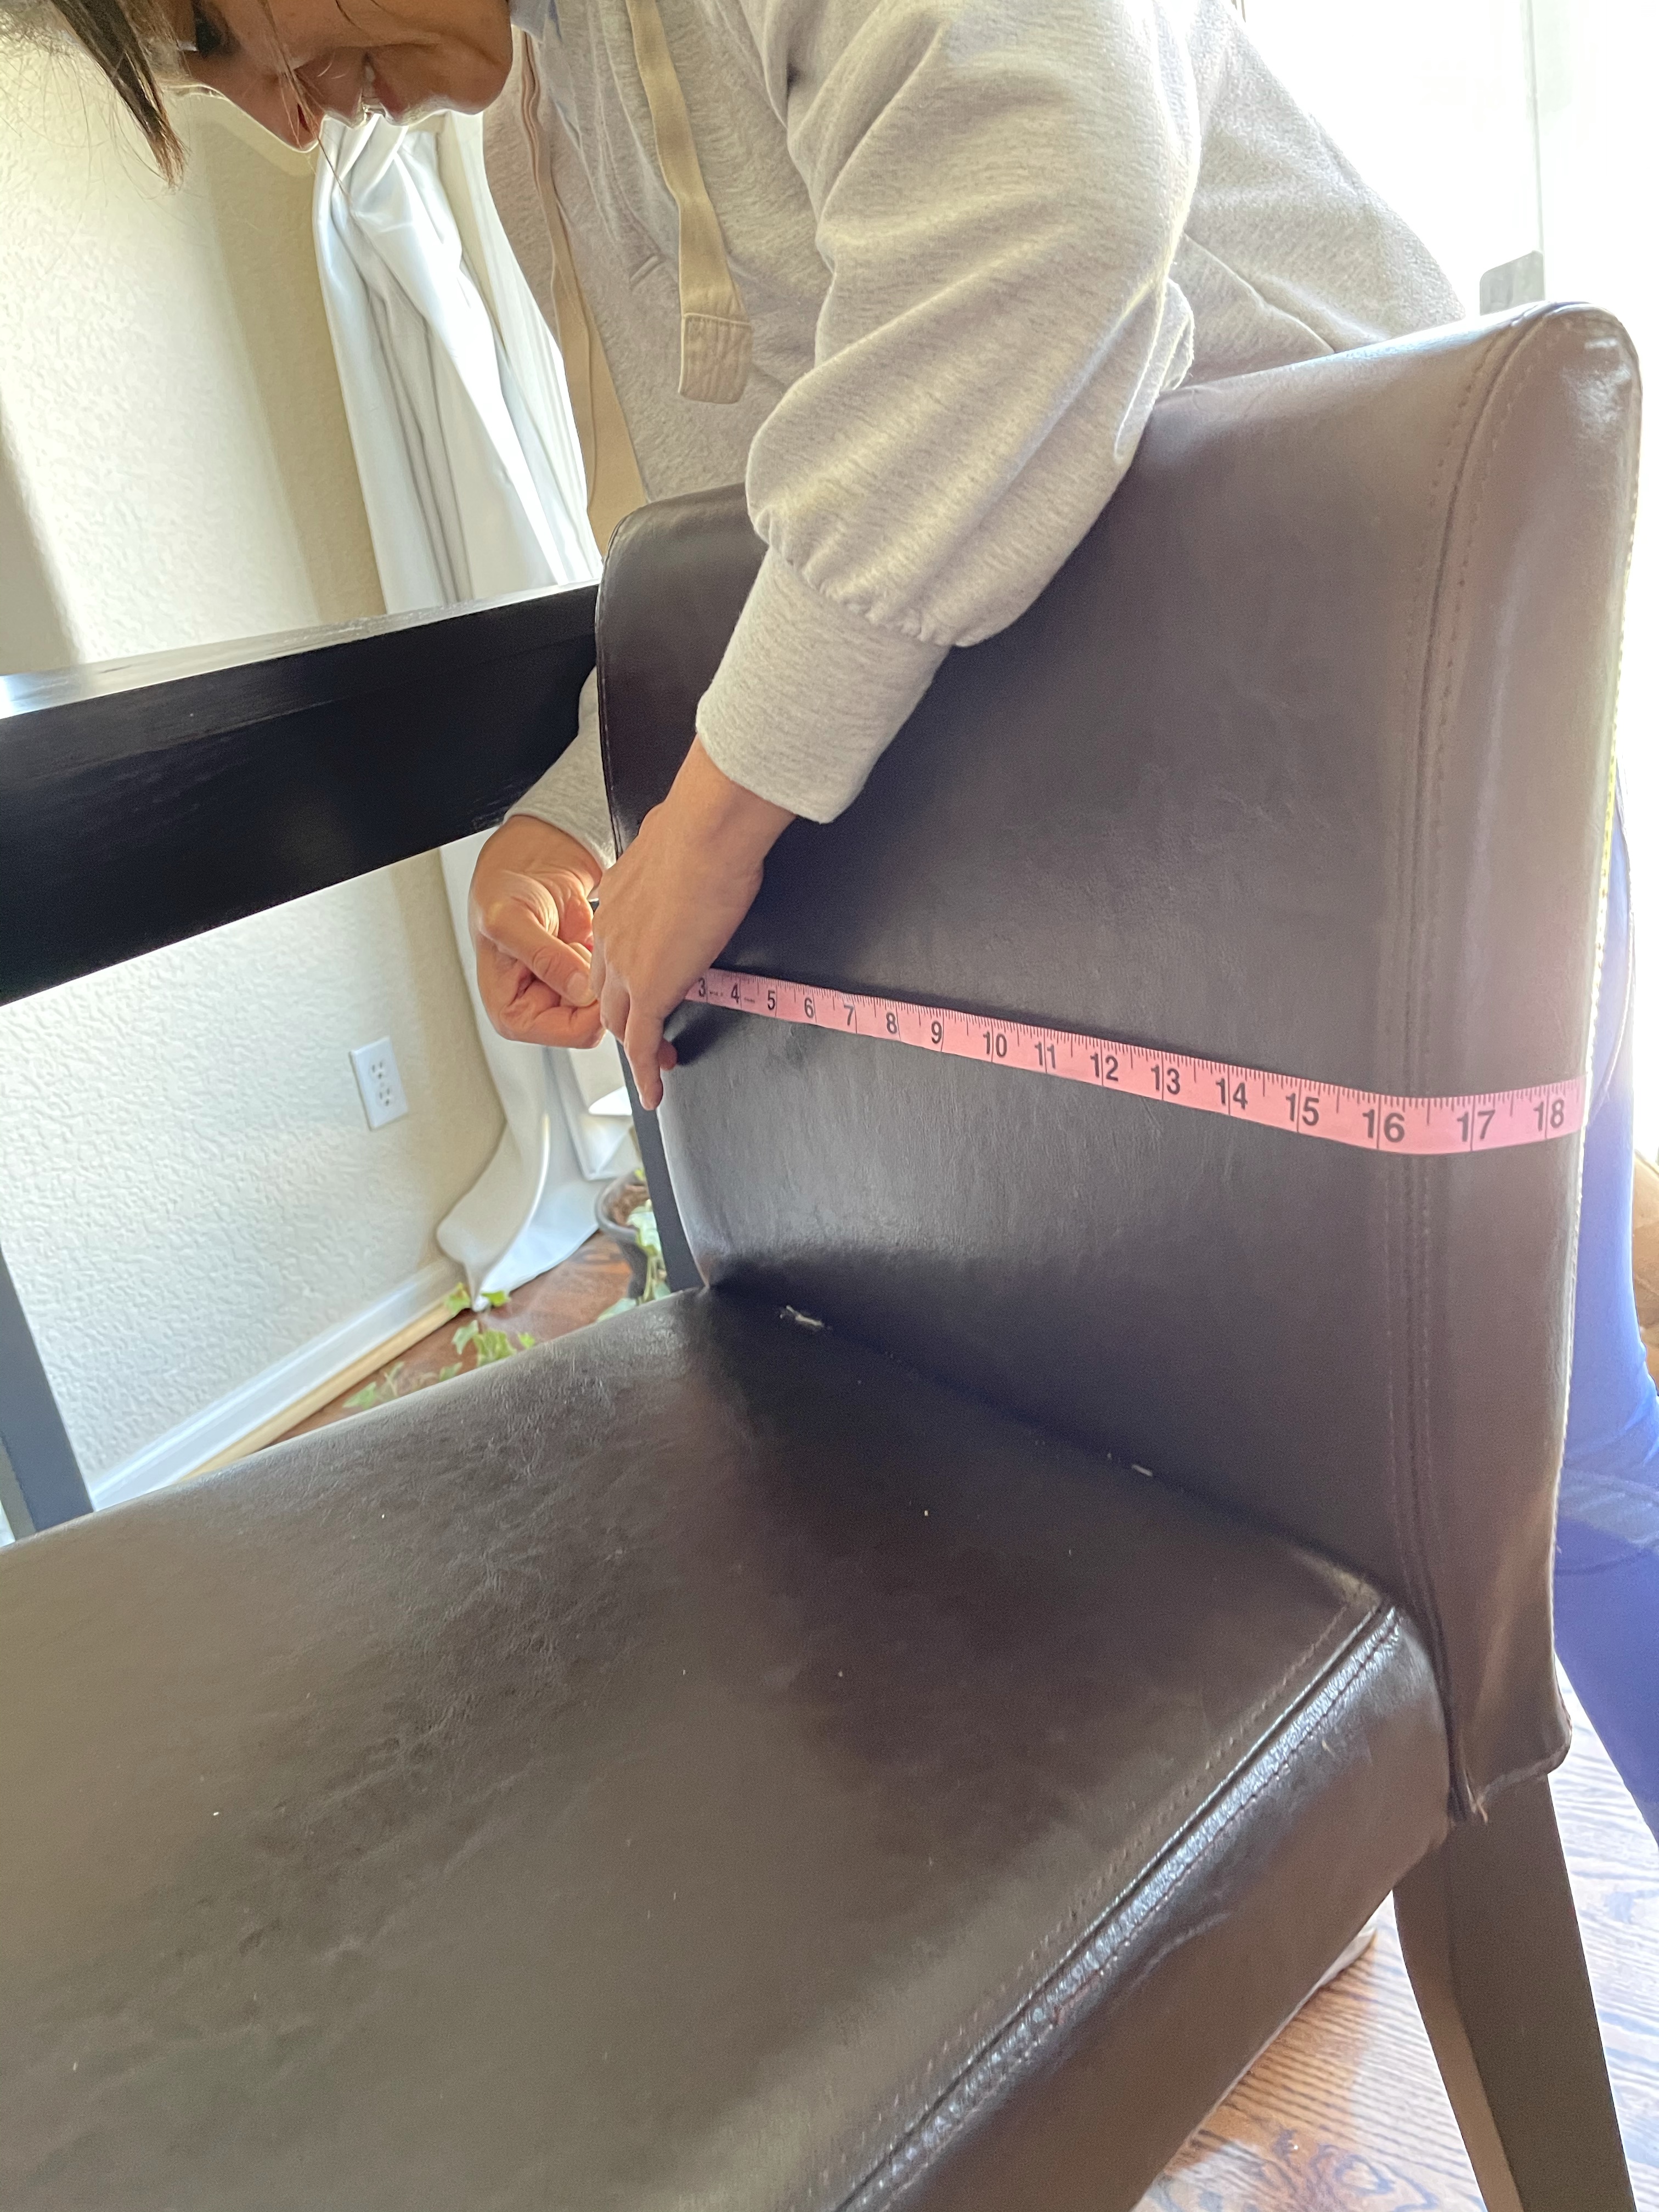
Measure the back and seat of the chair
I measured the seat first it was 17″ long 19″ wide and the Back was 34″ by 40″. This allowed me to determine how much fabric I needed, which was 110” of fabric.

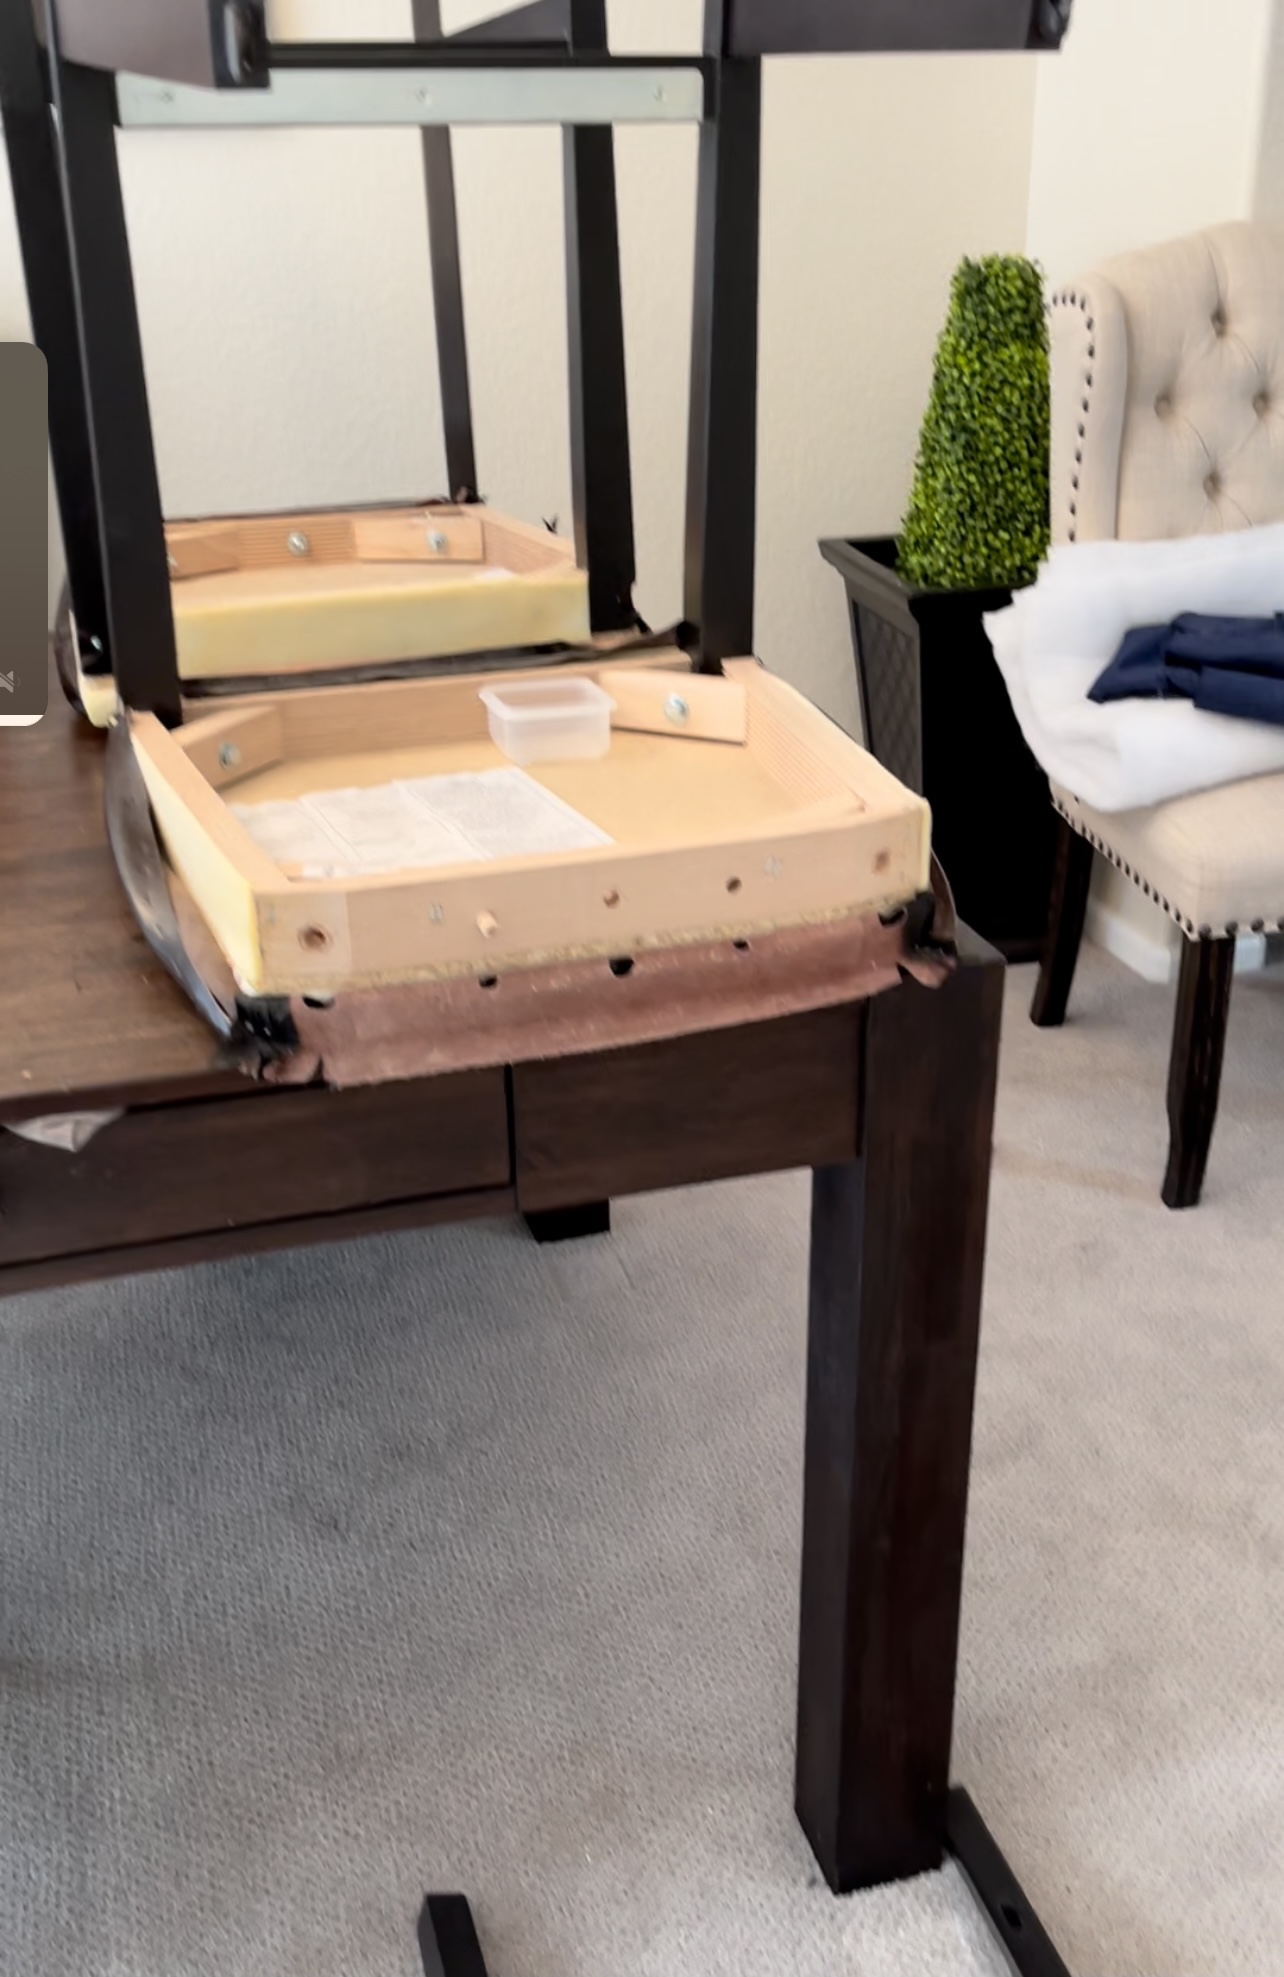
Remove the current fabric
I used the Arrow staple puller to remove the staples that were holding the fabric to the chair. I had to separate the seat and the back in order to remove the fabric. I unscrewed the seat from the back of the chair and made sure to put the screws in a Ziploc bag where I can find them later. In hindsight I should have taken a picture of how all the screws went in so I wouldn’t have to remember later.

Cut out the fabric
We used the existing fabric and used the seam ripper to lay the fabric flat. We traced the pattern to cut out the new pieces on the fabric. We separated the sides of the back of the chair and cut those out separately to sew them on later. We used Rotary cutter to cut fabric. In order to stay organized I put all the pieces of fabric for the top of the first chair together and the fabric for the seat of the first chair together. I did the same for the second chair. Sometimes it gets confusing which fabric pieces are for which parts so it was helpful to keep this organized in piles.

Determine where to place buttons
Mark the cushion
The back of the chairs was going to be the most work so we started with the backs. I measured out on the back of the chair cushion where I wanted the tufted buttons to sit. I knew I wanted to do 5 buttons, 3 on the top row and two on the bottom. I eyeballed how far down on the seat I wanted to make the top row about 4” down from top and made a line across for the top row. I measured 4” from the left edge first and marked where I wanted to put the button on the top row line. I measured another 4” and marked and another 4” for the third button on the top row. I measured 2” down from each top row button mark and marked. Starting from the left I measured 2” to the right of that mark and marked an x to show where I wanted the button. I did this twice so that I had a second line of two buttons that sat 2” below the top line and 2” between the buttons on the top line.

Mark on the fabric
I took the fabric I cut out for the back of the seat and placed it on the cushion that I marked and then marked on the fabric where I wanted the buttons to match where I marked them off on the cushion.
Sew on the buttons to the fabric
We sewed on the buttons to the fabric with button thread. On the back side of the fabric we left two strings so that we can tie them in the back later. We went through two sets of buttons. We used a button cover kit to make buttons with the fabric but this proved to be very difficult and they did not turn out that great. I wanted something that would look more unique and custom that gave more of a wow factor. Instead we found these gold buttons we found at Joanne Fabrics, they had one of the best selections we found. This was a lot easier option.
Sew the sides on the top of the seat
We placed the fabric with the buttons on the top seat cushion and placed it how we wanted it to sit. We took the fabric side pieces and pinned them to the fabric for the top. Then we hand stitched the sides to the middle fabric piece. Then we removed the fabric and used a sewing machine to do a permanent stitch over the temporary hand stitch.

Add the tufting
Once we had the top cover sewn we took the two strings from the back of the button on the inside of the top cover. I used the long needle and threaded one of the strings from the first button starting from the top left and pushed it through the top of the seat. The seat was made of card board so this was not too hard to get the needle through. I did the same thing for the second string on the first button. Now I had two strings to tie together in the back I repeated this 10 times for all the buttons. Once I was done I tied the string pairs for each button in the back of the chair to create the tufting effect.

Upholster the Seats
Add Stuffing
I wanted the seats to be cozier so I added a few extra layers of stuffing and used craft spray glue to secure them. I made sure to add an equal amount of stuffing to each seat

Wrap the fabric on the seat
We placed the fabric for the seat over the seat cushion and then used the staple gun to staple the fabric to the bottom of the chair. We folder the corners and secured the folds with a hand stitch.

Put the chair back together
I got the screws I placed in the Ziploc bag and screwed the back and the seat back together with an allen wrench
Add decorative tacks
We found decorative gold tack to match the gold buttons. We tried hammering in the tacks to the bottom of the fabric but the tacks kept braking. We then used a drill to make small holes and then nailed the tacks into the small holes.
Here is how the chairs ended up


