
Now that we have finished attaching the MDF wood pieces in Part 2 How To Install MDF Paneling To Get A Beautiful Wainscoting Look: Part 2 Cutting and Attaching The Boards. We can go back and fill in the gaps with wood putty.
Fill Gaps with Wood Putty Filler
Using a scraper or putty knife I scooped some wood putty on it and went around to all the joints where the MDF boards met and filled in the gaps where the boards met. I also applied the putty into places where the nails had left holes. I scraped off all the excess wood putty.

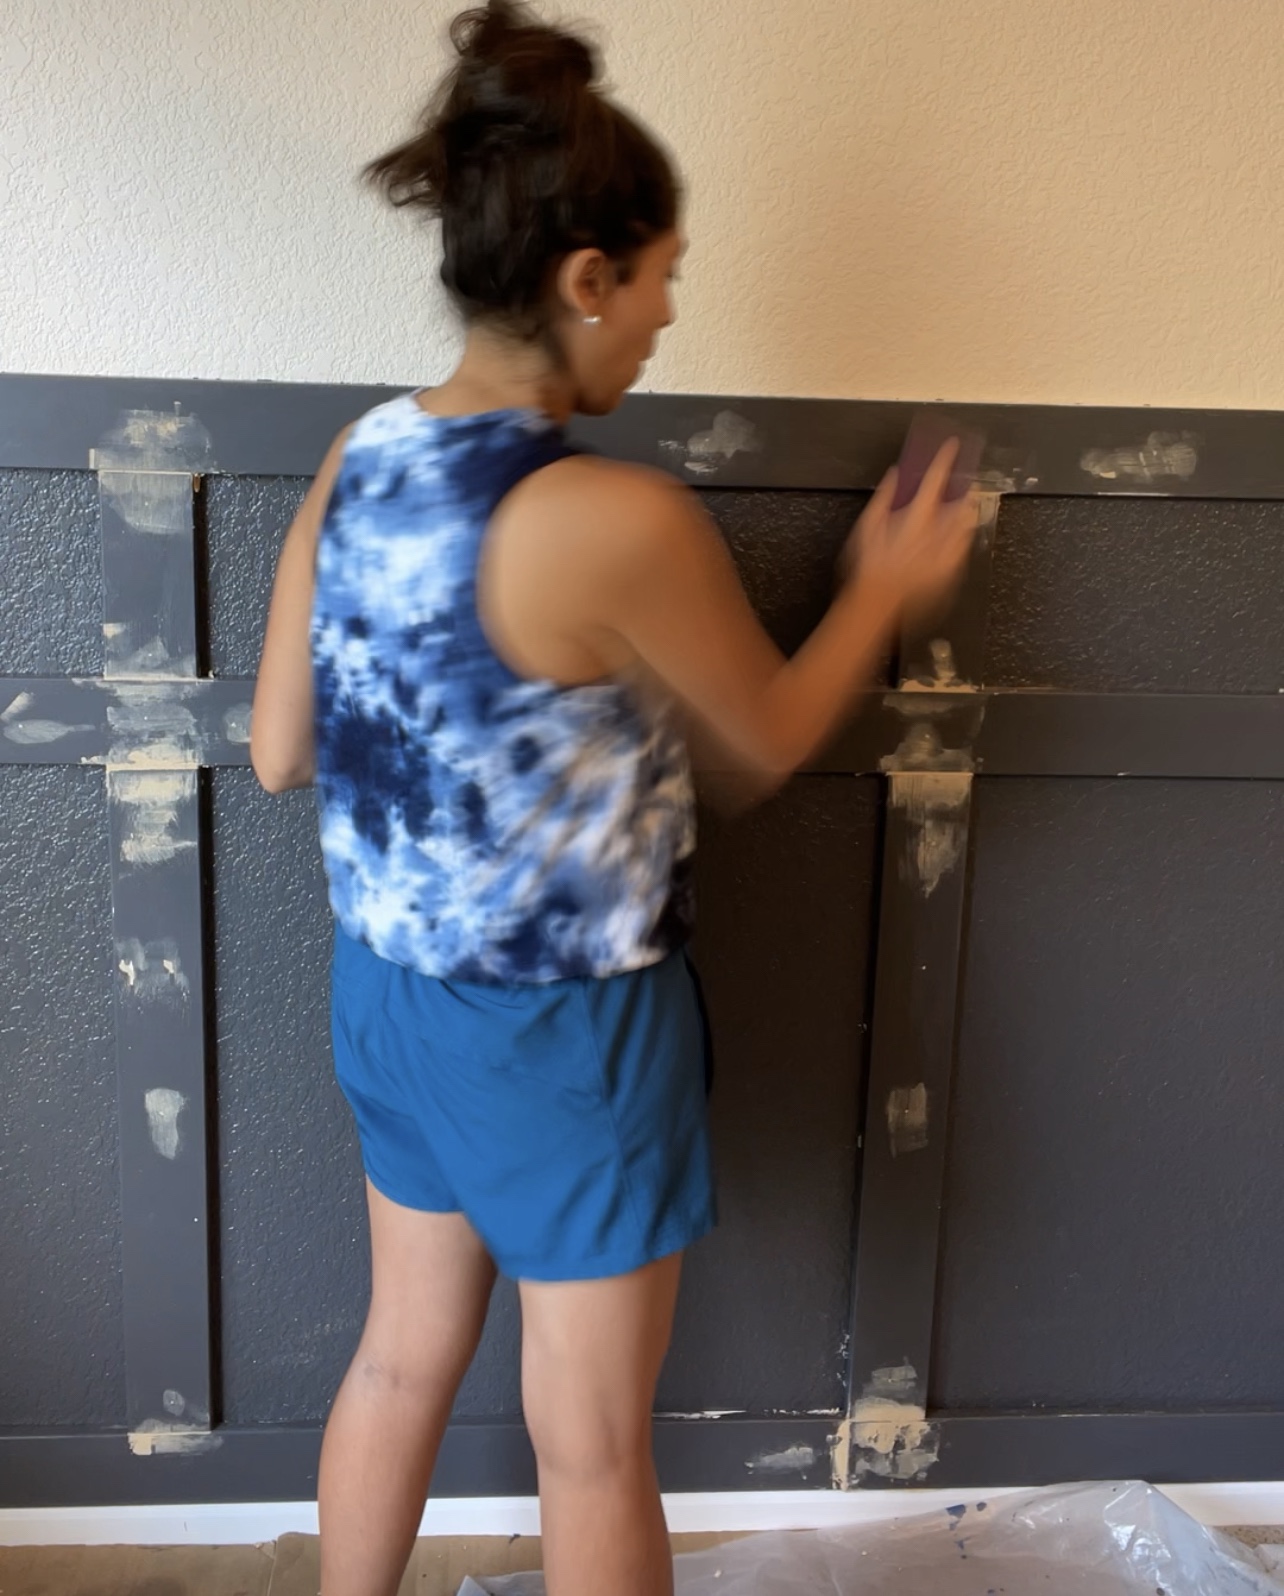
Sand the Putty
I let the putty dry for a bit. Then I used a small sanding block and sanded all the joints. The sanding smoothed the putty with the wood so that there is a nice smooth finish.

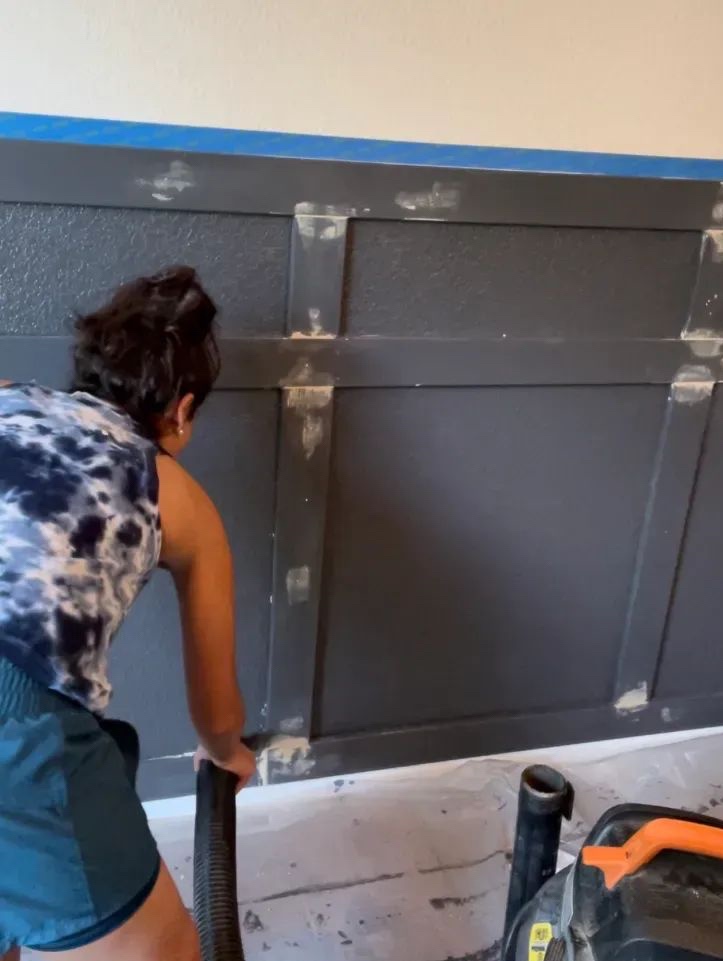
Vacuum The Dust
After applying the putty and sanding there was a lot of dust leftover. Before painting I wanted to make sure all the dust and excess was removed because it can affect how the paint will look if dust gets stuck in it. I used a shop vac with extension and vacummed all the joints.
Paint finishing Touches
After all the dust was picked up I applied painters tape again along the borders of the MDF boards. I went through and applied paint to all the joints and any other sections that I missed. Since I had the majority of the wall and the boards painted already it was easy to just do the finishing touches and cover up any parts that I missed.

I let the paint dry overnight and removed the painter’s tape.
Now I am ready to put all the furniture back, switch out the light fixture and decorate. See Decorating The Dining Room Makeover: Modern Meets Traditional

