

Geometric Wall Design Project
I have been working on putting together our Guest Bedroom during quarantine so that we are all ready for guests once we are able to have them. I have been collecting furniture and upcycling some of my garage sale finds. See previous posts Upcycling Second Hand Finds Guest Bedroom Decor
I wanted to take the cabin theme that is popular in a lot of Colorado decor and make it more hip and colorful by incorporating simple geometric shapes. I did this accent wall to tie the theme together in the room and create a fun getaway environment where our guests can feel like they are on vacation.

Here are the materials I used for this project:
- Graph paper and colored pencils
- Paint Brushes
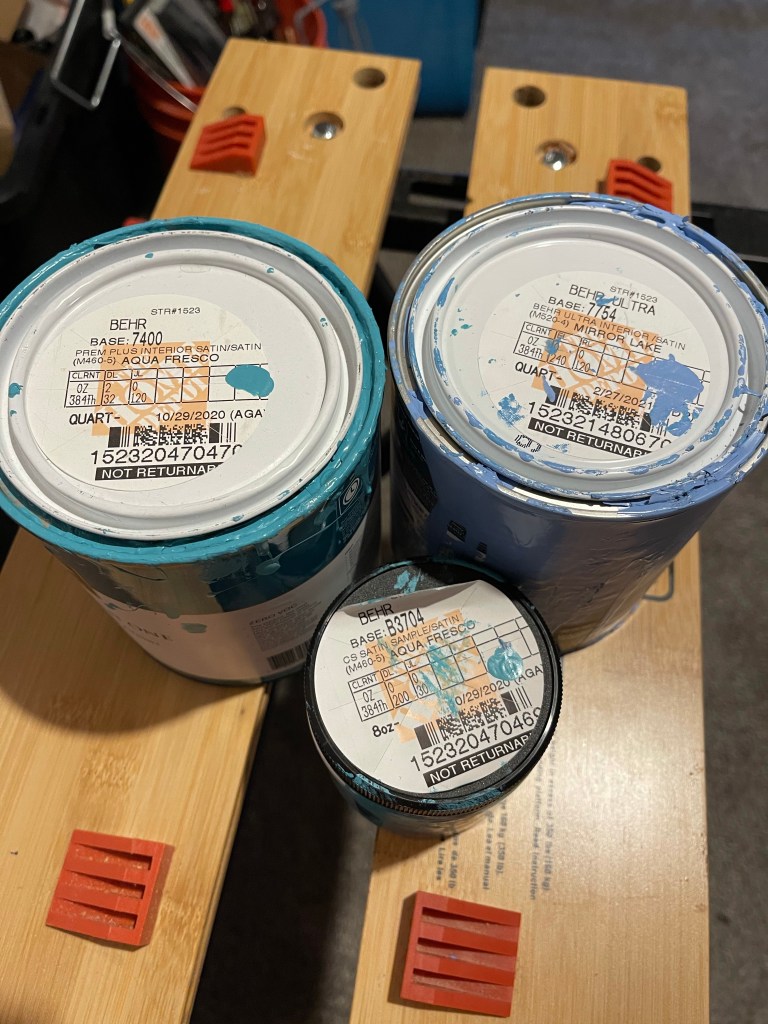
- Paint: (I used three colors see below)
- Sharp Lines Painters Tape
- Painting Tarp
- Paper Plates and Paint Tray
- Level
- Measuring Tape
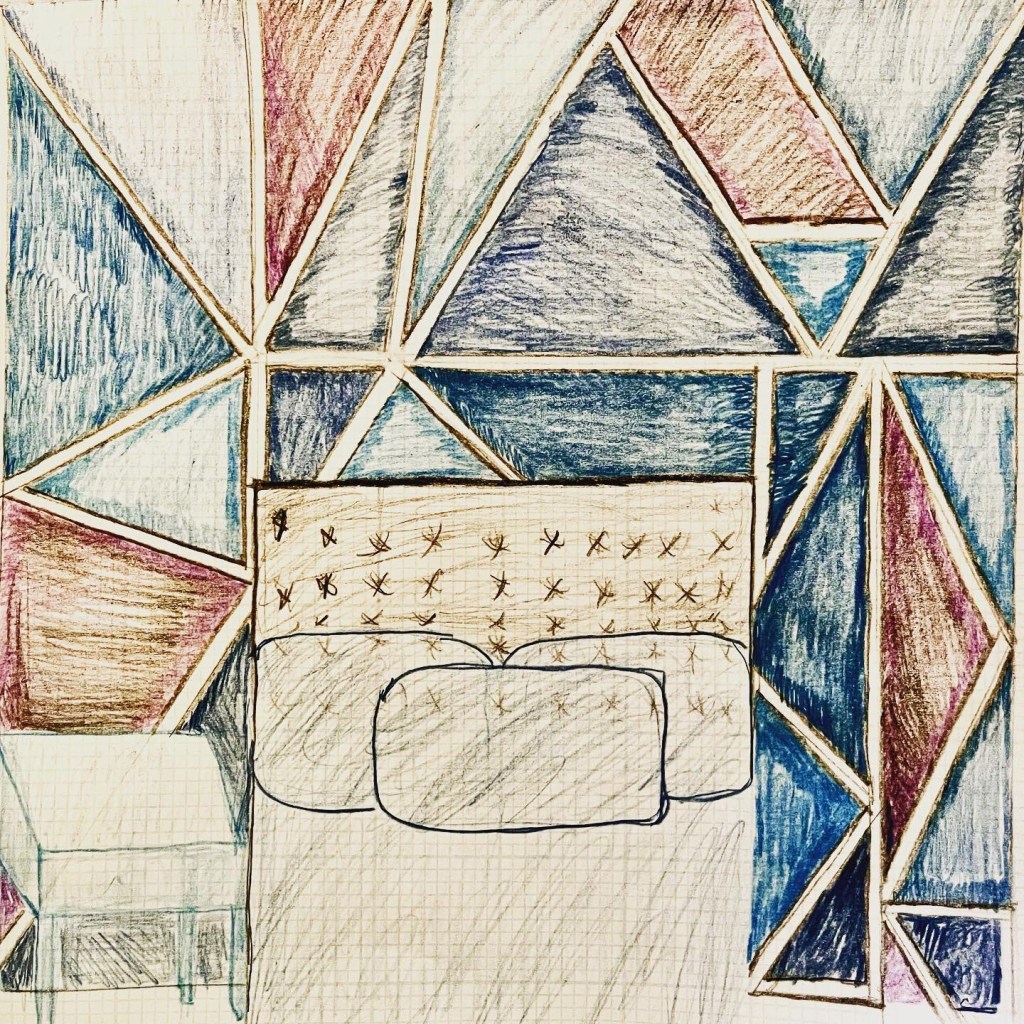
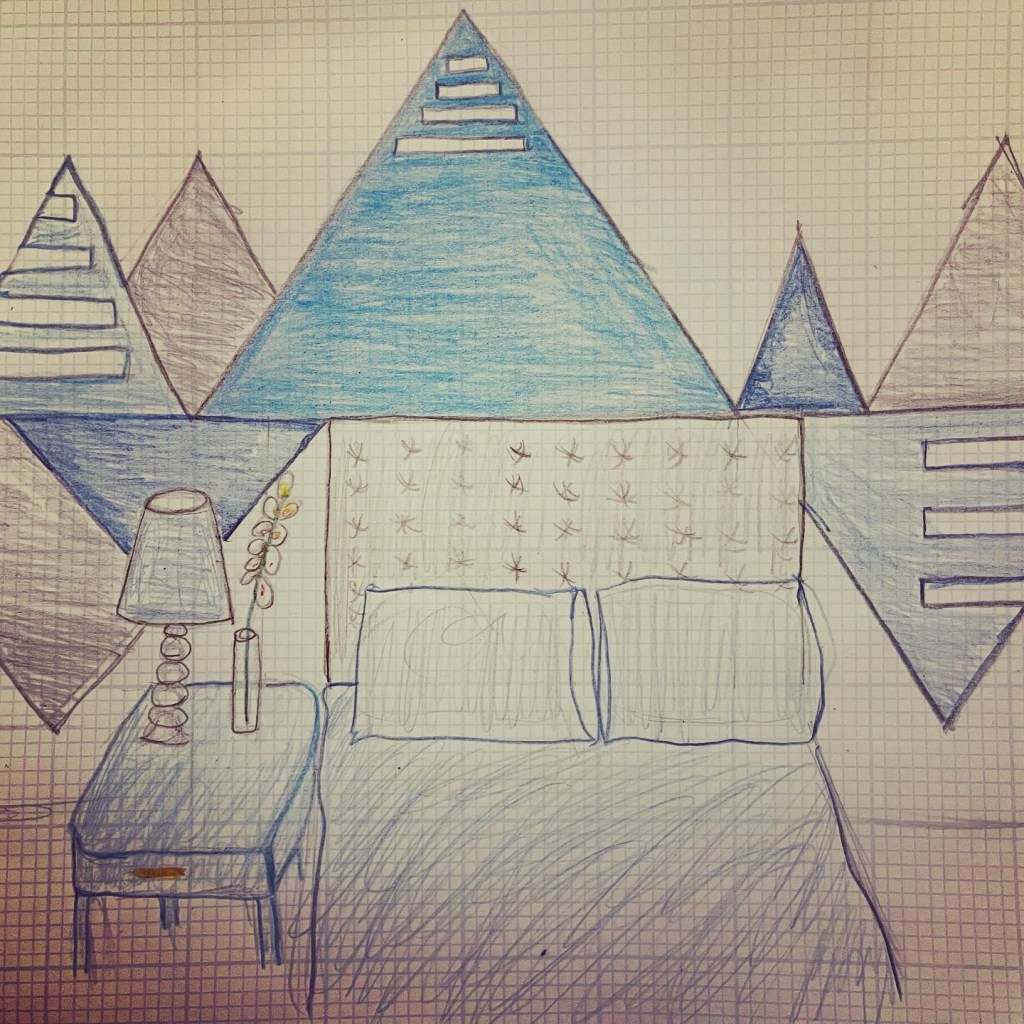
Drawing My Design
The first thing I did was draw out my design. I came up with a couple ideas for the geometric wall project. Here are a couple ideas I tossed around. I ended up choosing the triangle design because it kind of reminded me of mountains and I thought that this would tie into the hip cabin theme better.
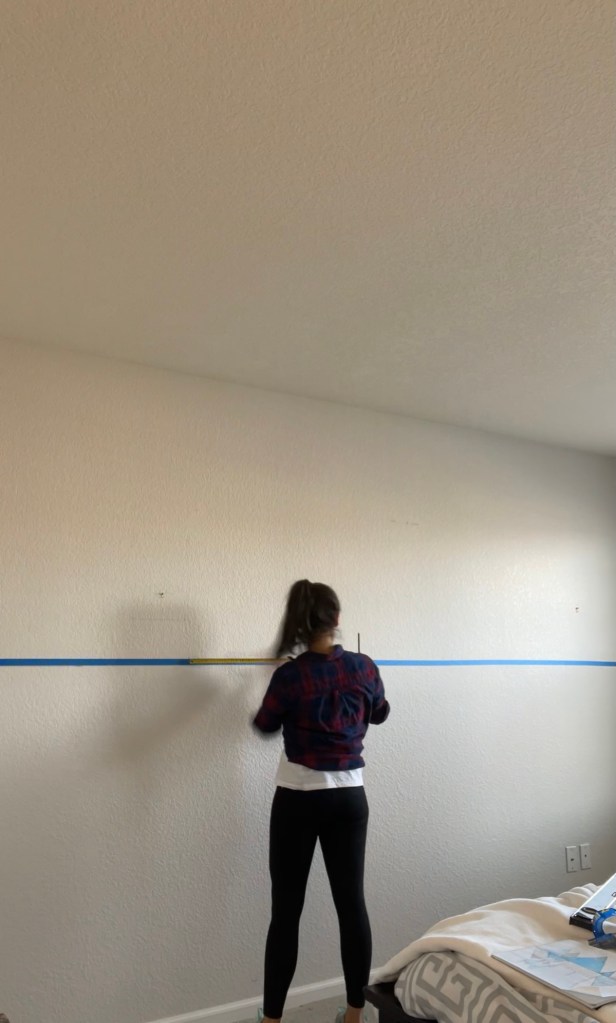
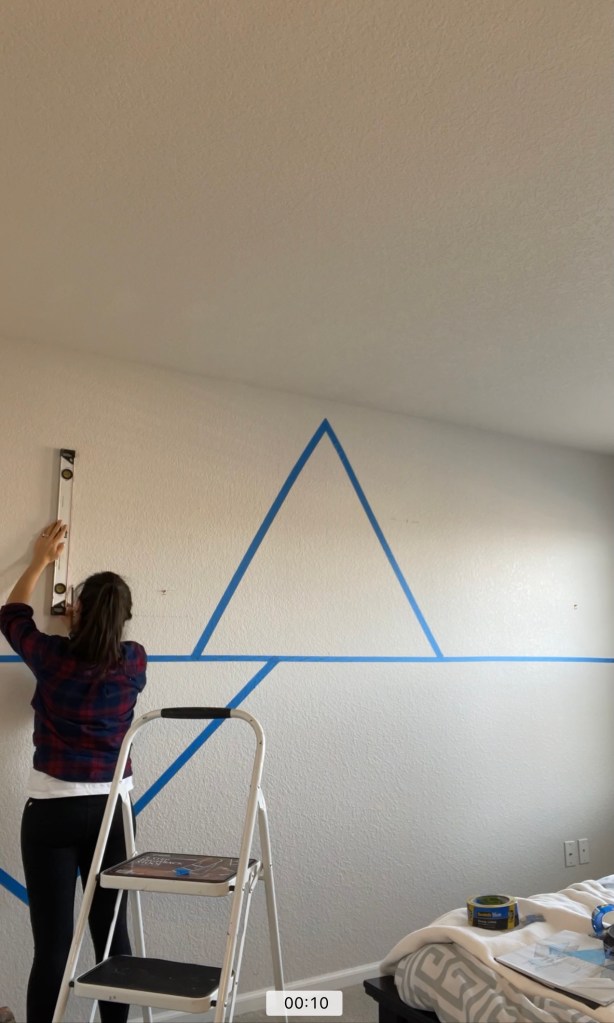
Taping Off the Design-Making the Triangles
I used my drawing as a guide in order to put up the tape design on the wall. I started with the center line. Then I continued with the larger triangle shapes. I measured out the bottom width of the triangle I wanted and marked both ends of the bottom of the triangle. Then I divided that in half and marked the half way point and used a level to draw a line up to where I wanted the point to be. Then I put the tape from one end of the bottom of the triangle that I marked to the point of the triangle I marked. I did the same for the other side to create my triangle. I repeated the step for the three large triangles.
Once the large triangles were up. I create the smaller triangles in between the larger ones and used the same concept by measuring the mid point in order to determine where to place the triangle tip.


Taping off the Design-Finishing Touches
Once I taped off all my triangles, I added some stripes with the tape on some of the triangles where I felt that it made sense. I thought the stripes kind of made the triangles look like snowcapped mountains. I used an exacto knife and removed some of the excess tape on the triangles. Then I taped the ceiling and base boards so I wouldn’t get paint on them.
Painting The Background
I had extra grey paint from the bookcase project. DIY Bookcase Accent Wall I wanted to paint a background instead of leaving the wall white. I thought that this would make the shapes pop more and create more dimension. I used a large paint brush and was able to get a lot of coverage with it but it was too heavy and after a while and I had to switch to a smaller one. I used a paint tray in order to minimize the dripping and make it easier to travel with the paint as I moved across the wall.

Painting The Shapes
I decided to stick with only three colors for the shapes. I didn’t want to make it too colorful. I bought two colors and used the extra turquoise I had from painting the night stand see Upcycling Second Hand Finds. I used a paper plate as a paint tray for each color so that I could go back and do touch ups. The paper plates were a cheap effective way to travel with the paint and fill in the shapes.

Removing the Tape
I let the paint dry overnight. The next day I removed all the tape carefully as to not accidently remove the paint sections that I didn’t want to be removed. I used an exacto knife to cut the pieces that I thought might take some of the paint off the design.

Touch Ups
Once I removed the tape not all of the lines came out perfect especially the stripes I made. I found the same white paint that was used on the bedroom that the previous owners left and I touched up some of the stripe lines
Decorate
I moved all the furniture and décor back. The wall tied in well with all the décor and furniture since I used the same colors in the furniture.


