Difficulty Level: Easy
Budget Friendly
I found this Wood Serving Board at an Estate Sale and I thought it would be perfect to transform into a Decorative Kitchen Item. I love the marble look so I wanted to incorporate it into the item as well.

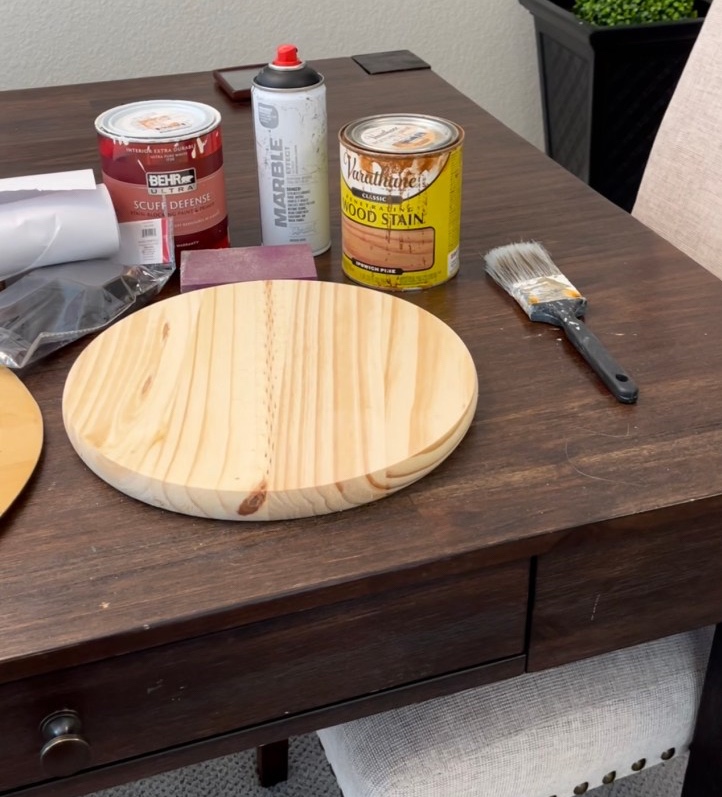
Items I used:
- Wood Boards(One I got an estate sale and the other I bought from Hobby Lobby on Sale)
- White Paint (I used Behr Ultra but I had it leftover. There are some cheaper options)
- Marble Spray Paint (I Used Montana Cans Marble Effect I found on Amazon)
- Wood Stain
- Sander
- Sponge Paint Brushes (These work better than regular paint brushes for this project. They are super inexpensive too. I got these at Target dollar spot)
- Painters tape
- Large Paper
Step One Sand the Wood
This board I bought at the estate sale had pretty rough edges it was a little chipped as well. I used an electric sander to sand the edges since it wasn’t in a great condition. The other board I bought at Hobby Lobby was in good condition so I just used a sanding block to sand it a little. The Boards pretty much cost the same because Hobby Lobby had a sale on wood.

Step Two Divide the board and tape off sections
I divided the board into three sections. I made the two outside sections larger and the middle section thinner. I measured about 4 inches from the edge for the smaller board. I taped off the sections and taped the lines for three sections.
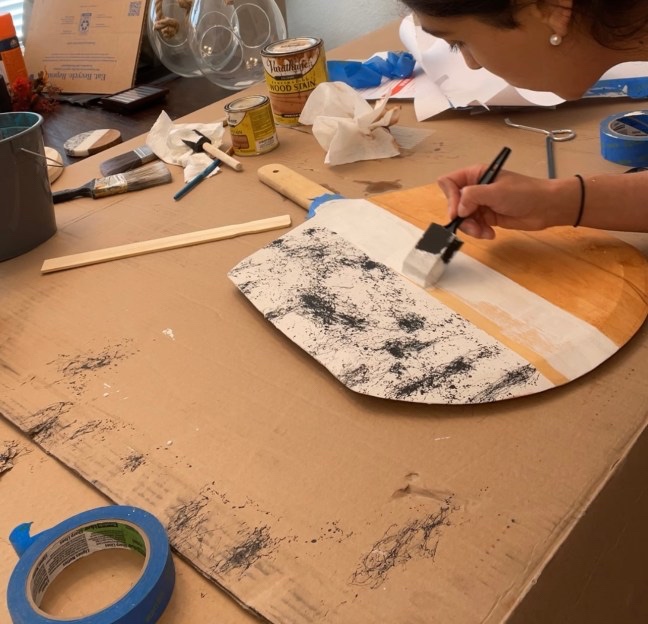
Step 3 Paint the white background for the Marble Section
I started with the section I wanted to have as the faux marble section on the left. I painted a solid white background. I let dry for a few minutes

Step 4 Stain the wood section
While I waited for the white paint to dry I stained the wood on the far right section. I used a paper towel and dipped it in the stain can and worked it into the wood.
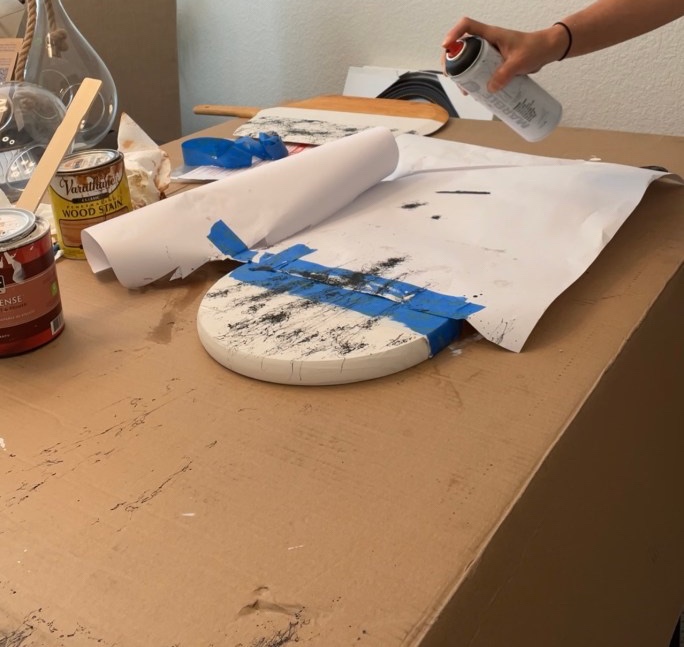
Step 5 Cover up all the sections you don’t want marble
I used the large paper roll and cut some piece that covered all the sections except for the white background I painted in Step 3. I taped the paper down.
Step 6 Practice with the Spray Paint
Since I have never used the spray paint before I first practiced on some of the sheets of paper from the paper roll. This is a good idea to do with spray paint in general because sometimes it’s hard to tell how its going to come out and you don’t want to ruin your project.
Step 7 Apply marble spray paint

Since I had all the sections covered except the white background I started to spray lightly over the white background
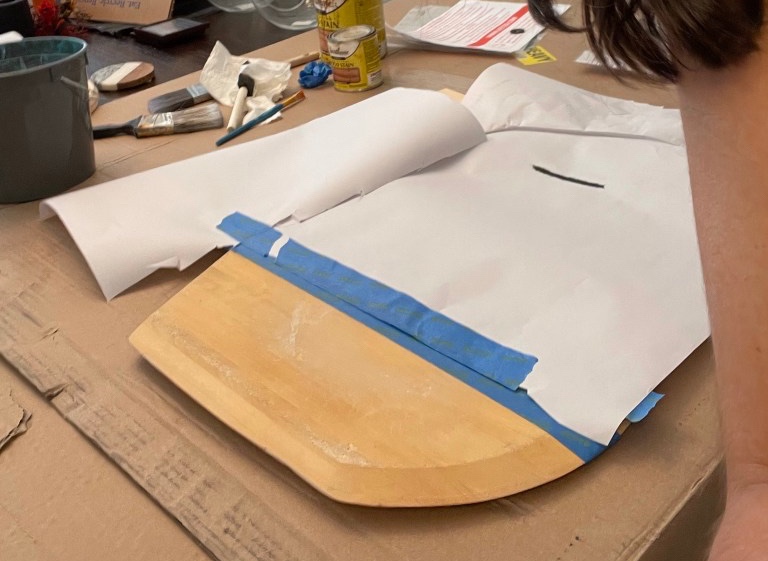
Step 8 Tape off the handle
I removed the paper covering. Then I measured and marked the middle of the handle and used painters tape to make a v to where I wanted the paint to stop on the handle.

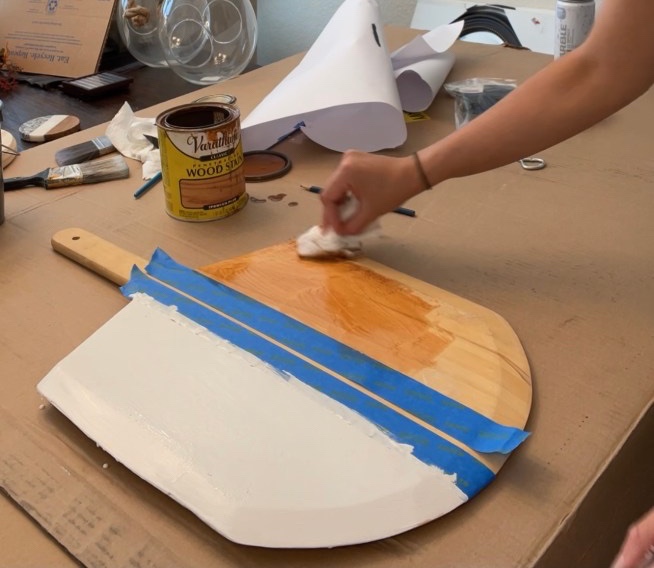
Step 9 Paint middle section
Using the sponge paint brush I painted the white paint up to where I applied the V with the painters tape near the handle.
Step 10 Stain the handle
I used the wood stain and applied it with a paper towel on the handle up to the white paint
I repeated these steps for both boards on both sides. I did both sides in case one side turned out better than the other. On the smaller circular one I spray painted the center with a metallic spray paint one side and left the other side with a white center. I did this so that I had both options to display.