
This week I am starting to get the baby’s room together.
The theme I wanted to go with was Forest/Woodland Creatures. Here is my original idea for the Baby’s room. I bought a stencil that I am going to use to make a herringbone pattern on the window wall. I also got a bunch of pictures of Woodland Creatures pictures that I am going to frame. I was originally going to create a mural with mountains on the main wall but decided to use decals that I bought instead. I am so tired of painting after painting so much at the vacation rental.

Wooden Trees
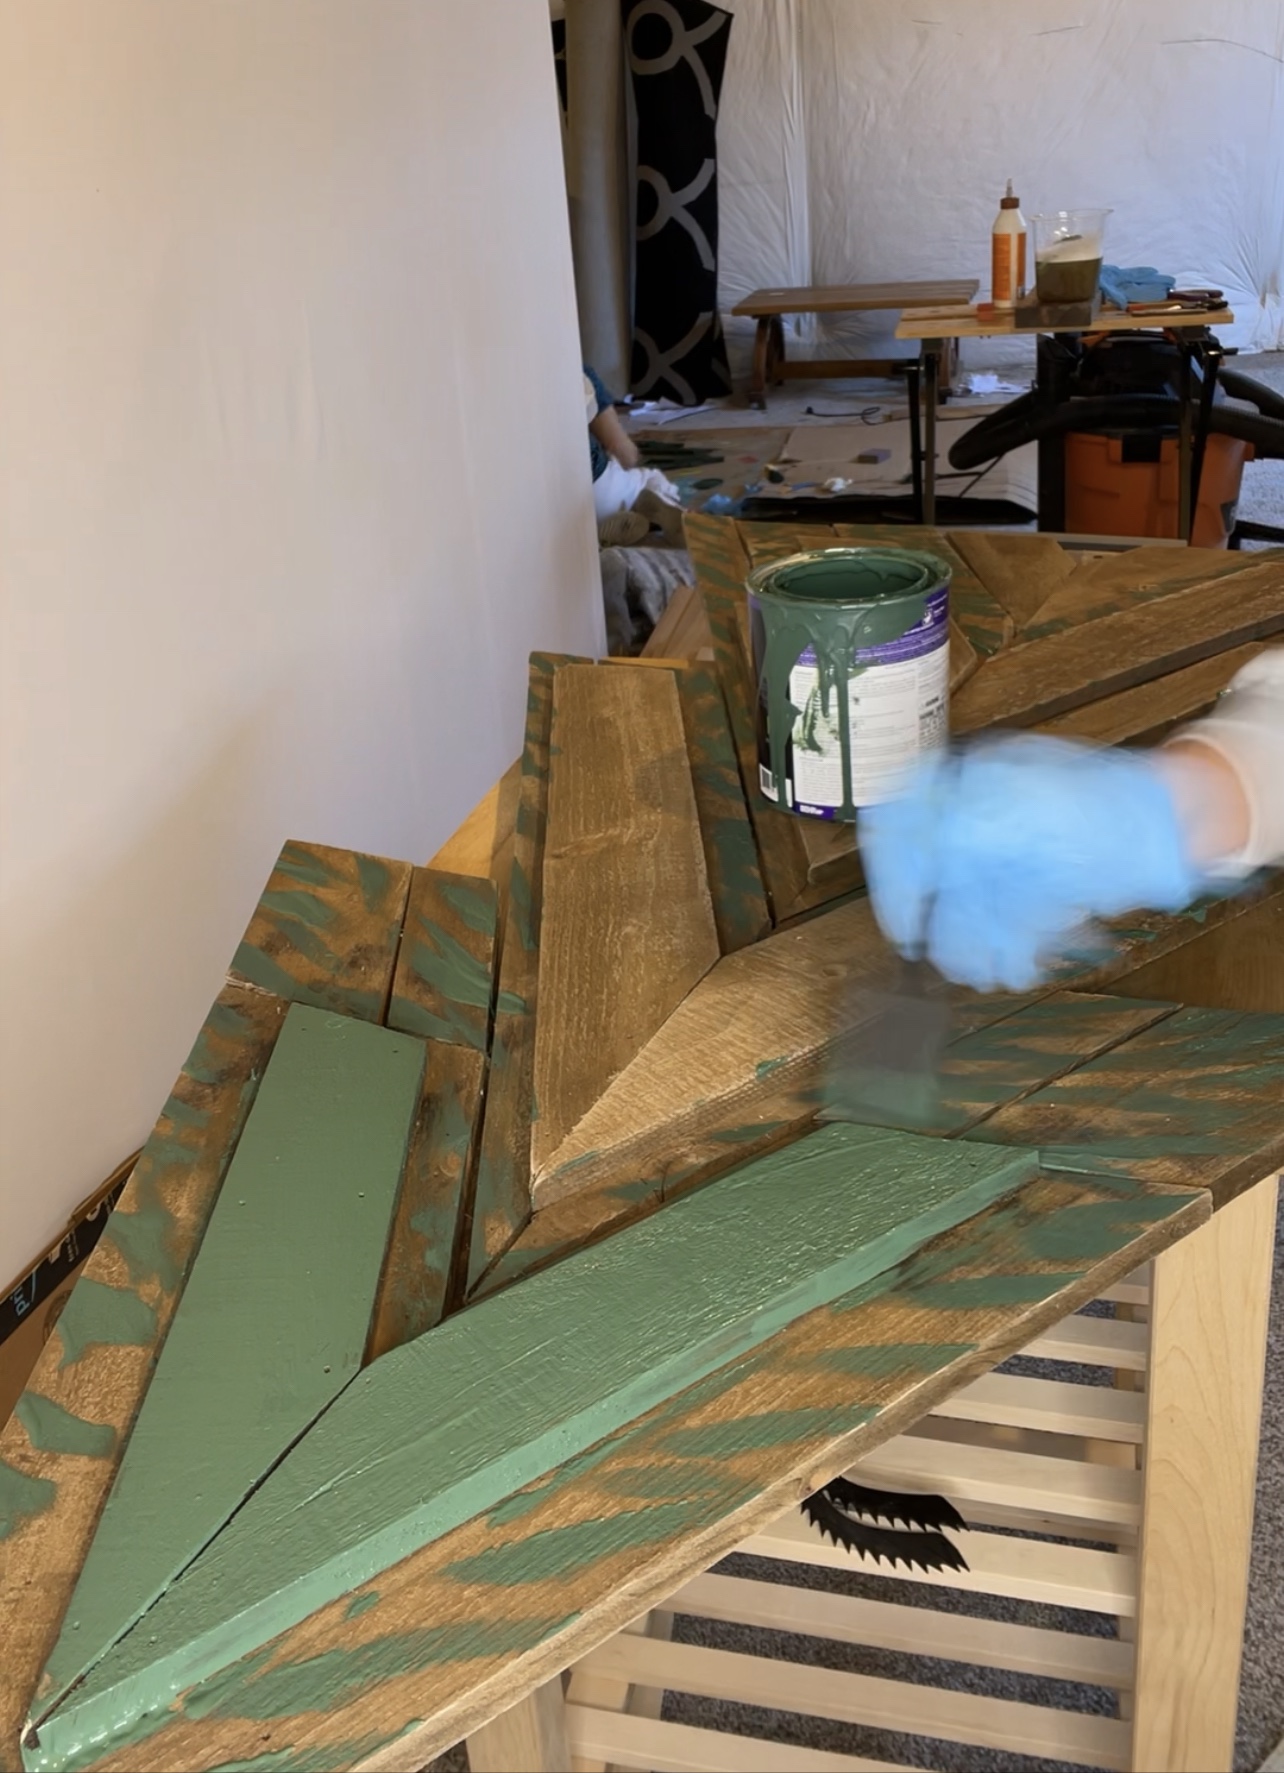
I got these wooden trees last year. Our neighbors were throwing them out after Christmas. Luckily my husband saw them throwing them out and I ran over and asked if I can take them off their hands. They have a chevron pattern to them so I thought this would go perfect with the stencil wall.

I cleaned up the trees and sanded them. Then I removed the stands in the back so I can nail them flat on the wall. Using a sponge paint brush to make bristle like brush strokes on the inner parts of the trees. Then I painted the outer parts of them a solid green. I thought this helped to create some dimension.


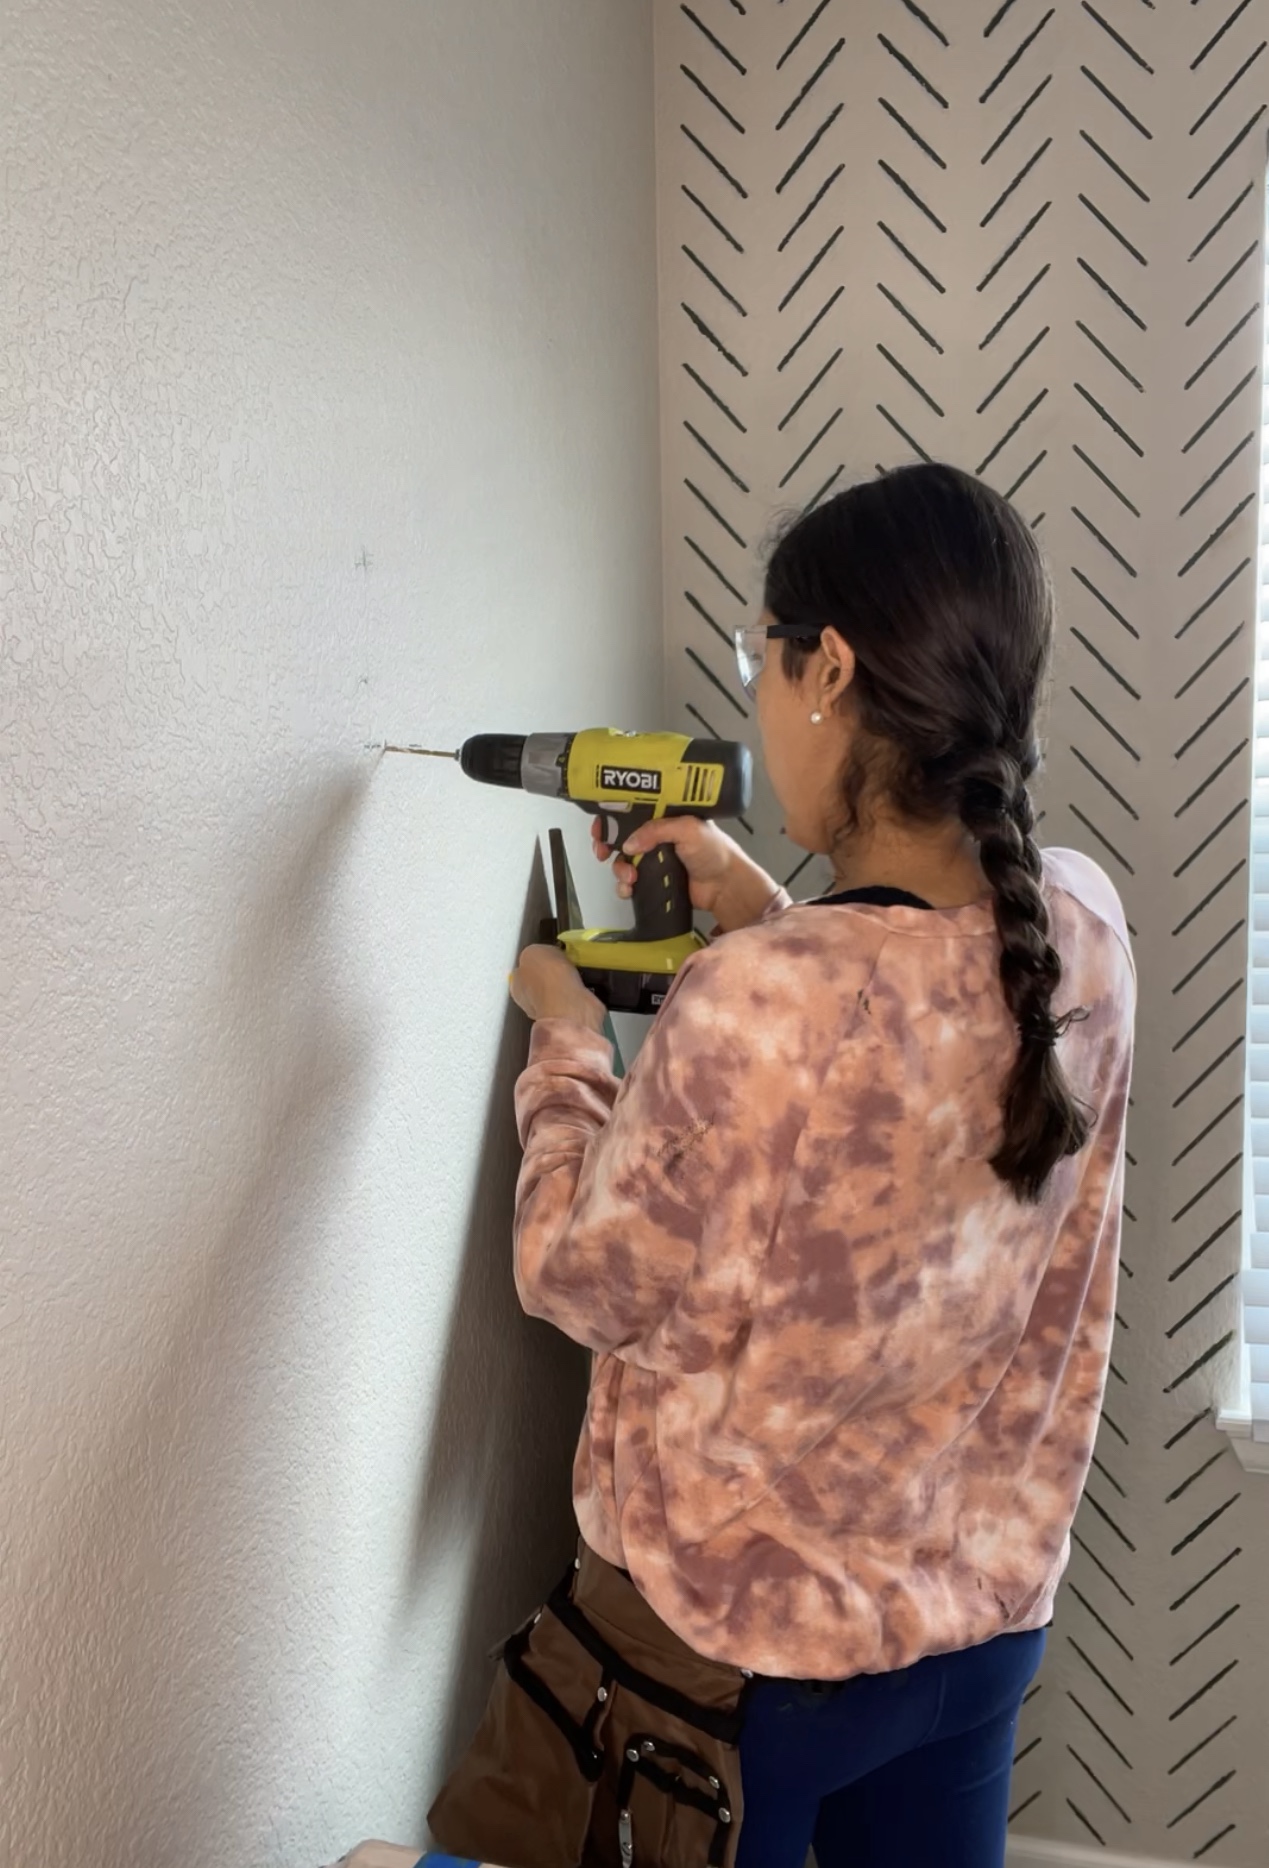
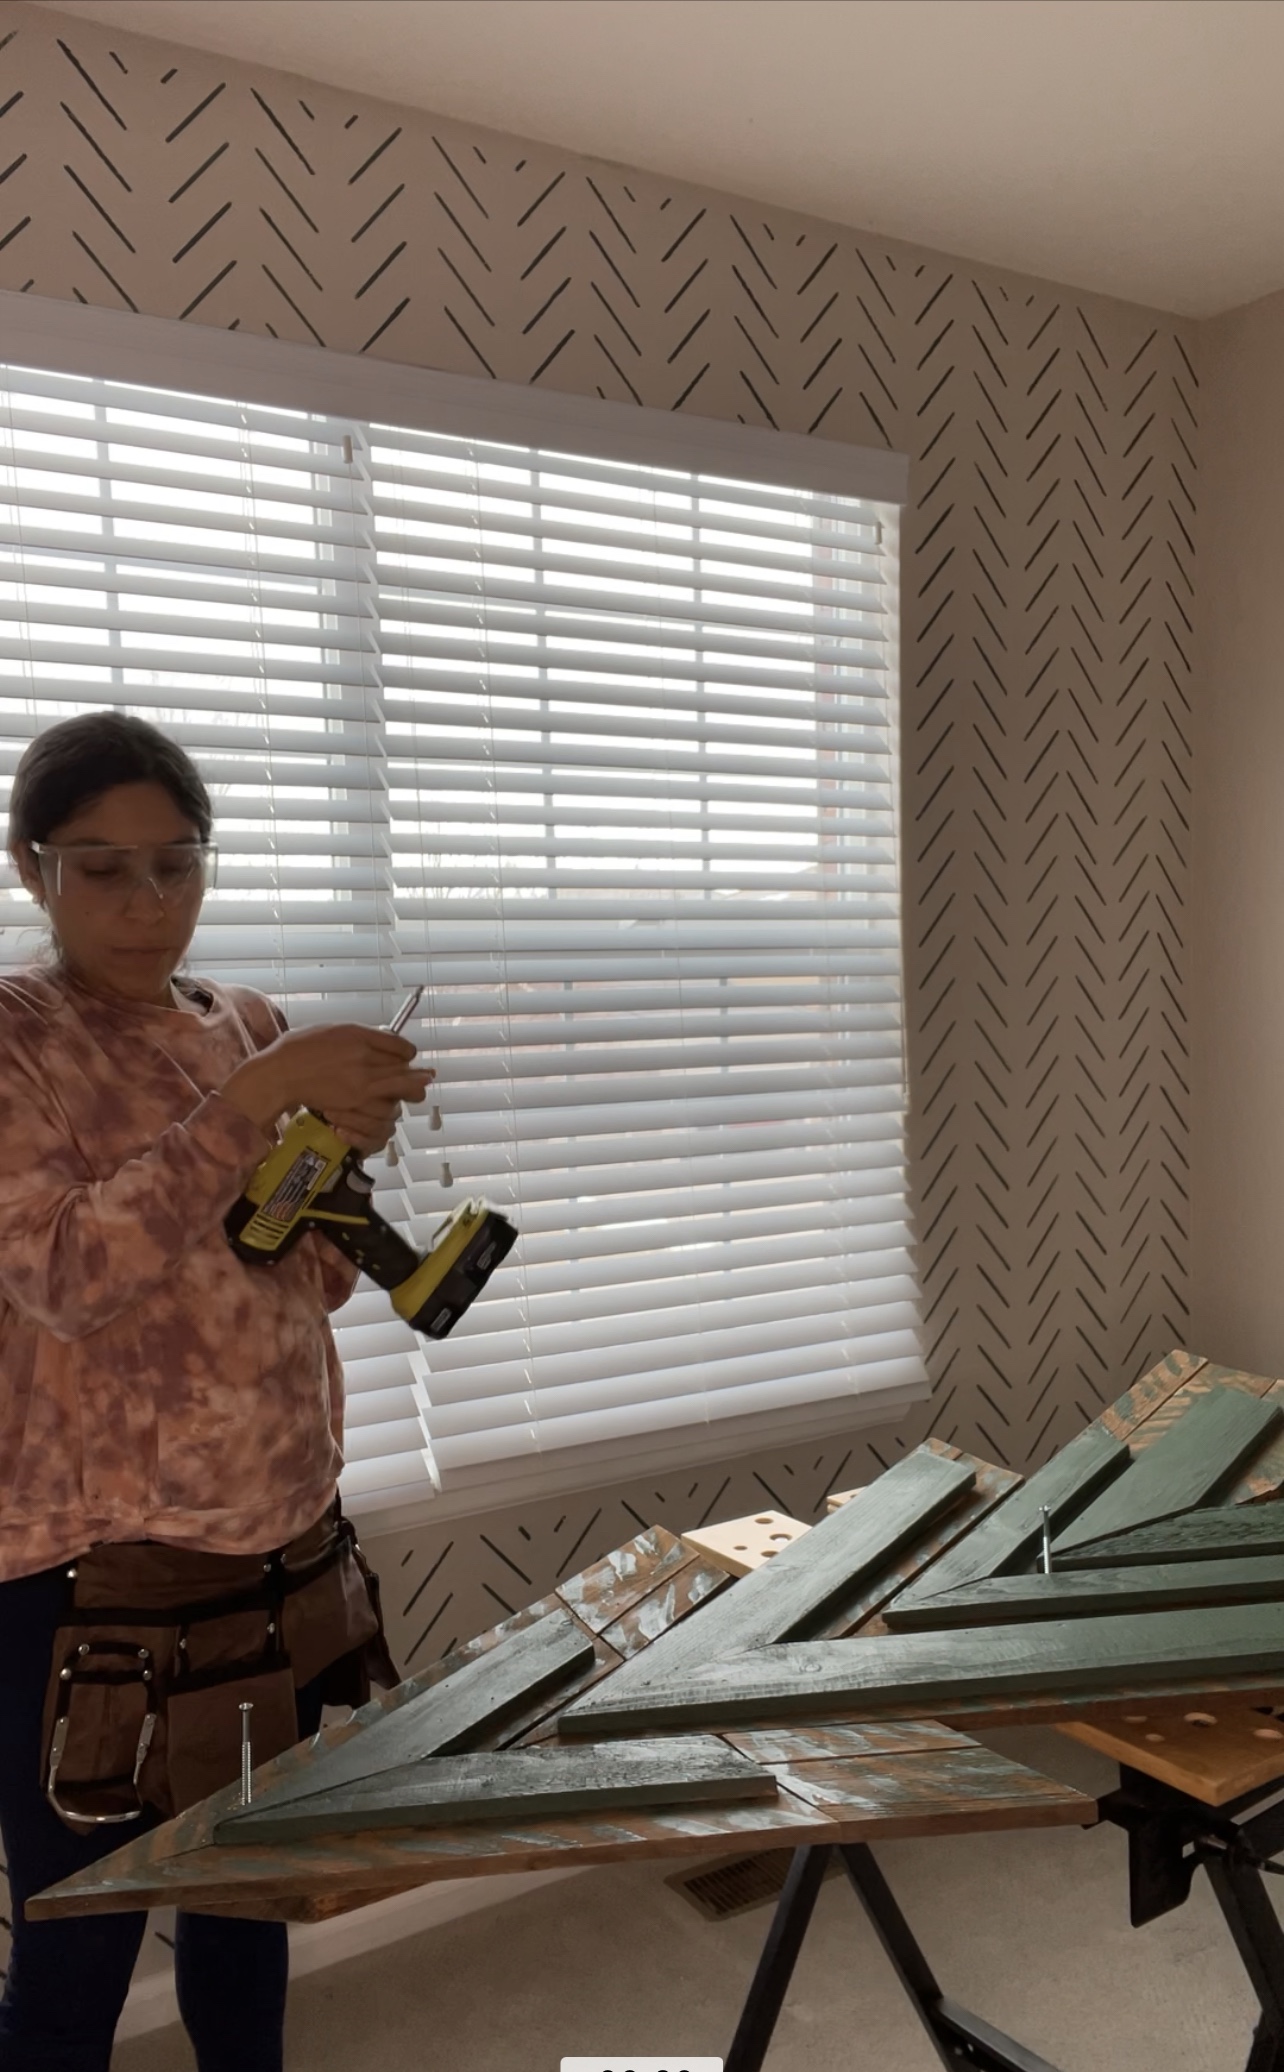
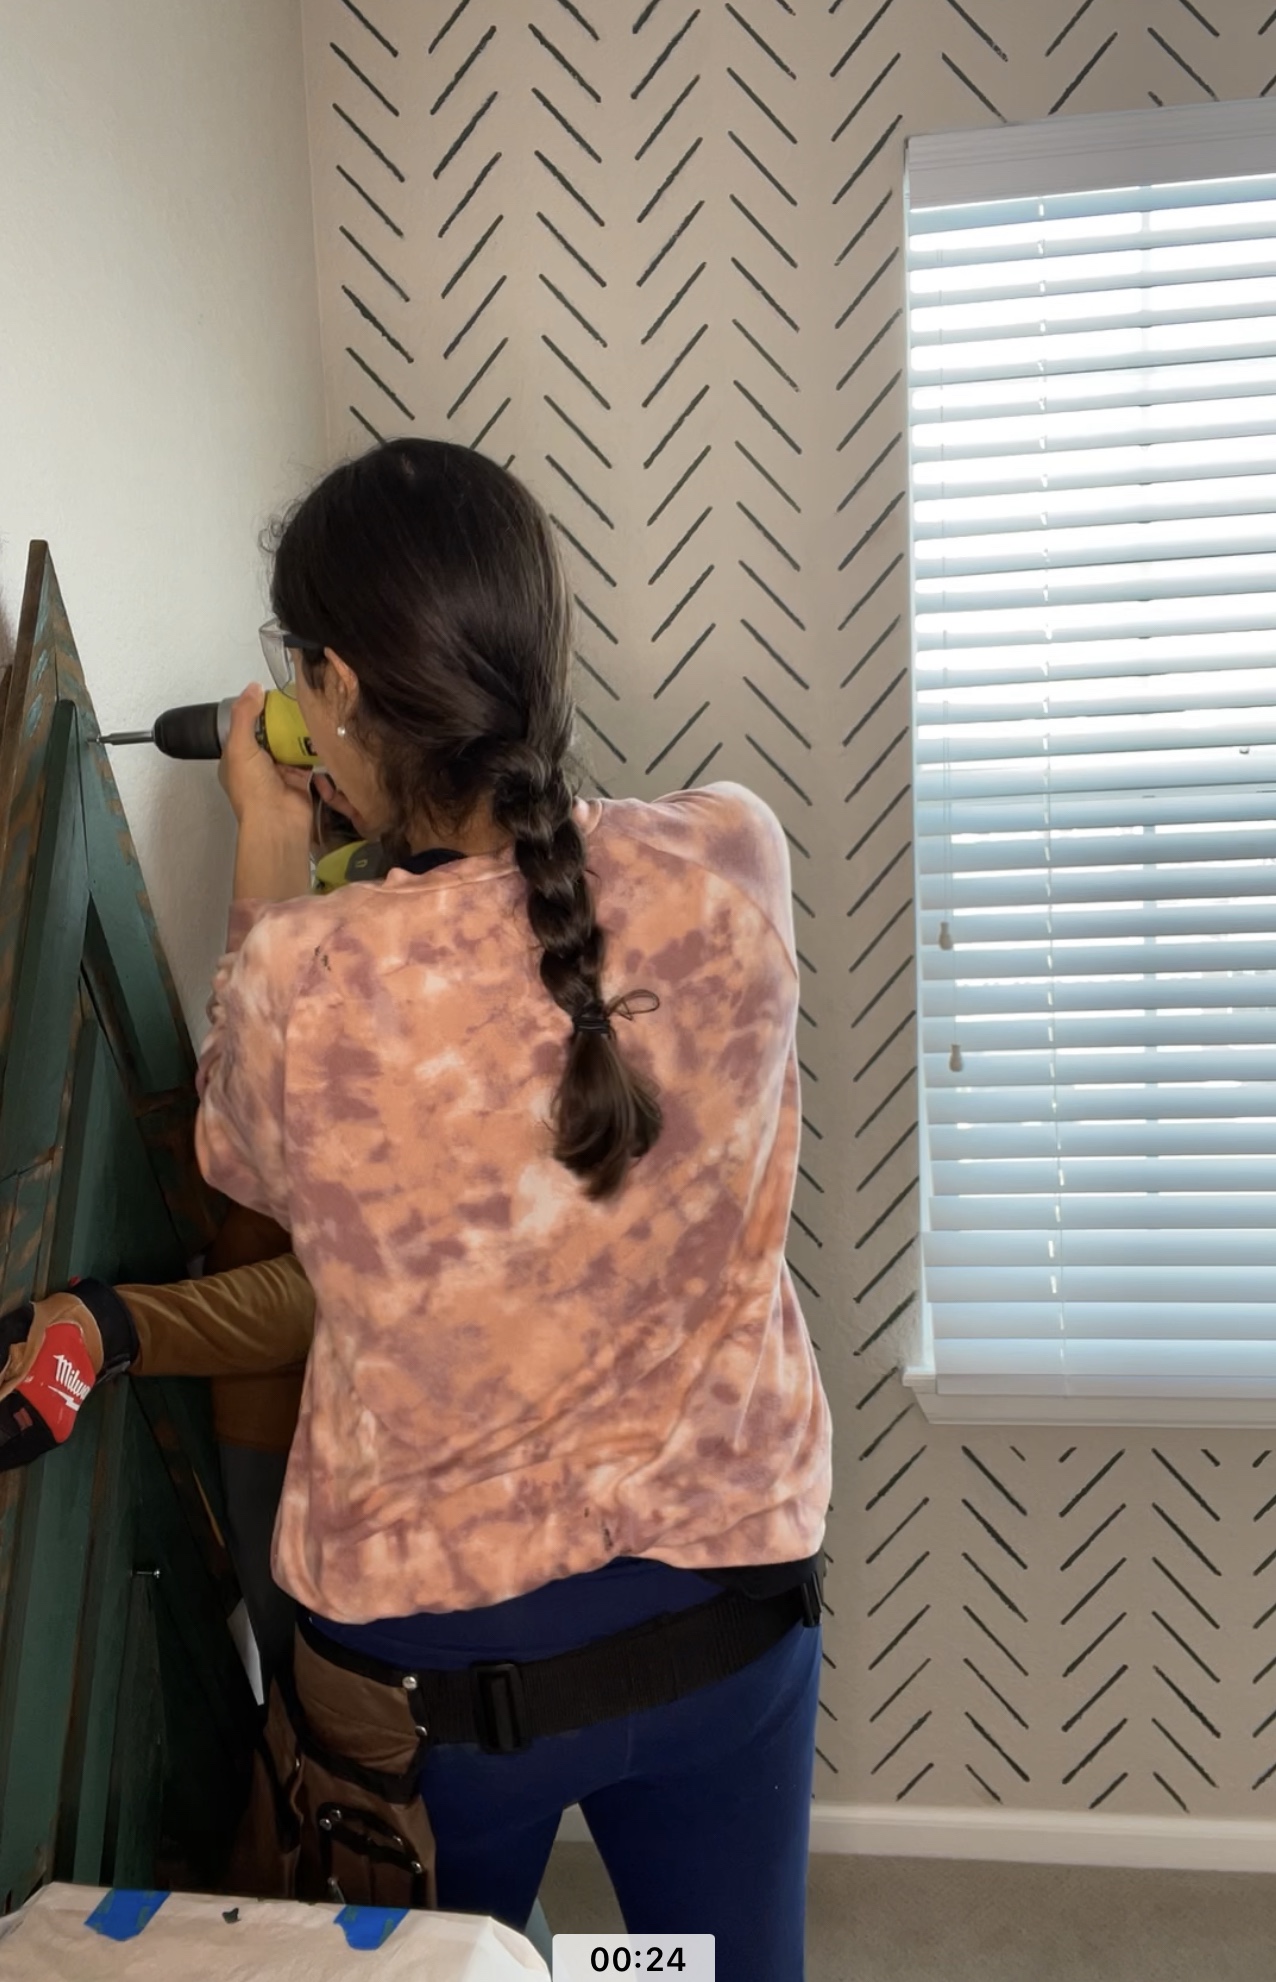
After I painted them and waited for them to dry I used anchors and screws to put on the walls. I wanted to put the them towards the bottom of the walls because it made more sense to me to have the trees closer to the ground. In order to mount the trees on the wall I used two drywall anchors for the heavier trees. I put in the anchors to the wall first than I drilled pilot holes in the wood. The wood was very thick so I had to use really long nails. I drilled in the nails into the trees first until I saw the nail peak out in the back before I put on the wall. Then I placed on wall and finished drilling the trees into the wall.


Stencil Wall
I used a herringbone stencil to paint the window wall. The stencil was pretty easy at first but then once I got to the other side of them wall it got a little difficult to keep the pattern without getting paint on the adjacent wall.

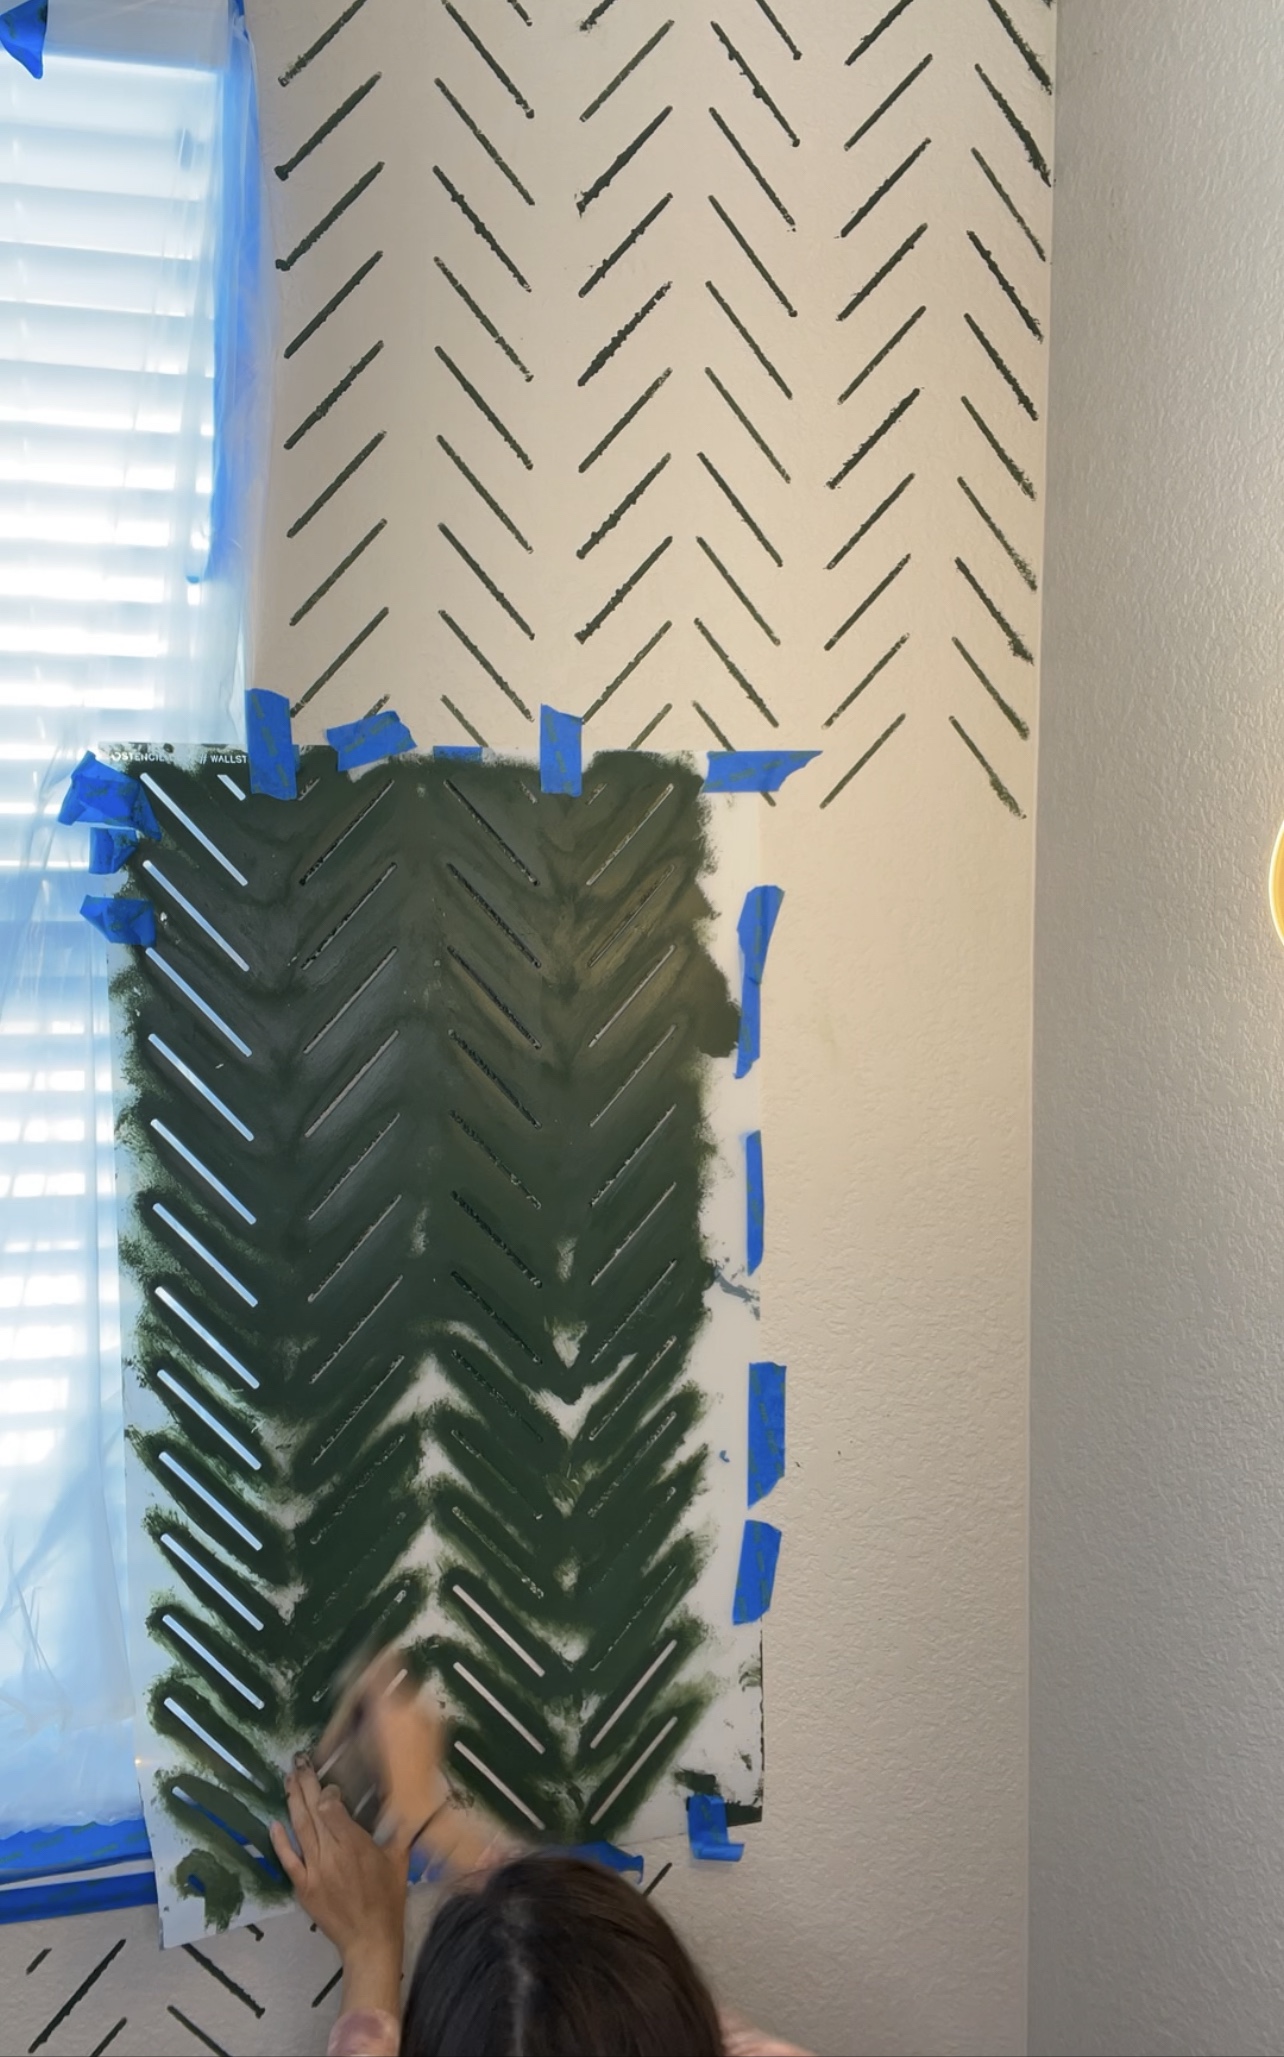
The instructions said to use a paint roller but I don’t really like using paint rollers so I chose a smaller paint brush instead in order to have more control. I feel like paint rollers waste a lot of paint and are harder to control.
The key with the stencil I found out was not using too much paint. I found that I had to use the minimal amount of paint possible in order for the paint not to drip below and make the lines too thick.
The stencil wall only took about a day to do. However I had to go back with white paint to touch up some of my mistakes I made before I learned to not use too much paint.
Here is how it turned out

