
My latest Project I have been working on is my Baby’s Room Project. The theme of the room is Woodland Creature/Forest. Check out my latest post Baby’s Room-Week 4
I did a few different easy DIY projects to complete the room. One of the projects I did was an accent wall with Woodland Creature Wall Decals. The Wall Decals were super easy to do. Here is how I did this project.

Supplies
- Scissors
- Ladder
- Painters tape
- Wall Decals. I used TIMBER ARTBOX Woodland Nursery Decor – Dreamy Forest Theme (I found on Amazon)
Clean the Wall
The first thing I did was wipe the wall down. I used paper towels and water. I just wet the paper towels and wiped down the majority of the wall.

Cut Out Shapes
The shapes come all together on three sheets, so I just cut out all of the shapes I wanted to use. There are a lot of shapes and you don’t need to use all of them.

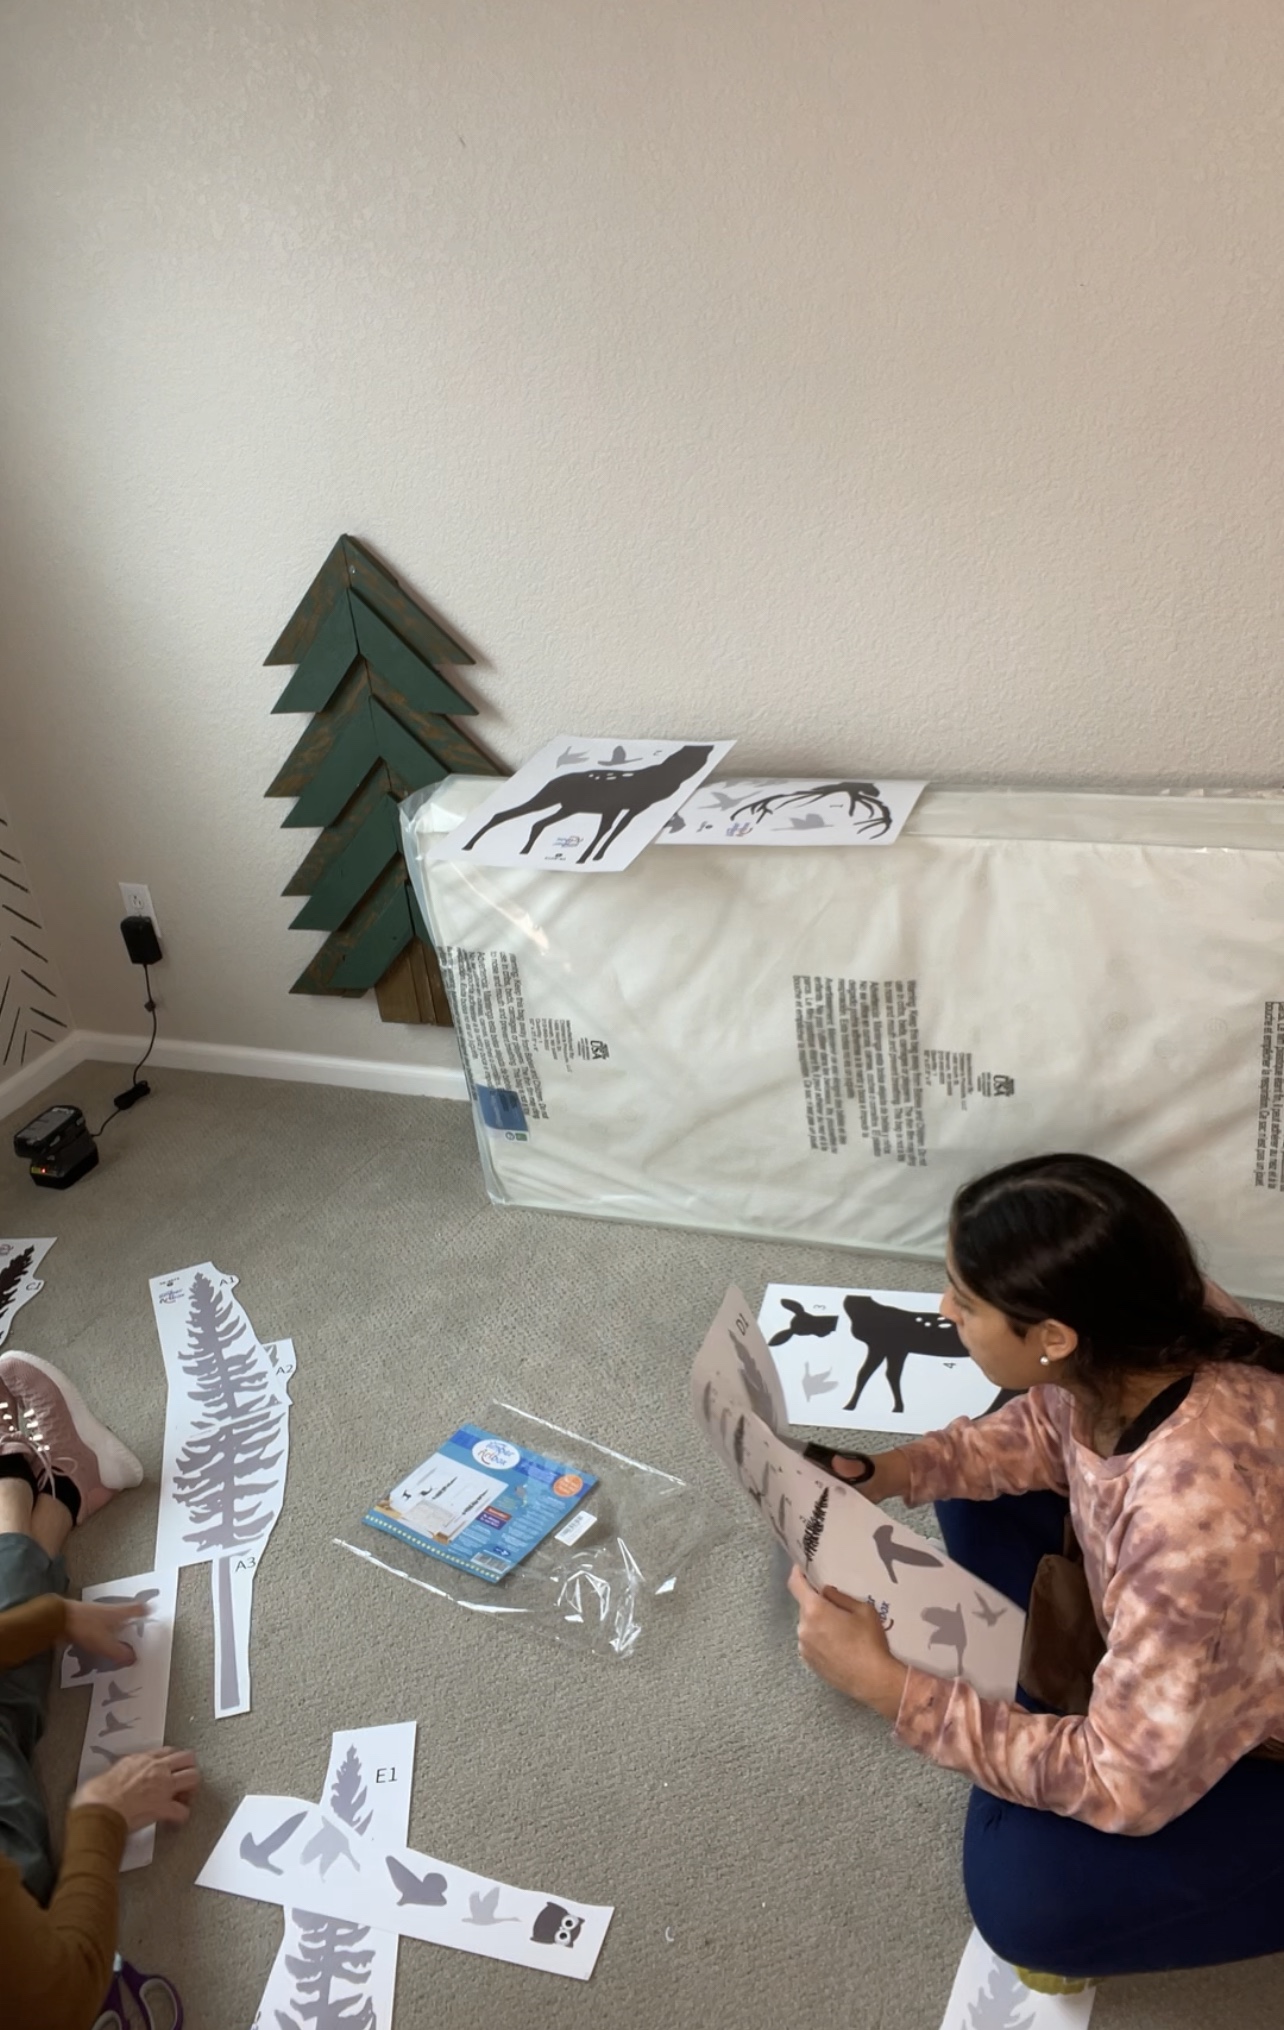
Organize Shapes
Once I cut them, I organized all the shapes. Some of the shapes had multiple pieces so I put the ones with multiple pieces together. Then I organized all the shapes by size. There were small, medium and large trees.

Decide how to place the shapes
Using Painters tape, tape the shapes on the wall to how you want them. Take a step back and make sure you have the right placement. You can rearrange until you are satisfied

It is very important to not remove the back of the decal and stick until you do this step so that you have a better idea first of how the shapes will look on the wall before you place them.

Place the Decals
Once you have decided on the placement remove the backs of the shapefrom the top of the shape and apply to the wall. Do this individually for each shape until all shapes are applied to wall
Here is final result

