
In the fall I made planters for my front porch. See my how to guide How to Build a Planter Box: Phase 1: Collecting Supplies, Cutting the Wood, and Painting

When I made them I was worried that they would be too tall and would blow over. I even made a compartment in the planters to add weights. Luckily, I haven’t had to use it. I am really proud of this project because it has withstanded all the weather and wind we get here and they still look great.
Since we had so many life events recently I haven’t redecorated my porch since the fall. I am never super motivated to decorate for Christmas but now that it is spring I am so excited to give them a refresh. I love spring colors and pastels, so spring is one of my favorite times to decorate.
Supplies I used
- Chicken Wire
- Green floral foam
- Color Wheel
- Floral décor
- Pliers
- Floral Wire
Picked Colors and Design
In order to get a color combo I liked before I went shopping to buy the faux floral I used a color wheel to pick the colors that I wanted. The color wheel helped me determine which colors would go best together. I determined I wanted to use mainly blues and greens with a touch of pink. Now that I had my colors picked out I was ready to go shopping.
Shopping
I bought the faux flowers from Hobby Lobby. I picked florals for different levels. I bought taller pieces and ones that were more for the center. In my design I knew I wanted to create a draping effect over the planters so I bought some pieces to hang over the planters.
Planning the design
Now that I had my flowers and had an idea of what I wanted to do I planned out my design first before I tried putting them in the planters. I created the flower arrangement first so I had an idea of how they will look and would have a guide on how I would place them.

Blow dry
I used a blow dryer to fluff up some of the pink flowers to make them look more full. The heat also made them more moldable so I can shape them how I wanted

Created The Base
In order to create the base in the planter I used chicken wire, the floral foam and the floral wire. I used chicken wire in a bunch as filler to create extra height in the planter. Then I wrapped the floral foam with the chicken wire. I place the wrapped floral foam in the planter on top of the excess chicken wire. Then I tied it down to the planter with the floral wire.

Placed floral in planter
Now that I already had my arrangement, I placed it in the planter piece by piece. Some of the taller ones were difficult to get to stand straight so I used the floral wire to tie them into place.
Once I had the arrangement in the planter there were still some bald spots so I had to get extra filler floral to put in some of the balder spots to make the arrangement to look more full.

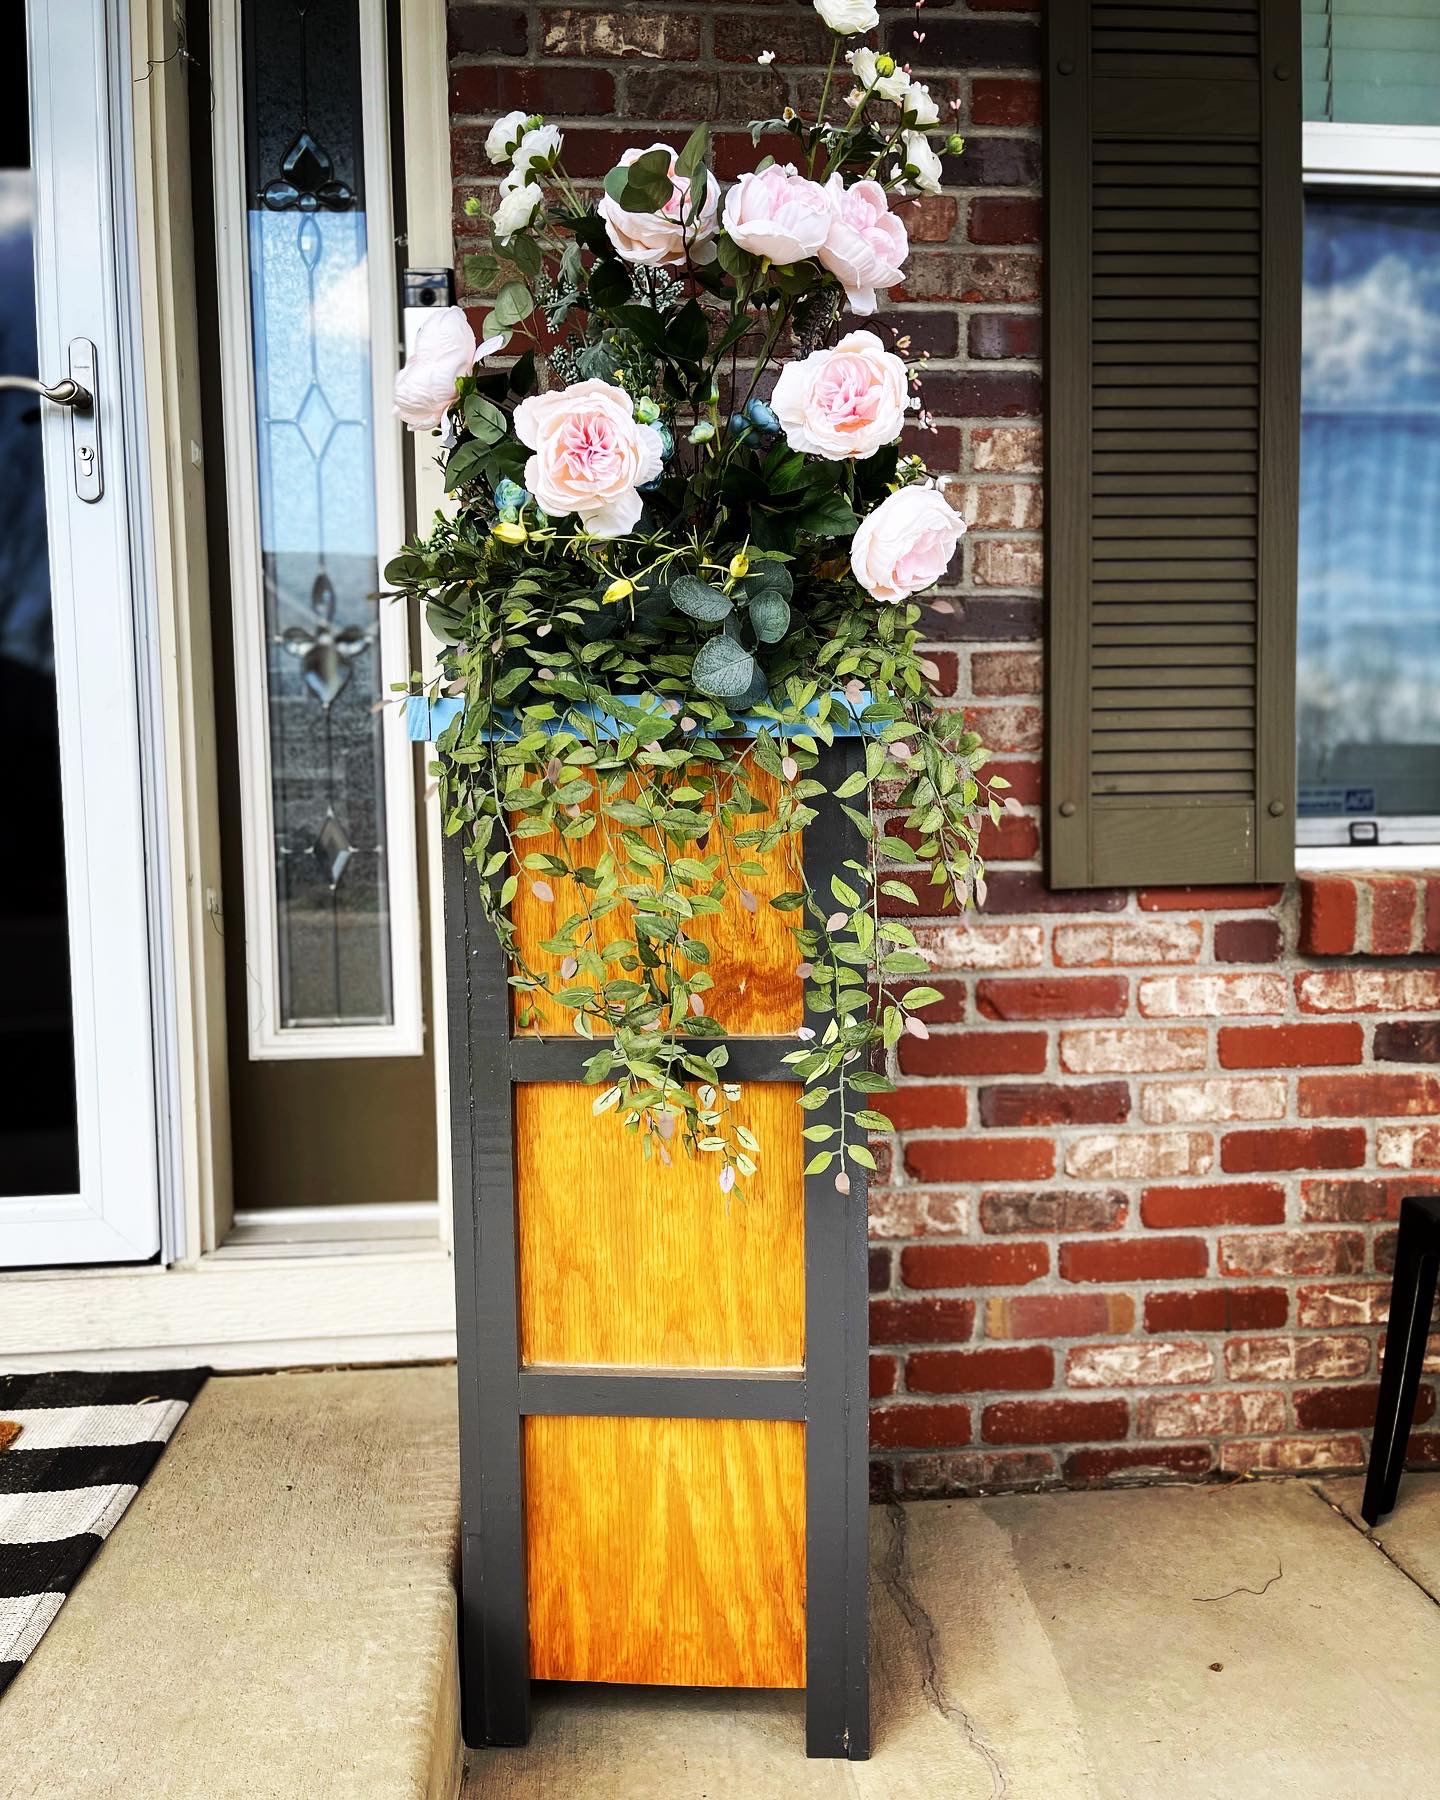
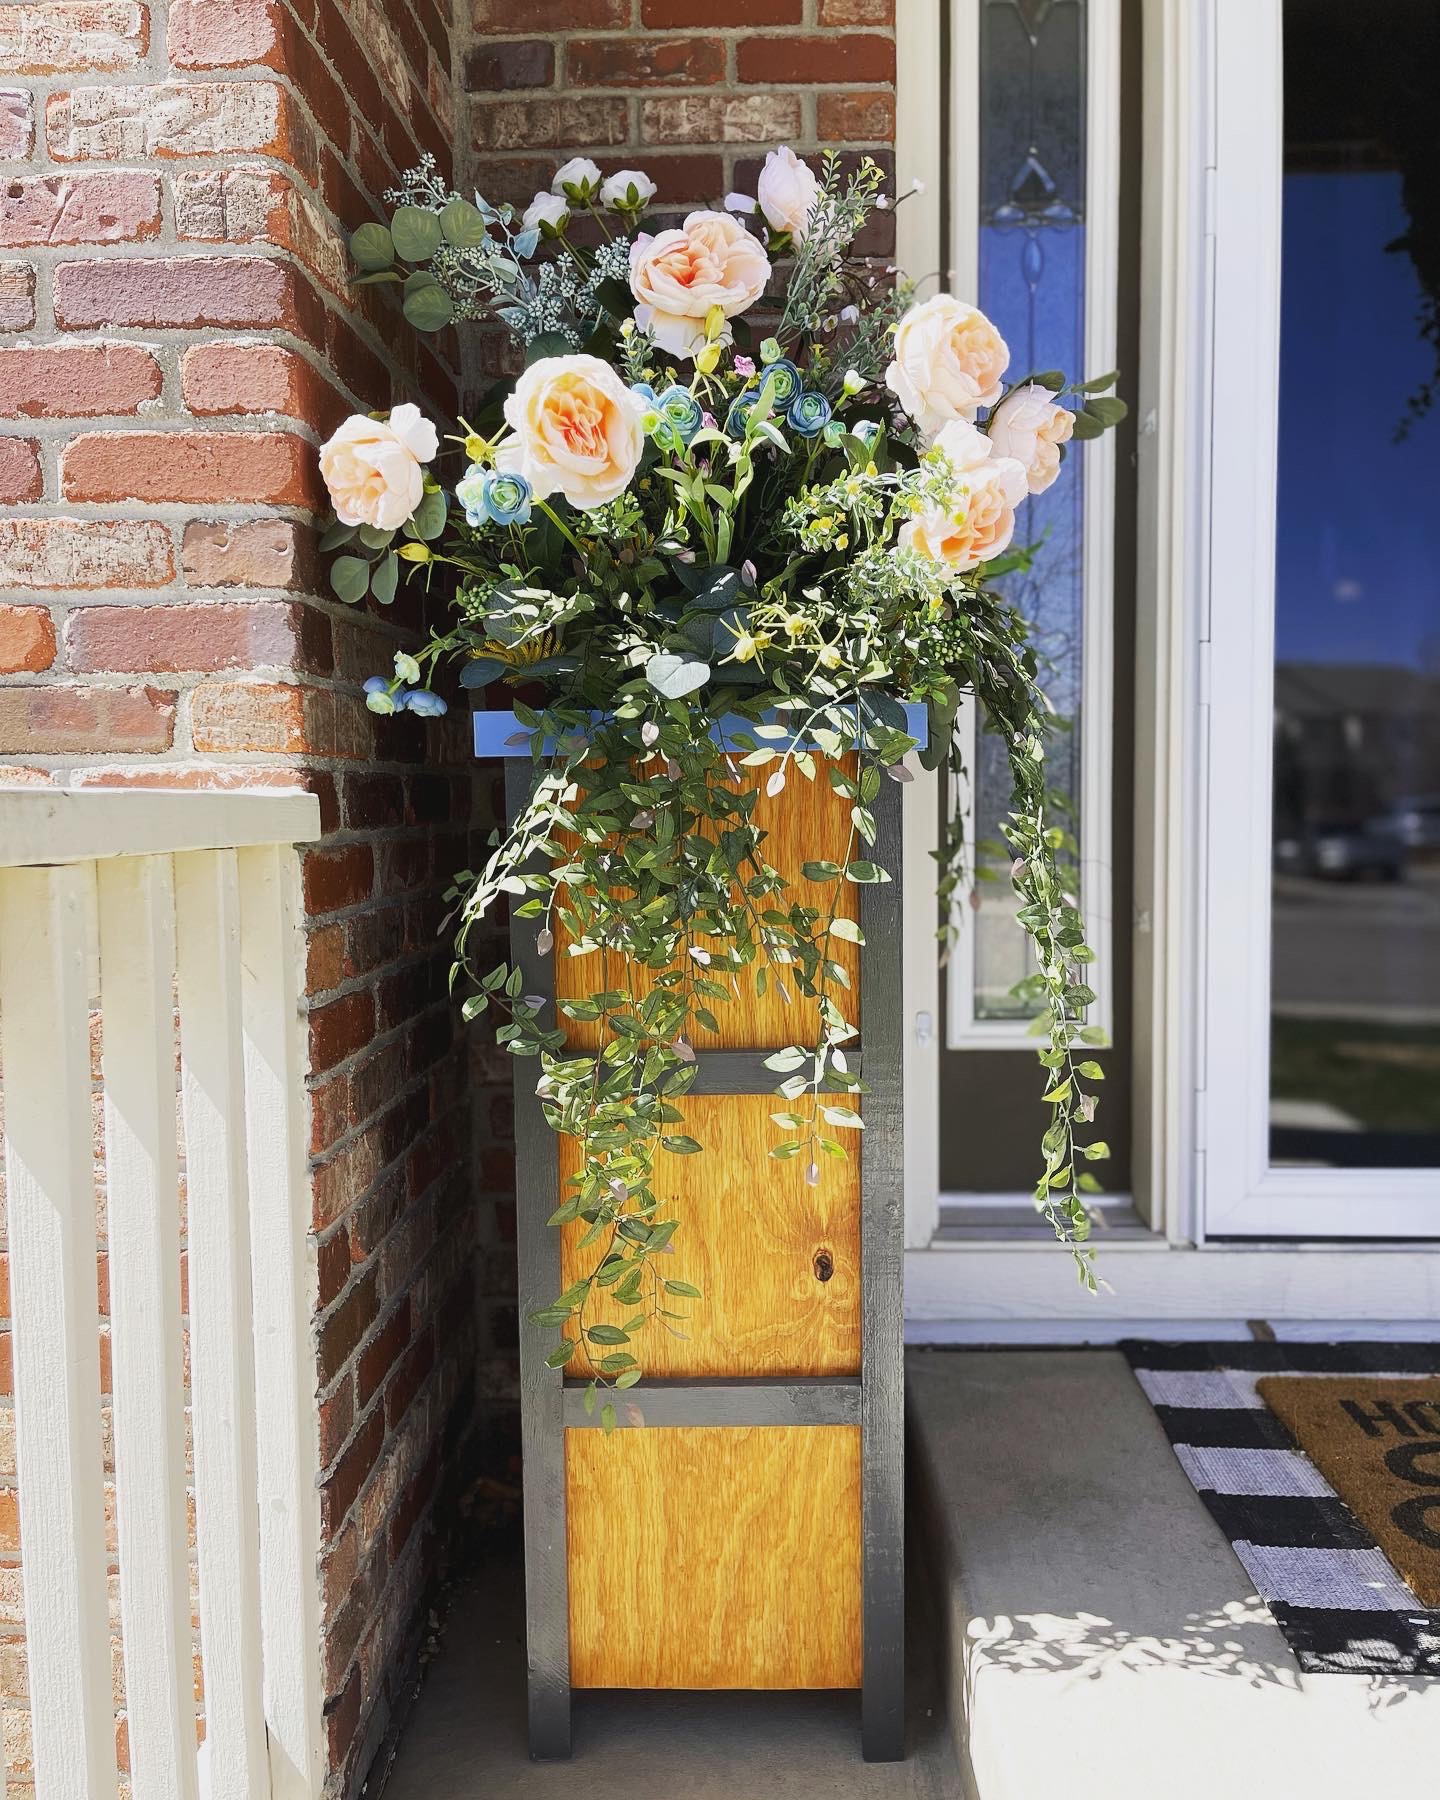
Here is how it turned out

