
At my vacation rental I installed this shiplap wall but I felt like it was too plain so I wanted to do something to make it stand out more. I have always wanted to try Shou Sugi Ban. Which is the Japanese technique where you use a blow torch to burn and darken the wood making a design. However, I didn’t want to deal with the hassle and danger of a blow torch.

I wanted to use a cool stencil desing that I saw on the Stencilit website and so I decided to create this feather design on the shiplap wall so that it looked like it was branded into the wood.
Her is how I did it:
Supplies:
- Behr Paint Black
- Feather Stencil from Stencilit
- Other smaller stencils I found on Amazon
- Painters Tape Frogtape
Plan out design:
I wanted the feathers to look natural as if they were cascading down from the top so I drew out the design I wanted.

Tape Stencils
Before I started painting anything I arranged my stencils how I wanted them on the wall and taped them up with the painter’s tape. I stepped back to see if I liked the layout and adjusted as I wanted.
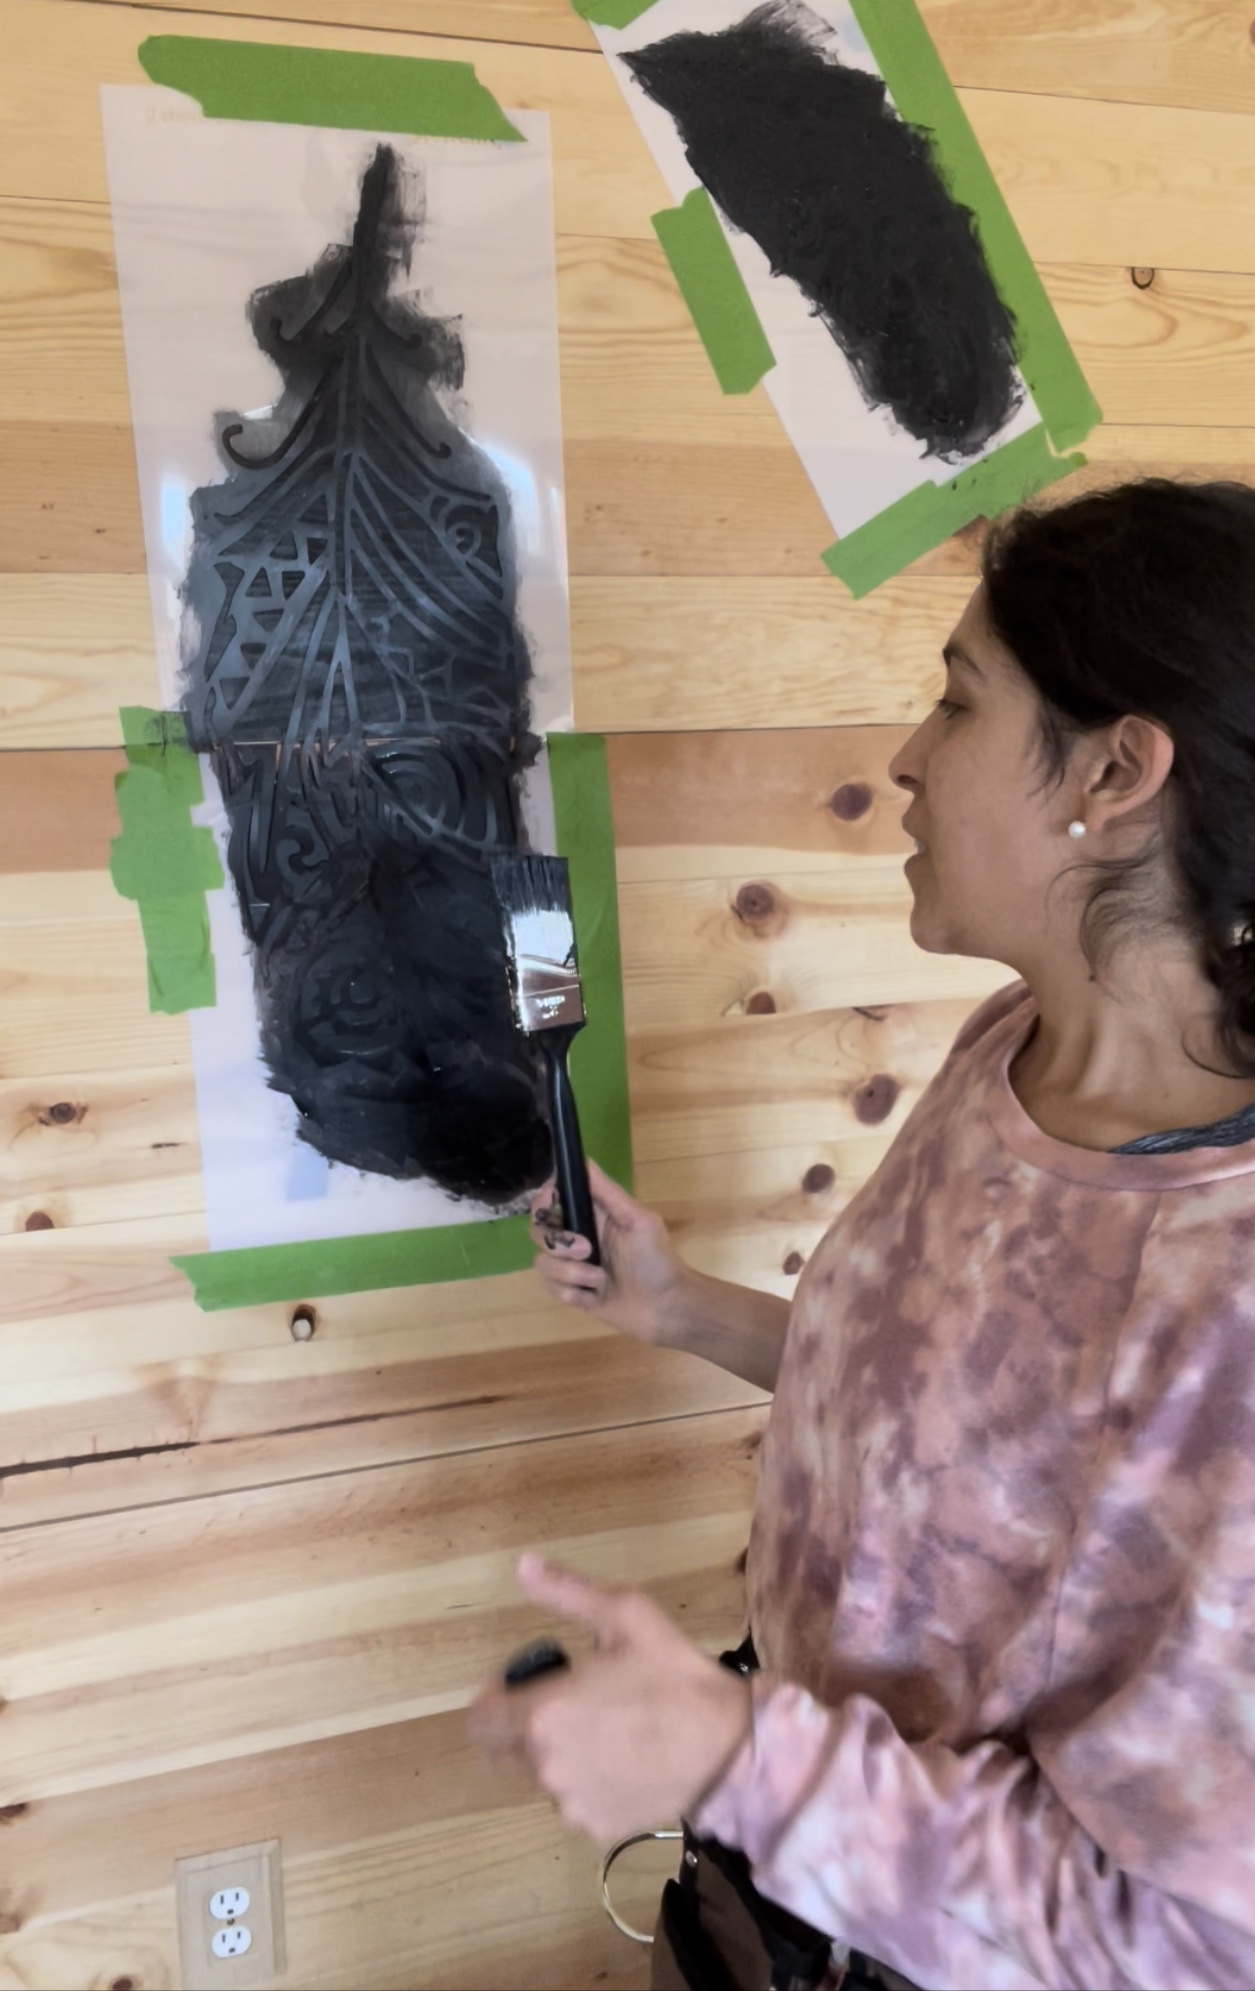
Painting Stencil
Once I had the layout I wanted I started to paint in the stencils. It is very important when you paint in the stencil to use the least amount of paint possible because the paint drips and if you have a more intricate design it will drip so that you won’t be able to see your design. If the color doesn’t come out dark enough you can always go over it with more coats.
With drywall the paint tends to drip more but with wood it absorbs better so there is less paint drip on wood surfaces.
I always recommend using a smaller paint brush. You can use a foam roller but I wouldn’t recommend it because you have less control and I feel like it gets messier and more clean up.

Remove stencils
Once I was done with an area I let paint dry a little and I removed the stencil to check if I liked the placement and then based on how it looked I adjusted the other taped up stencils I had not painted in yet until I found the design I liked.

Here are the results:

