
I am so excited for patio season. Last summer I set out some of my patio furniture and was expecting to sit out all summer but I was highly disappointed because it was way too hot to enjoy being outside and our patio was directly in the sun. This year we decided to get a pergola to have some shade.

We found this pergola on Wayfair and it was pretty easy to put together. The pergola set up didn’t require very many tools.
Here are the tools I used:
- Regular Drill
- Hammer Drill
- Cement Screws
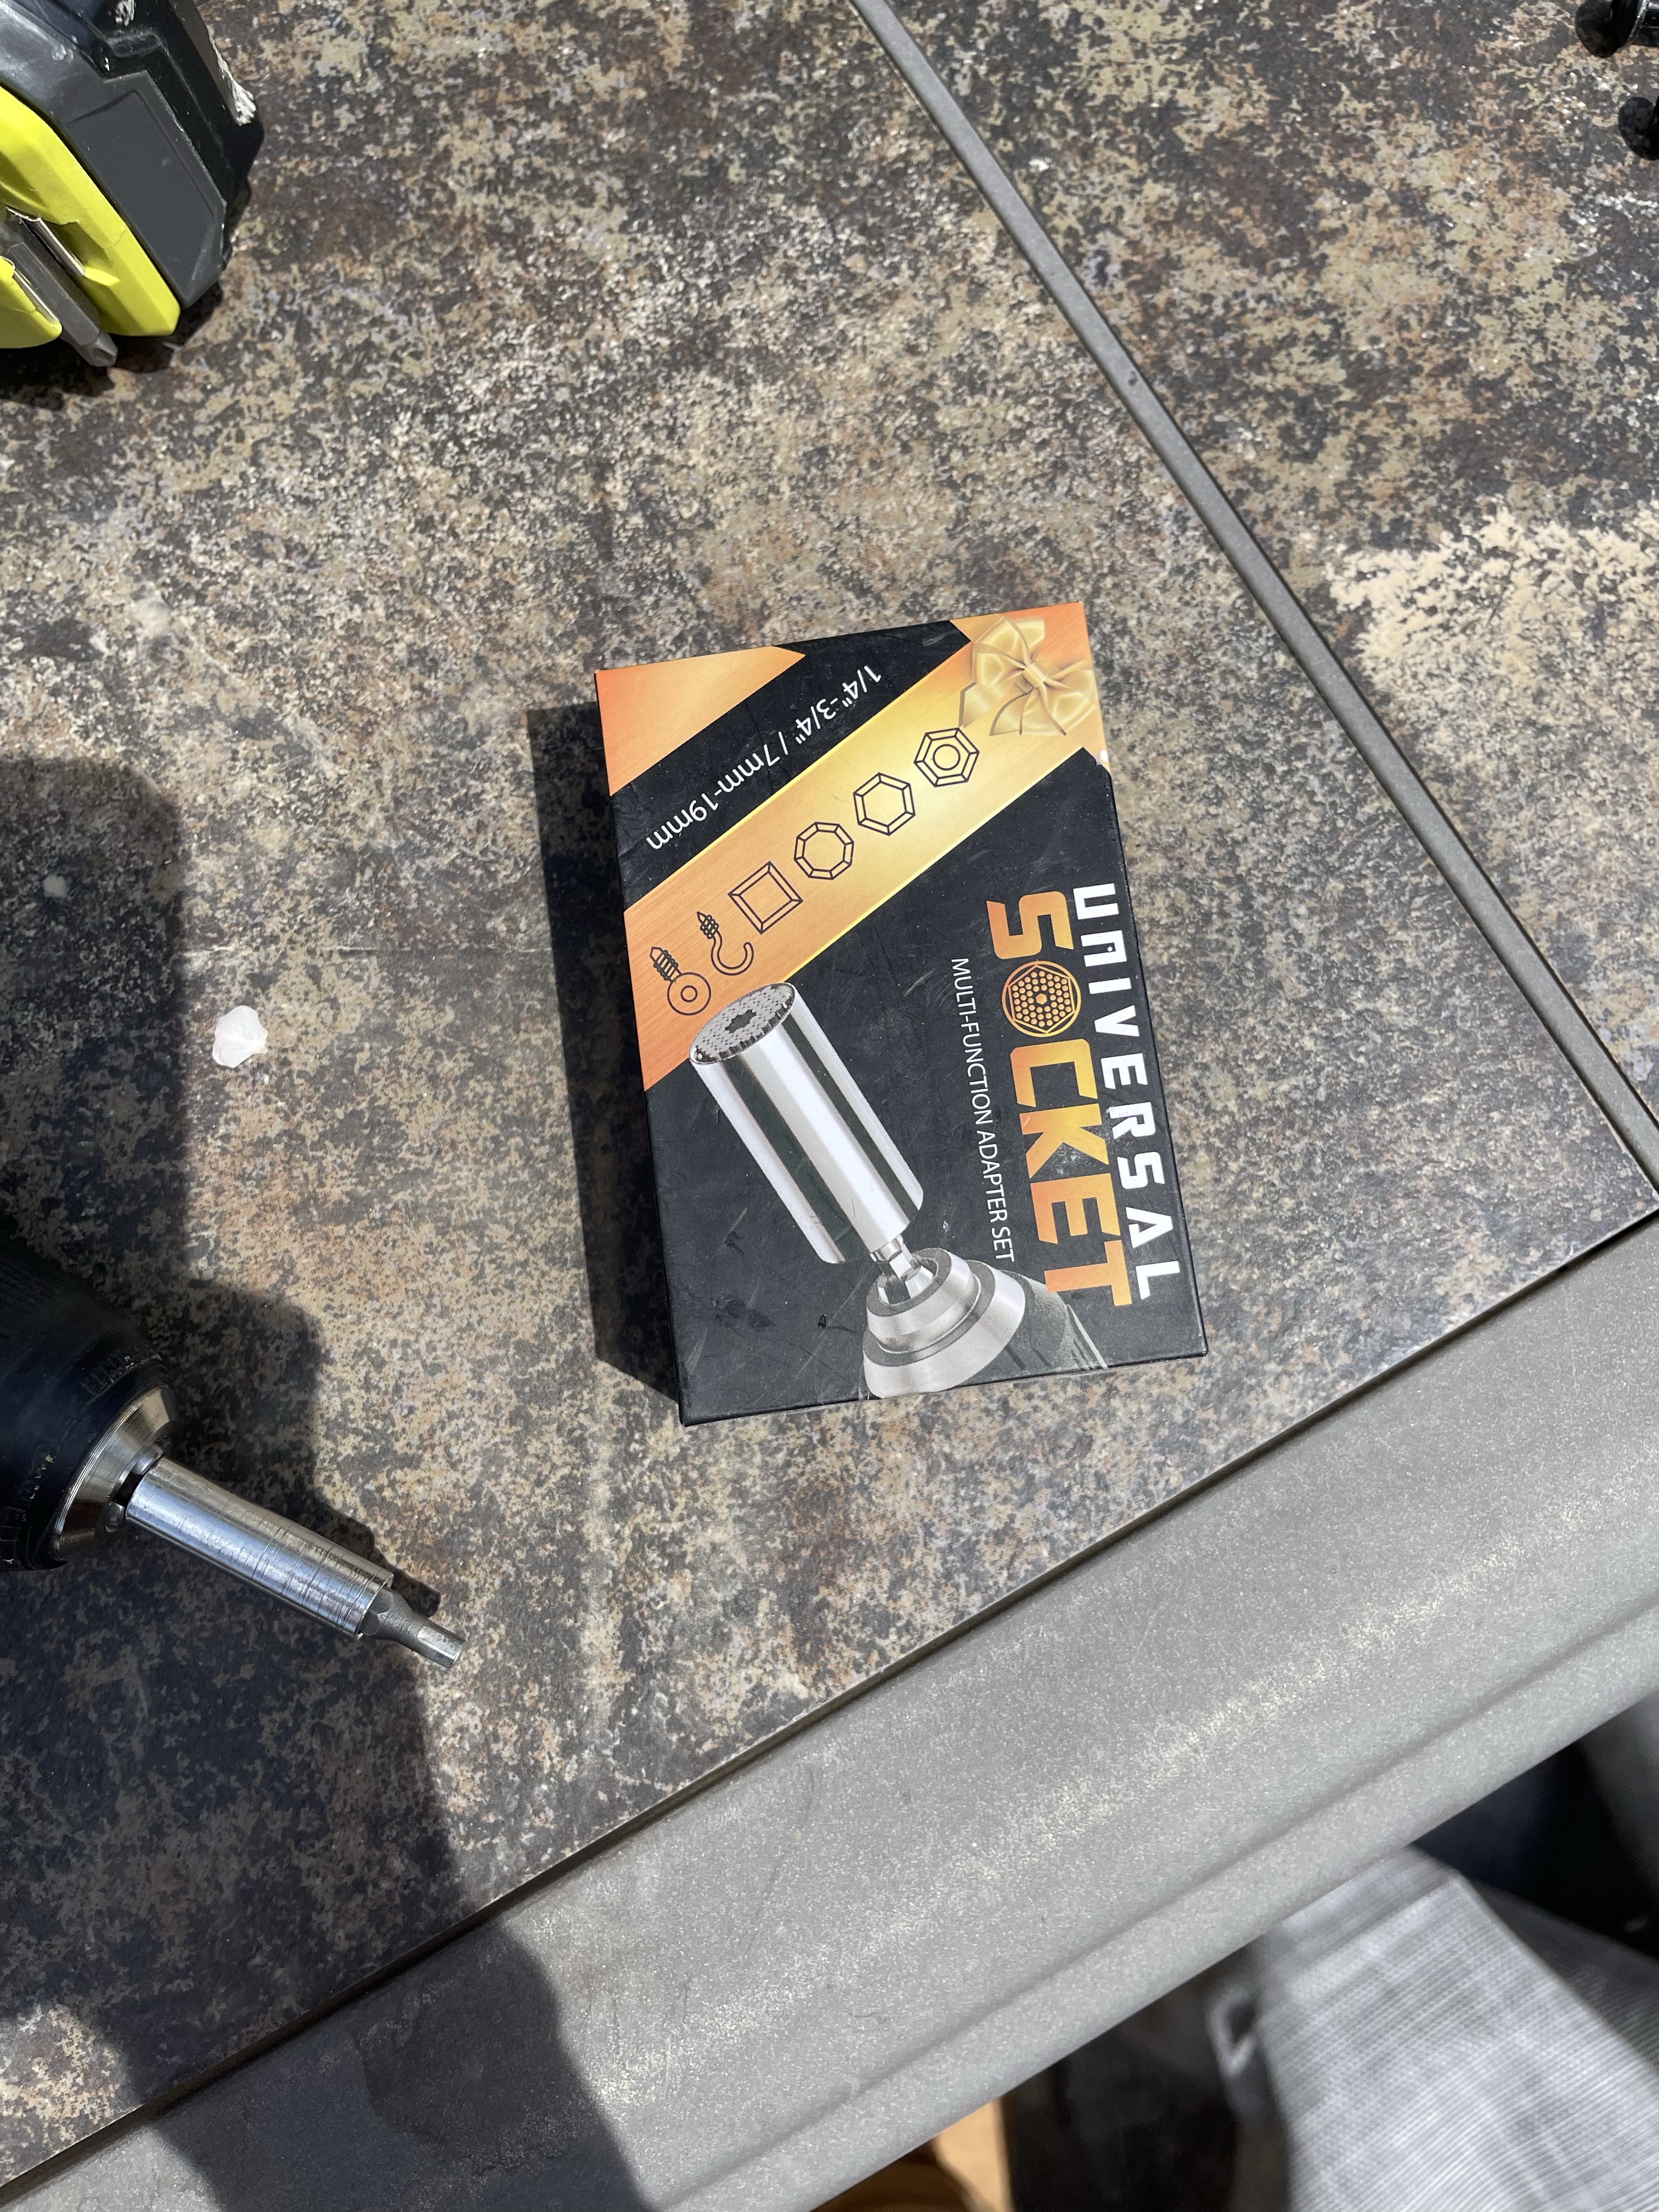
- Universal socket for regular Drill
- Wayfair pergola kit came with all the parts and screws super organized
Set Up Pillars
I started with the main four pillars and drilled the tops onto them. I did this sitting down first I found that this was easier than trying to do it standing the pillars up. Once we drilled the tops on the pillars we stood them up and made sure it was where we wanted it and then connected all four corners

Add Beams
Then we added all the beams one by one across the top of the pergola. This went super quick and was the fastest part of the setup.

Connect to Cement
Once we had the pergola in place we made sure it was exactly where we wanted it. We used the hammer drill and drilled into the holes on the base of the pergola. Once we had the holes we used the cement screws and screwed them into the hole we made with the cemente drill.

In order to use the hand-held drill we used the universal sockets and attached them to the hand held drill in order to fit the cement screws.

Add Cover
Once we had the pergola in place, we placed the top cover. This pergola had a cover that extended on the sides which is nice for more shade. However, I left the sides down and the wind ripped the Velcro straps off so I would recommend putting up the sides when you are not using it.
Here is how it turned out

