
This week I focused on Painting the Walls, doing MDF Board cuts and then painting the boards.
Supplies:
- Frog Tape
- Paint Tarp
- 8 MDF Boards
- Creamy Freesia (Behr)
- North Pole Blue (Behr)
- Mitre Saw
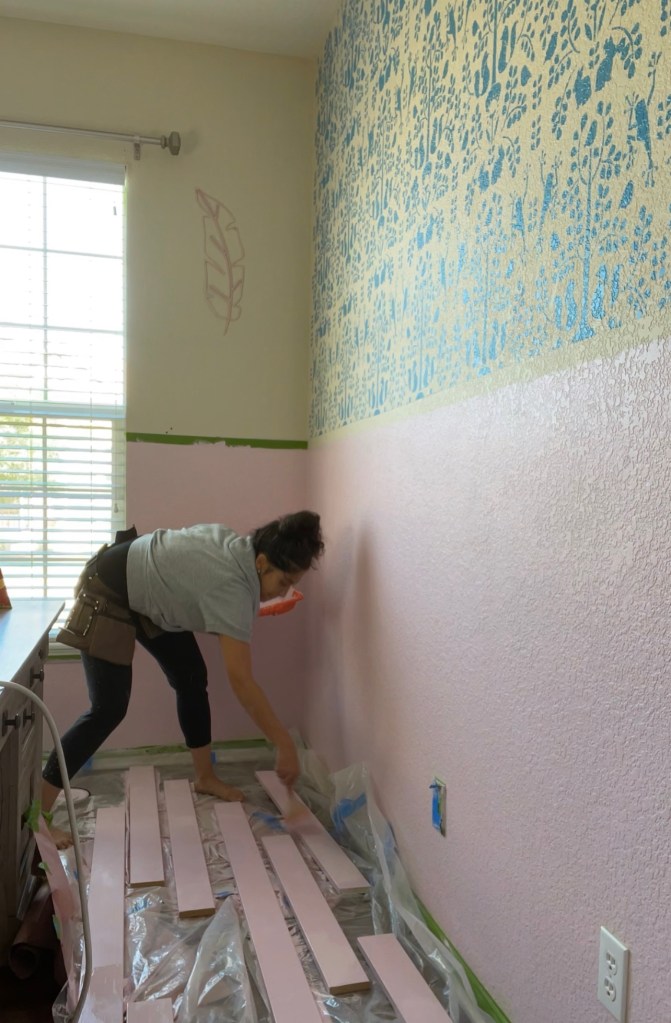
Painting Walls
The first thing I did was paint the walls. With Board and Batten I have found that it is best to paint the wall and the boards separately first that way you get better coverage and its easier at the end. You just have touch ups and don’t have to worry about getting in those hard to reach places once the boards are up on the wall. I used Creamy Freesia by Behr. I sanded the wall and it made it go so much faster.

Cutting MDF Boards
In order to figure out how to maximize and not waste the board footage I made a chart for each board and added all my measurements that I needed to fit into each board in order to figure out home many cuts I needed to do. I knew the boards were 96” so I tried to figure out the measurements that would add up to 96”. Here is how I did it below


Painted Boards
Once I had all my boards cut I matched them up with there corresponding wall and took inventory to make sure I had all my cuts.
Then I painted all the boards starting from farthest to closest making sure I got the sides which are the hardest to get.
Here is what I have so far

Previous Post:Home Office Upgrade Project: Stencil Wall
