
This post is sponsored in partnership with You Floral
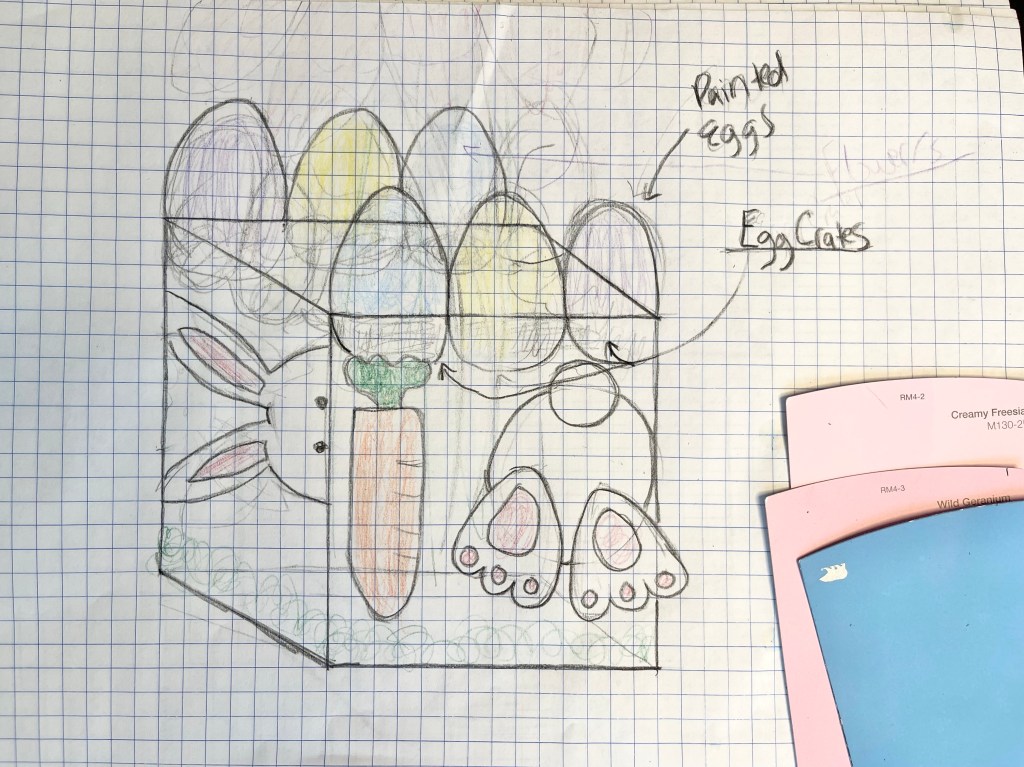
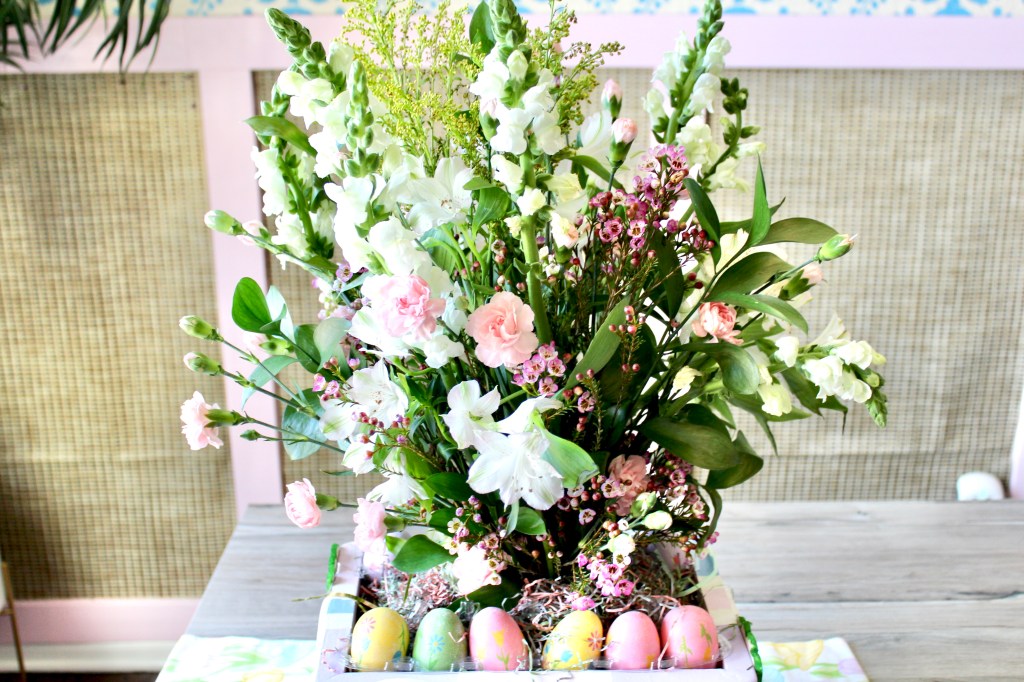
One of my favorite parts about Easter is painting eggs. However, after all that hard work I need a place to display them. I wanted to create a fun and festive Easter centerpiece. I decided why not make the Easter eggs part of the centerpiece.
My Easter craft will be to make a centerpiece to display my painted eggs and accent them with a beautiful Easter floral arrangement provided by You Floral www.youfloralusa.com, www.youfloral.ca
Supplies
- 1 Plank of Common Board
- Wood Glue
- Sande Plywood
- Egg Cartons
- Paint and Painters Tape
- Vice Clamps
- Sanding Block
- Wood Filler
Calculate Box Dimensions
The first thing I did was measure to create the dimensions to build my box.
Length
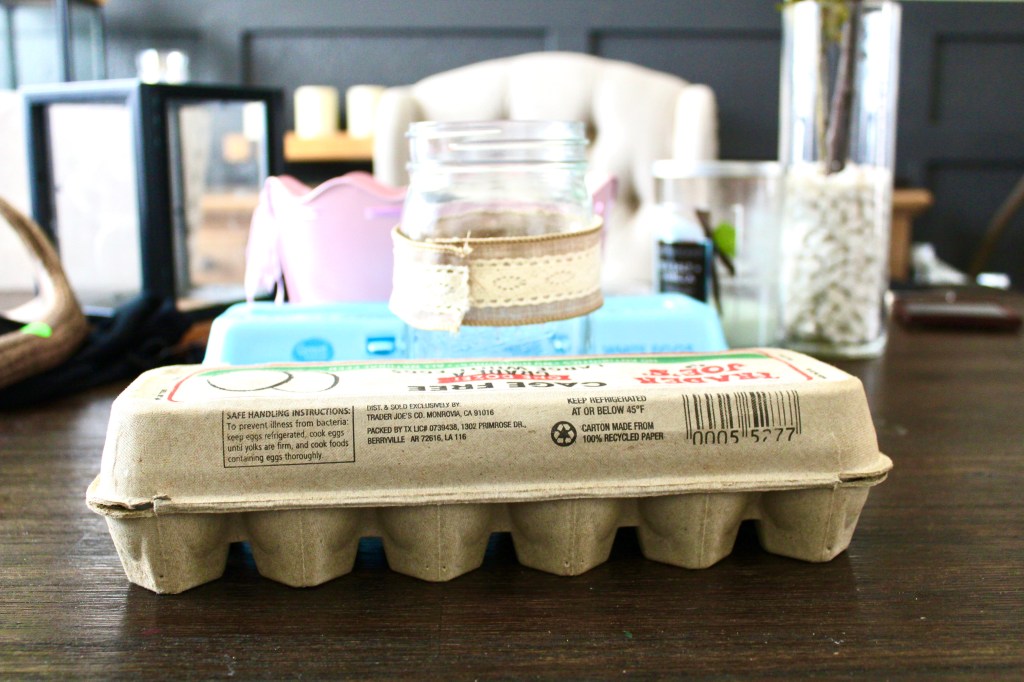
I first measured the length of the egg carton that will fit in the box. This was about 11.5 in.
Width
In order to measure the width, I took two egg crates and the mason jar I planned to use and measured the width across. That number was 8.5in
Height
Then I determined how high I wanted the box to go on the mason jar vase. I decided I wanted it to be about 5in tall to leave some space between the eggs and the flowers so both can be displayed
Cutting The Wood
Now that I got my measurements I was ready to cut my pieces. I cut:
2 x11.5in pieces for the long sides.
2x 8.5in pieces for the short sides
1x12in piece to go on the bottom
I cut the joints into 45 degree angles to fit together.
Assemble and Glue the Box
Now that I had all the pieces, I put them all together and glued them with wood glue. I used vice grips to hold them together and let them sit over night. I sanded the corners with a small hand held corner sander. I used wood filler to fill any gaps and then sanded the box again.

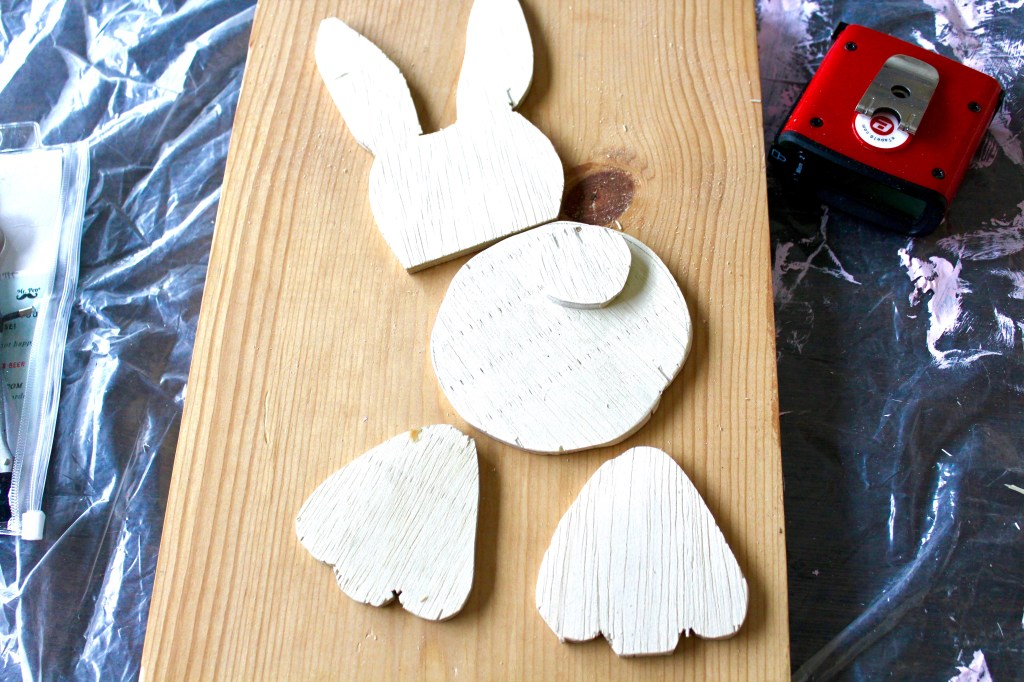
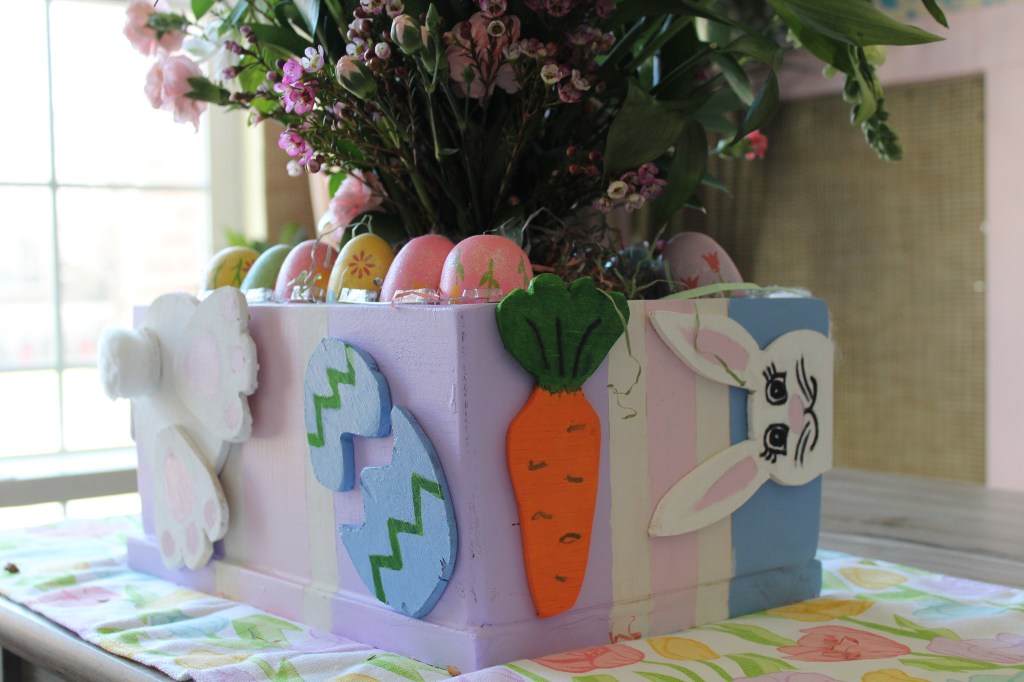
Cut Out the Shapes
I have never cut out shapes in wood, so I wanted to try this out. I drew the circles using a compass and free hand drew the bunny feet and other Easter shapes on some sande plywood pieces. I chose Sande plywood because it is a really thin wood that is easy to cut through and sand.
I used a Jig Saw to cut out the pieces I traced on the wood.

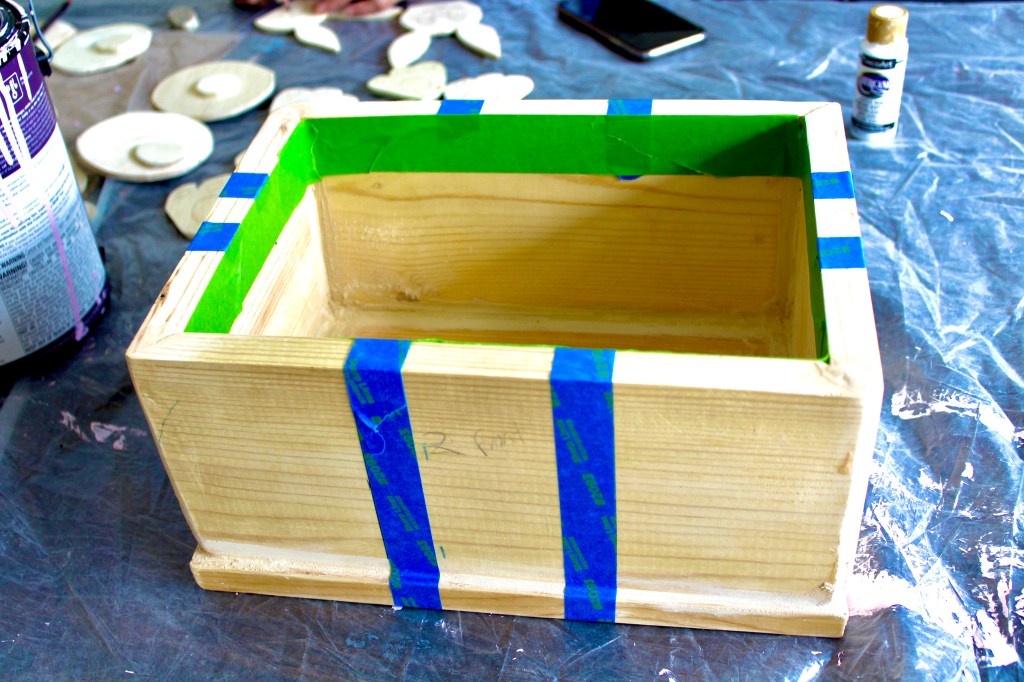
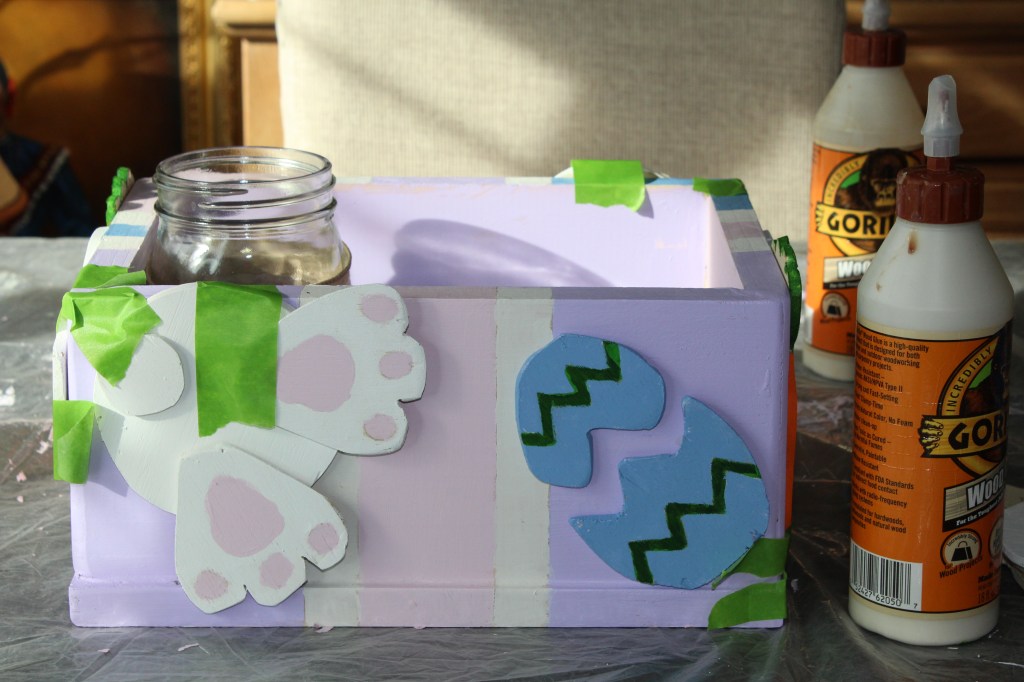
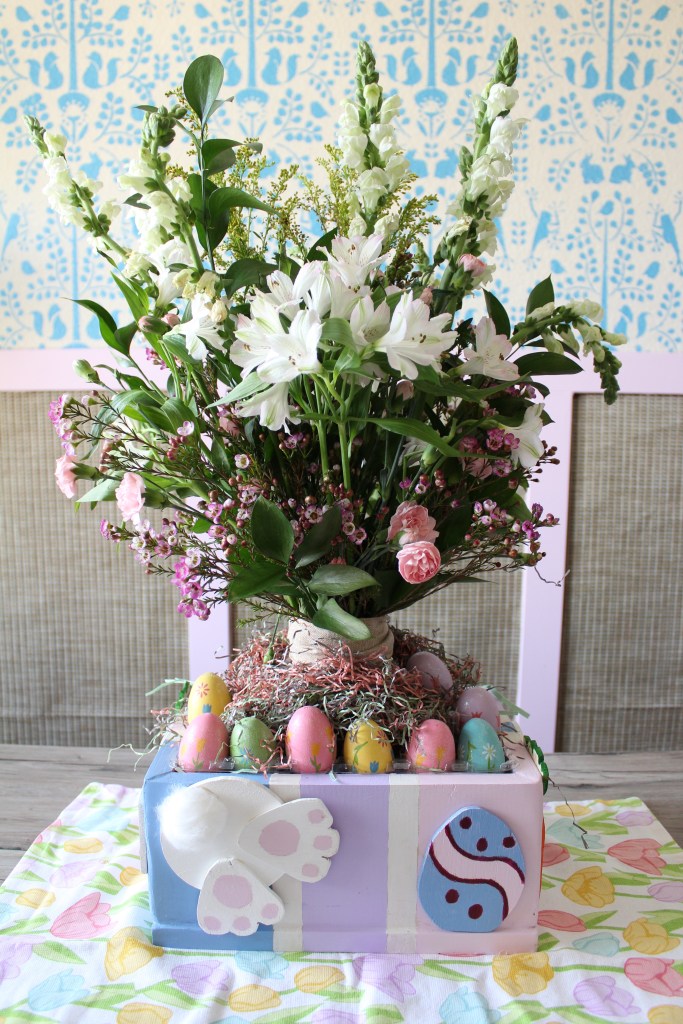
Paint the Box
I used sharp lines painters’ tape to make the stripes. On the long sides of the box I measured 4 inches in from the sides to make the stripes. On the short sides of the box I measured 3 in in from the sides to make the stripes. I used a level and drew a line and then added the painter’s tape along those lines.
I used Party Hat Purple, Wild Geranium and Mirror Lake as the three colors for my box.

Paint Shapes
I sanded the Easter shapes so that they were more detailed and finished. Then I painted them. I used a Sharpie to add more detail.
Glue Pieces
I glued all the shapes onto the box and then held them on with Frog Tape till the glue dried. I let it sit overnight and then I took the tape off.
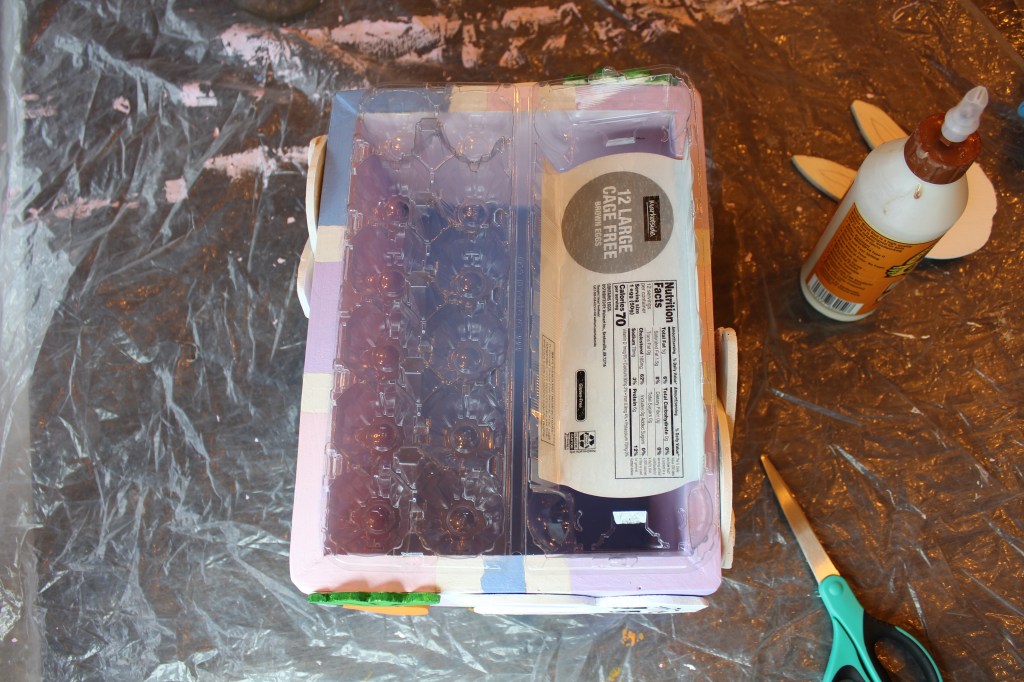
Cut the Egg Crates
I decided to go with clear egg crates and cut them in half. I put each half on the sides.
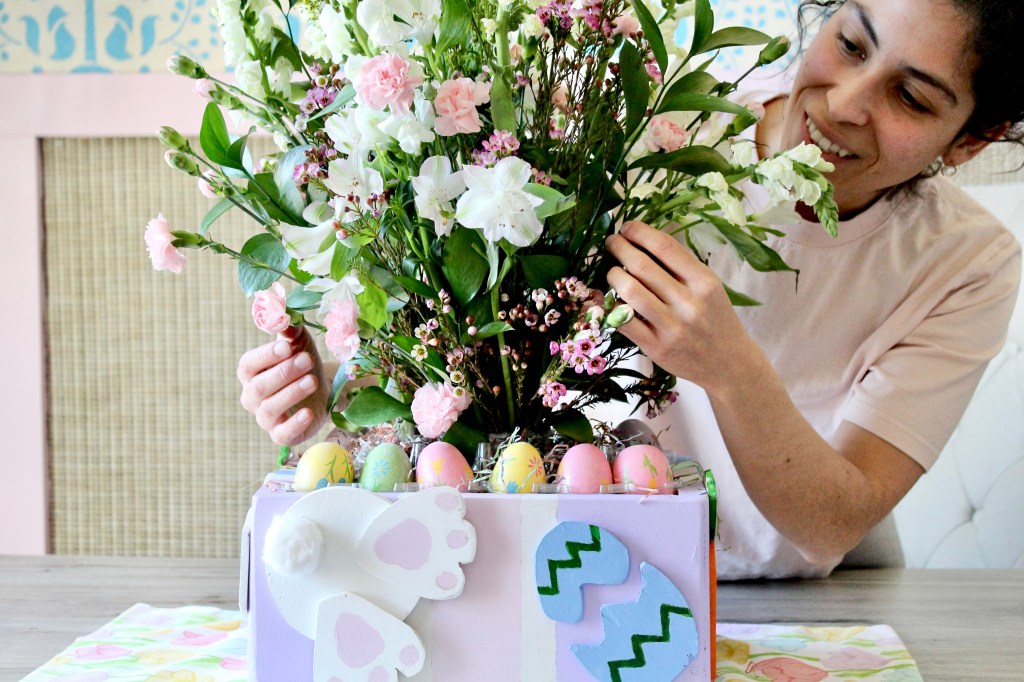
Fill in Box
I bought a variety of Easter basket grass and filled in the box. I filled in the gaps between the eggs.
Add Flowers
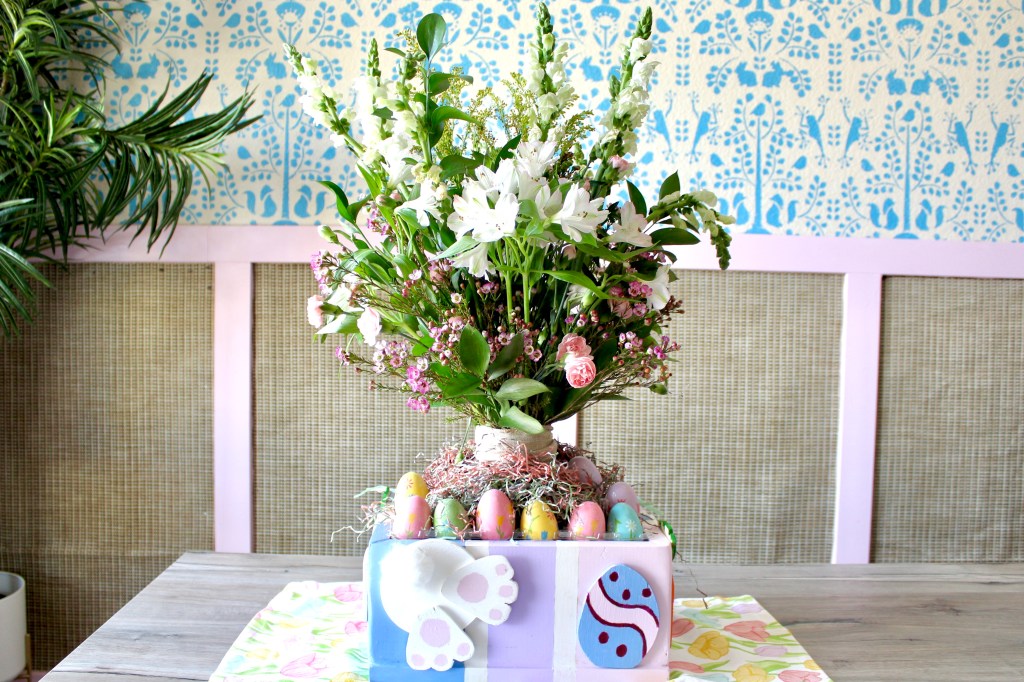
Finally, I added this beautiful bouquet provided by You Floral www.youfloralusa.com, www.youfloral.ca
Now I have an amazing Easter centerpiece.


This post is sponsored in partnership with You Floral
