
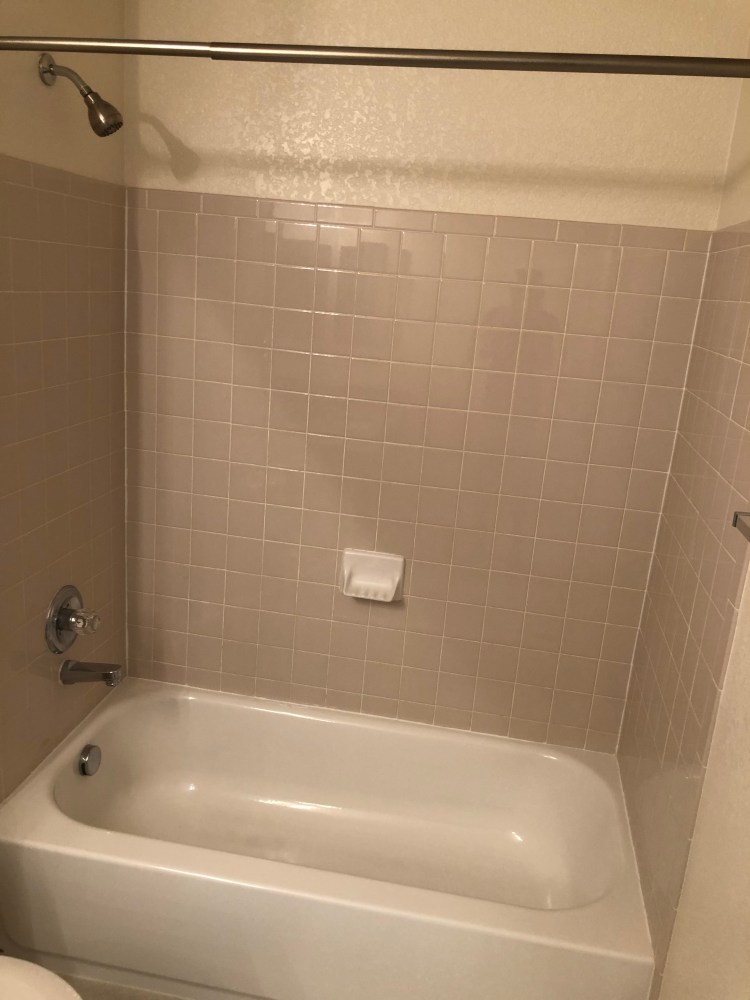
When we moved into our house the guest bathroom was in pretty good condition but we knew we were definitely going to have to upgrade it. It had a shower and tub in one and the shower tile was pink. Once I started cleaning it I found out that the tub wasn’t draining properly and it seemed pretty old.

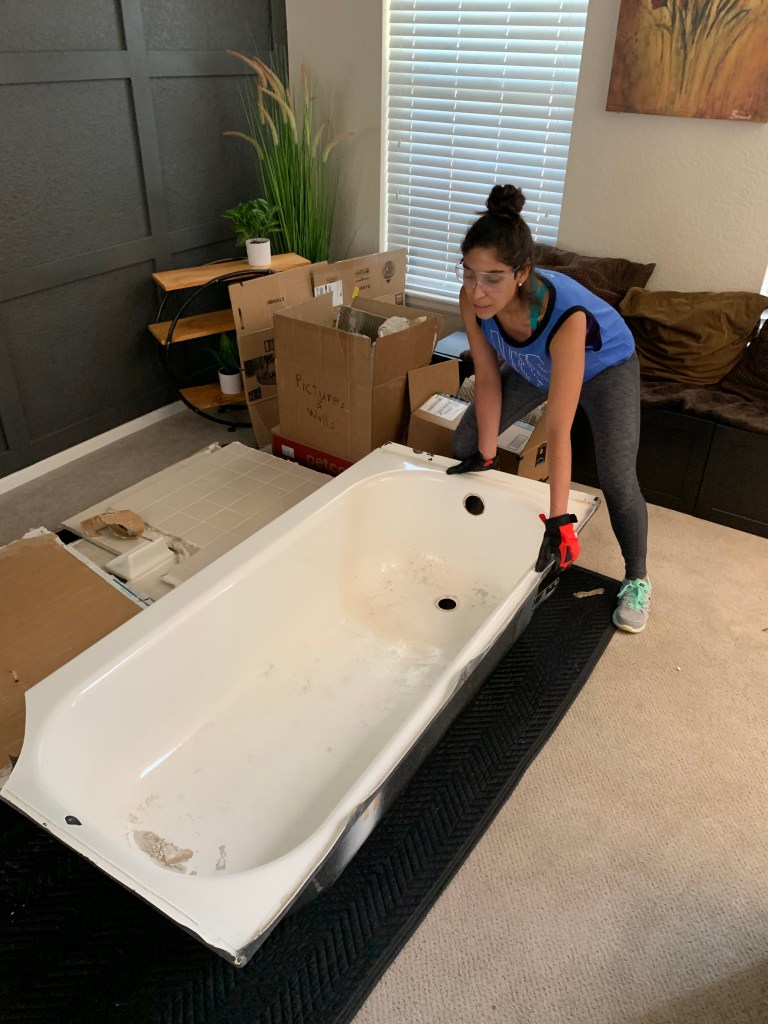
We decided that instead of just replacing the shower/tub that we would redo the whole bathroom so that we could do it all at one time and have the finished product we were happy with.
I first came up with the bathroom design. In coming up with the concept I first had to think about what the main purpose would be for this bathroom. This would serve as our guest bathroom so I wanted it to feel warm and inviting and like a little get away for our guests. The theme I wanted to go with was Upscale Cabin. I wanted to add a lot of warm wood tones and some pops of color. My husband wanted to have a bench in the shower so that was the other criteria I had to incorporate. We didn’t want to keep a tub in there since we already have a tub in our master.
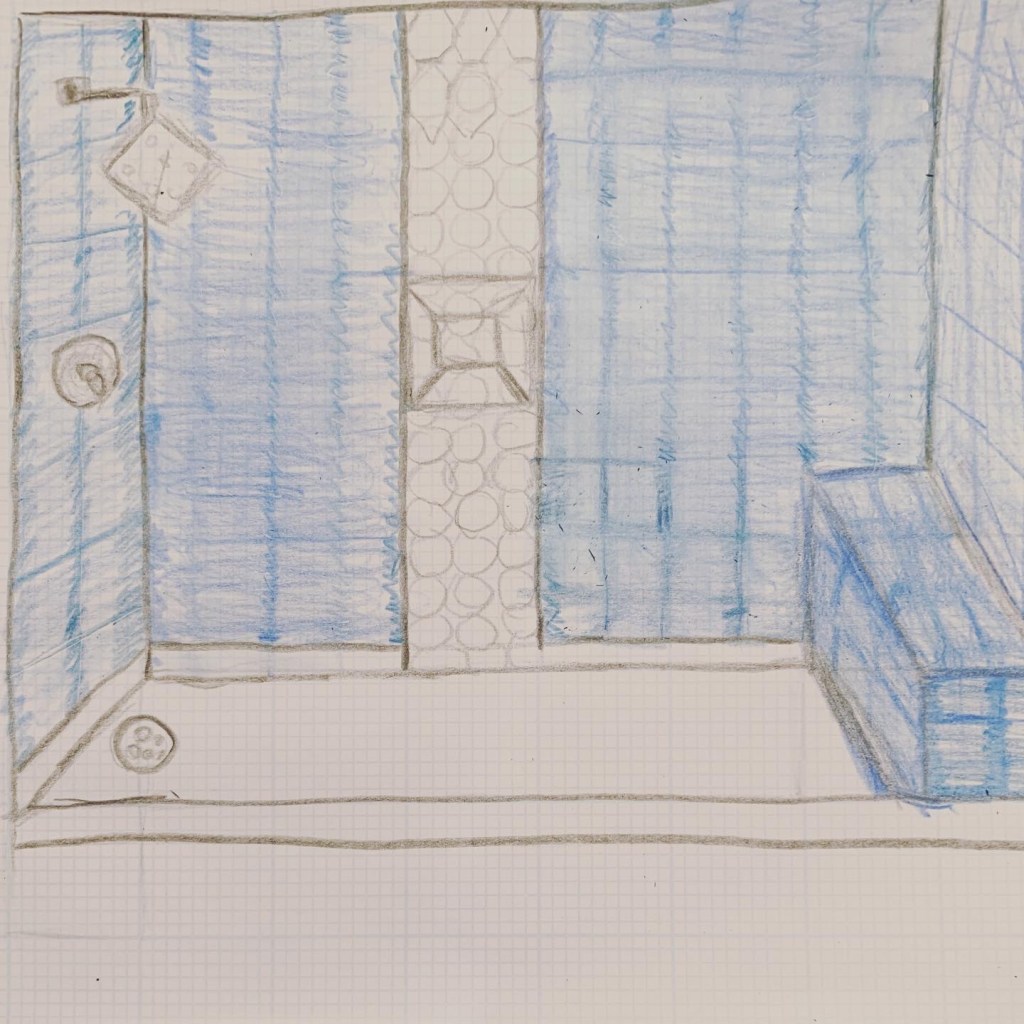
Now that I had my criteria and established the main functions that were important I was ready to draw my design.

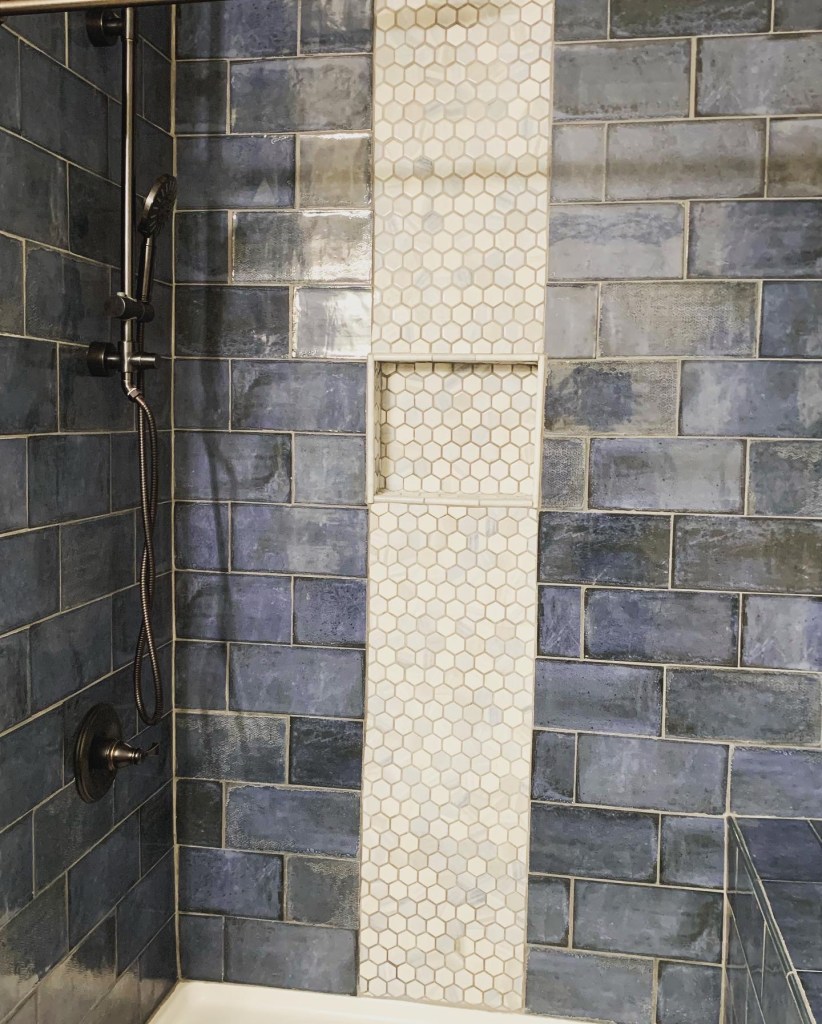
I picked out my shower tile. I like to have a little bit darker tile in my designs because I find with white tile it tends to get dirty quickly and harder to keep clean. It also shows some of the pink water stains sometimes so I stick with a darker grout and tile. If you don’t have a lot of natural light in your bathroom you might want to go with a lighter tile but I personally gravitate towards grey and blues. Shower tile is a great way to make a statement. I like to have shower tile be the bolder design element. Check out my instagram to see more on how I chose the tile.
We replaced the floor tile. I wanted the floor tile to have warm wood elements and I love herringbone and Chevron patterns. We chose this floor tile (below). It has a Chevron pattern and sort of gives that herringbone look without the additional labor of installing herrigbone. I loved that it had a mix of different wood colored tones. We wanted to make the grout lines as seamless looking as possible which took some trial and error. The grout color we bought initially looked like it matched in the store but when we actually placed it the grout color stood out too much so then we went back and bought grout stain to get the grout color to match more in order to make the tile seem more seamless and herringbone like.

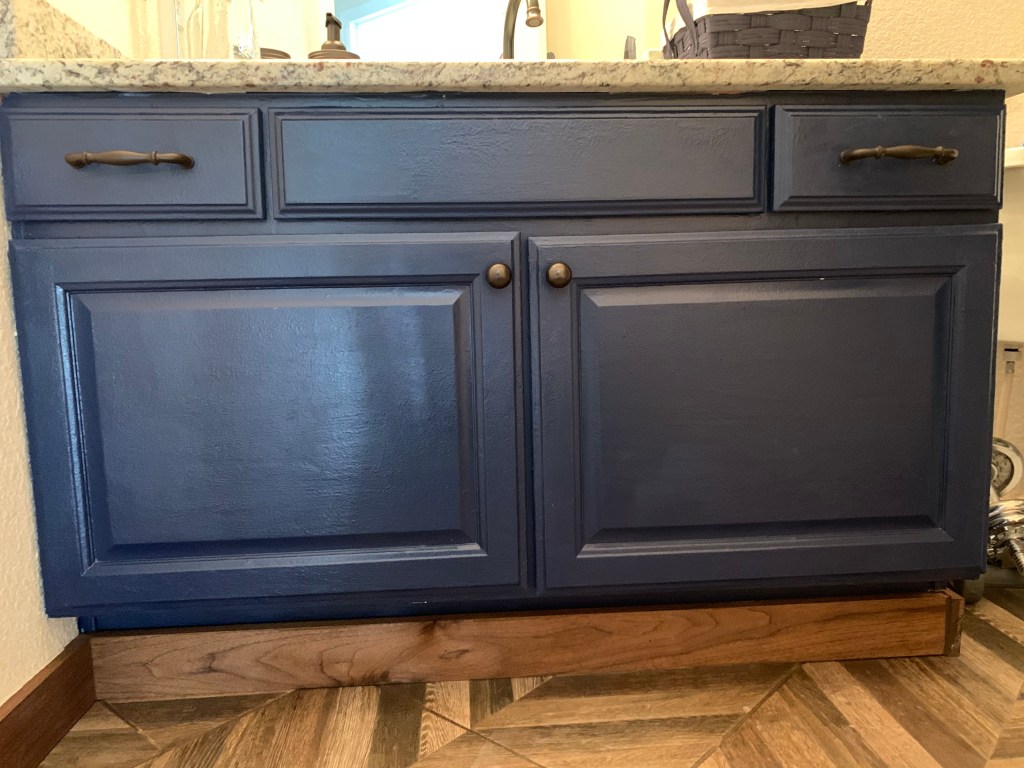
Since we took out the floor we also had to replace the moulding. Instead of doing a plain white moulding we wanted to do something a little unique. We chose these wood planks that we found at Home Depot to be the moulding. It has a great color and really ties the floor in to the bathroom and adds that extra element of warmth that I was looking for. It was more expensive option than regular moulding but I think it looks more custom.

In the shower we decided to tile all the way to the ceiling in order to give it height. We put in a stripe of hexagon tile with a built in soap dish in order to break up the pattern. I found a rain fall shower head that was bronze. I wanted all the fixtures to be bronze in order to match the wood tones. The rainfall shower heads are great because the water flows straight down so it doesn’t splash out as much. This was important because we decided to just have a shower curtain instead of glass door.
We also replaced the toilet. We bought a Kohler for this project that I love. I have learned through my renovation experience to stick with name brand toilets and to shell out the money for a quality toilet. It is worth the investment.
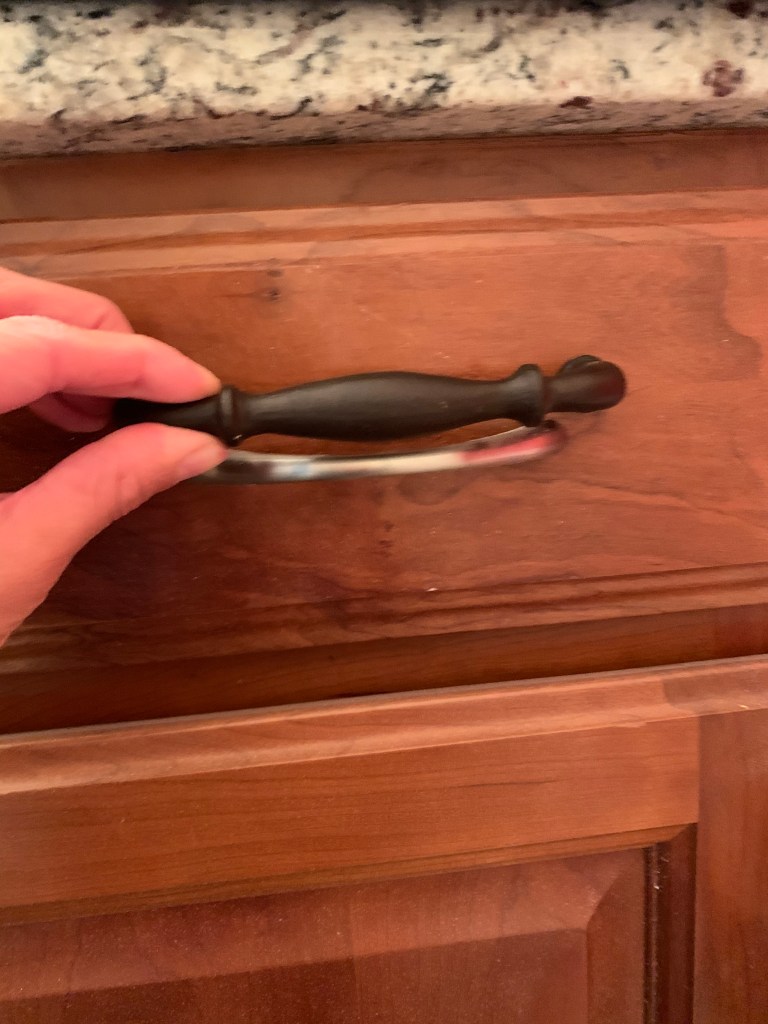
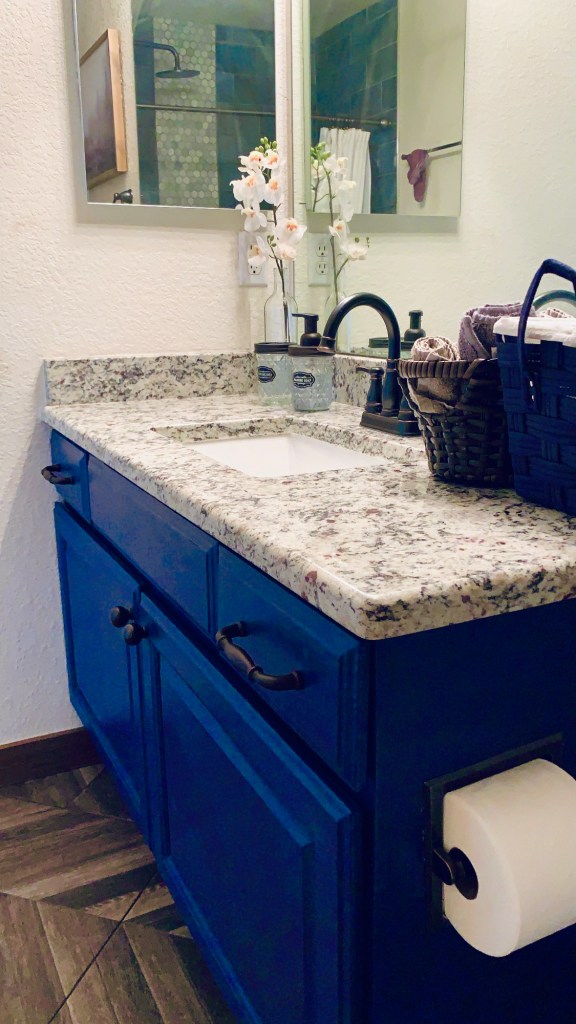
I wanted to add a pop of color but instead of painting the wall I thought painting the bathroom vanity would be a better idea. The vanity was a little outdated so instead of replacing it we up cycled it. We painted the vanity a navy blue color and replaced the knobs. I found really cute knobs at Hobby Lobby that were antique looking and matched the bronze fixtures. We then replaced the sink faucet to match the bronze. I like to have faucets with high arc spout types for the bathroom. High arc spouts are usually found in kitchen sinks so I think they bring a more elevated and unexpected look when used in bathroom design. Since the holes were already cut for a centerset faucet we had to stick with that type. We didn’t want to replace the countertop.
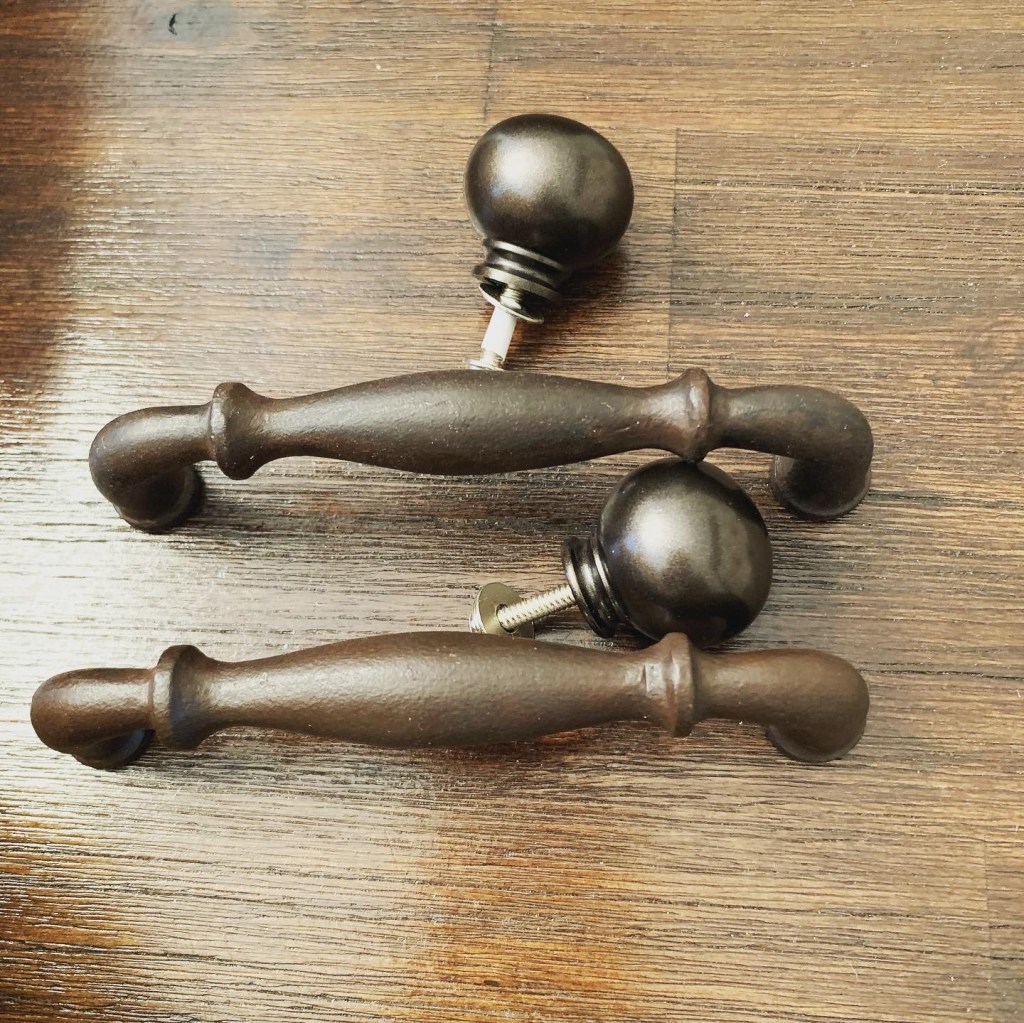
We also replaced the overhead vanity lights. This was one of the first things that I wanted to replace. We put in a more modern light fixture that had globe shaped lights. The globe shapes look really modern and it tied in nicely with the cabinet knobs I picked out that were globe shaped as well. Instead of using regular lightbulbs we put in Edison bulbs that were thin enough to fit the globes. This gave it that warm more cabiney feel with a modern twist.

Check out my IGTV post on my instagram profile for the full tour
