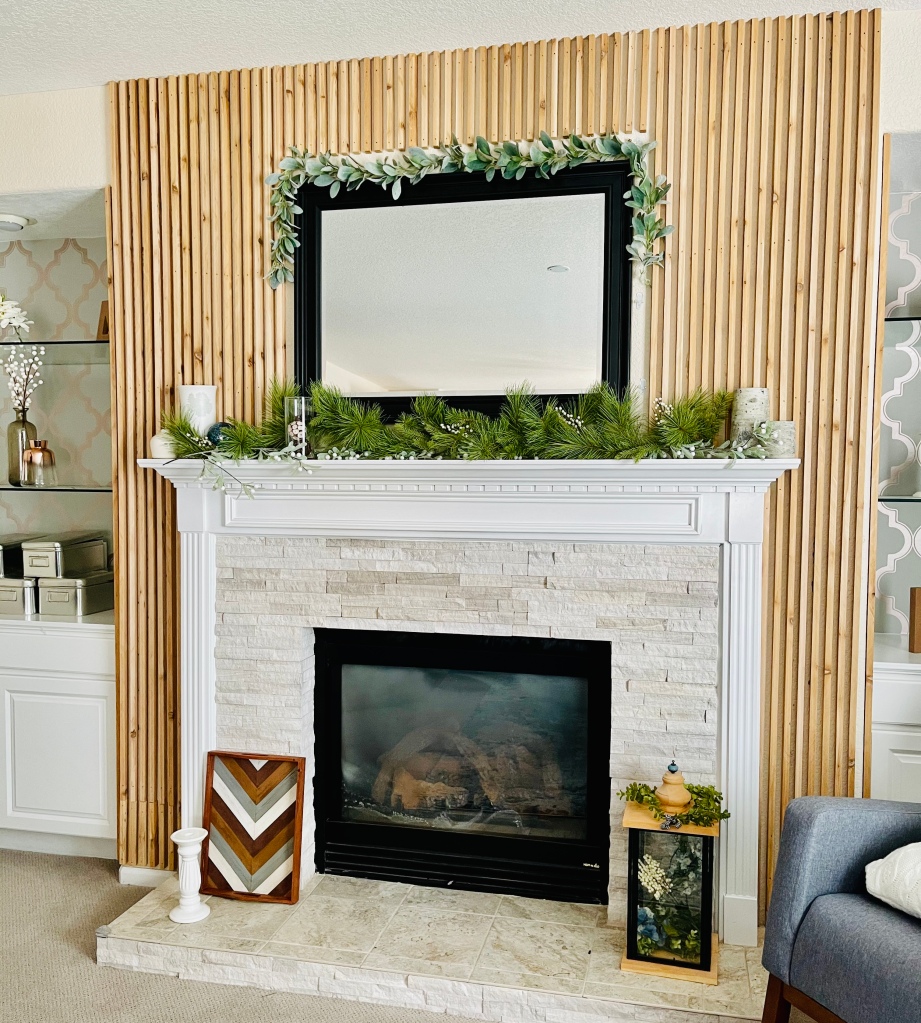
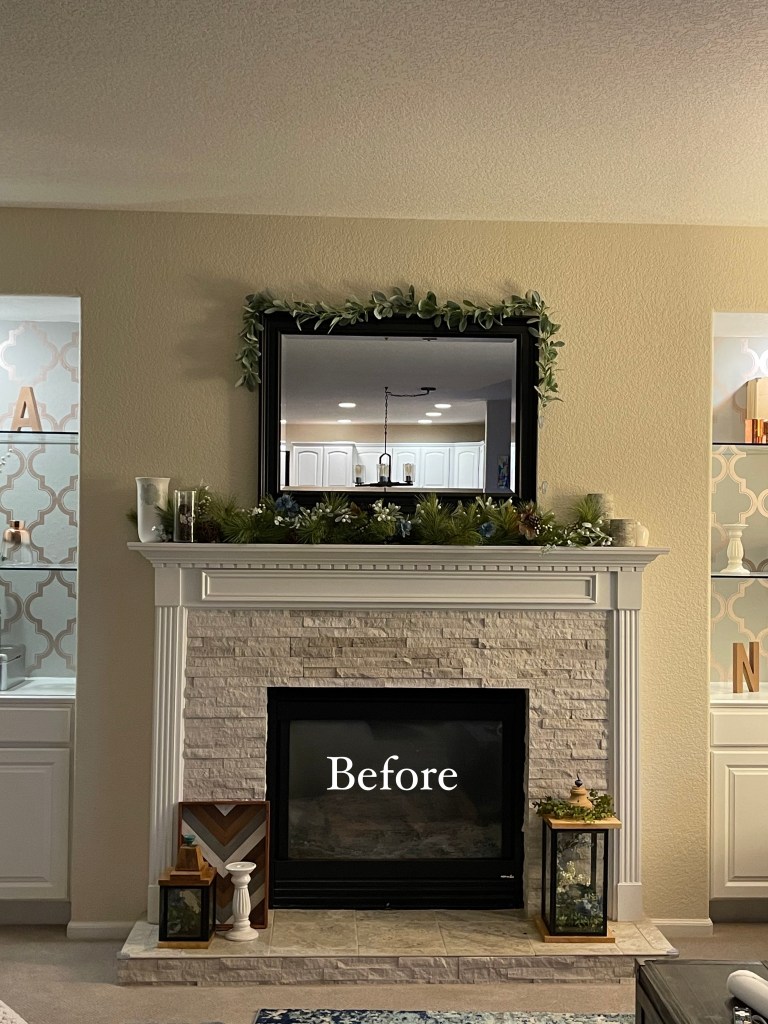
Our living room felt really empty and boring. It was painted all white including the fireplace so everything blended together. We were looking for a way to bring it to life and give it more character without making it cluttered and still keep it bright. I love adding texture to walls to make it pop. A great way to do this we thought was adding wood slats to the fireplace wall. The fireplace is such a focal point and we thought this would be a way to make it stand out amongst the white walls. I love shiplap and we have done shiplap projects before. This time we wanted to try something a little different so we decided wood slats would be a great alternative and a modern look.
Items we used:
- 8 pieces of shiplap wood. Each one was 8’
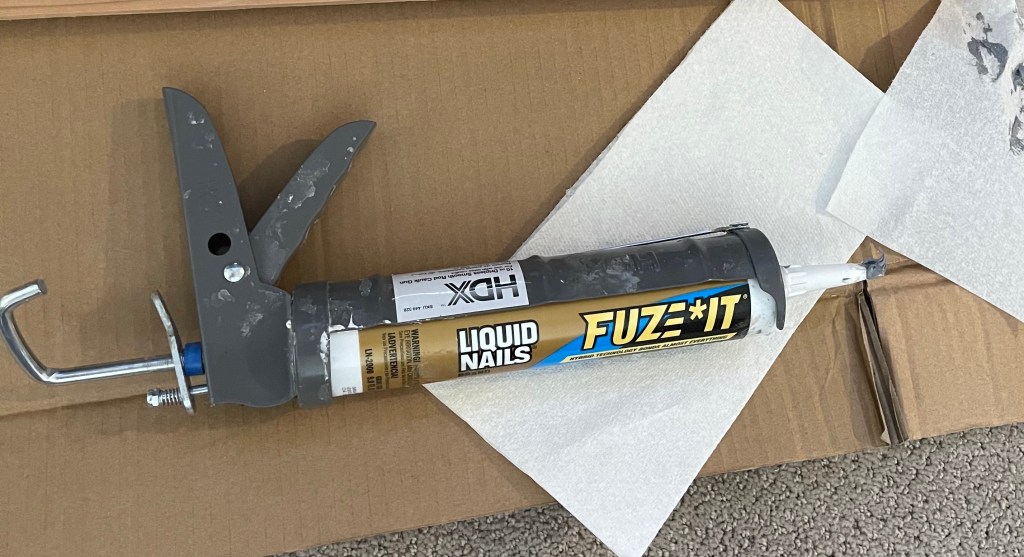
- Liquid nails
- Nail gun with nails
- Laser level
- Regular level
- Saw (We have a table saw because we do a lot of projects but they will cut the wood for you at some hardware stores)
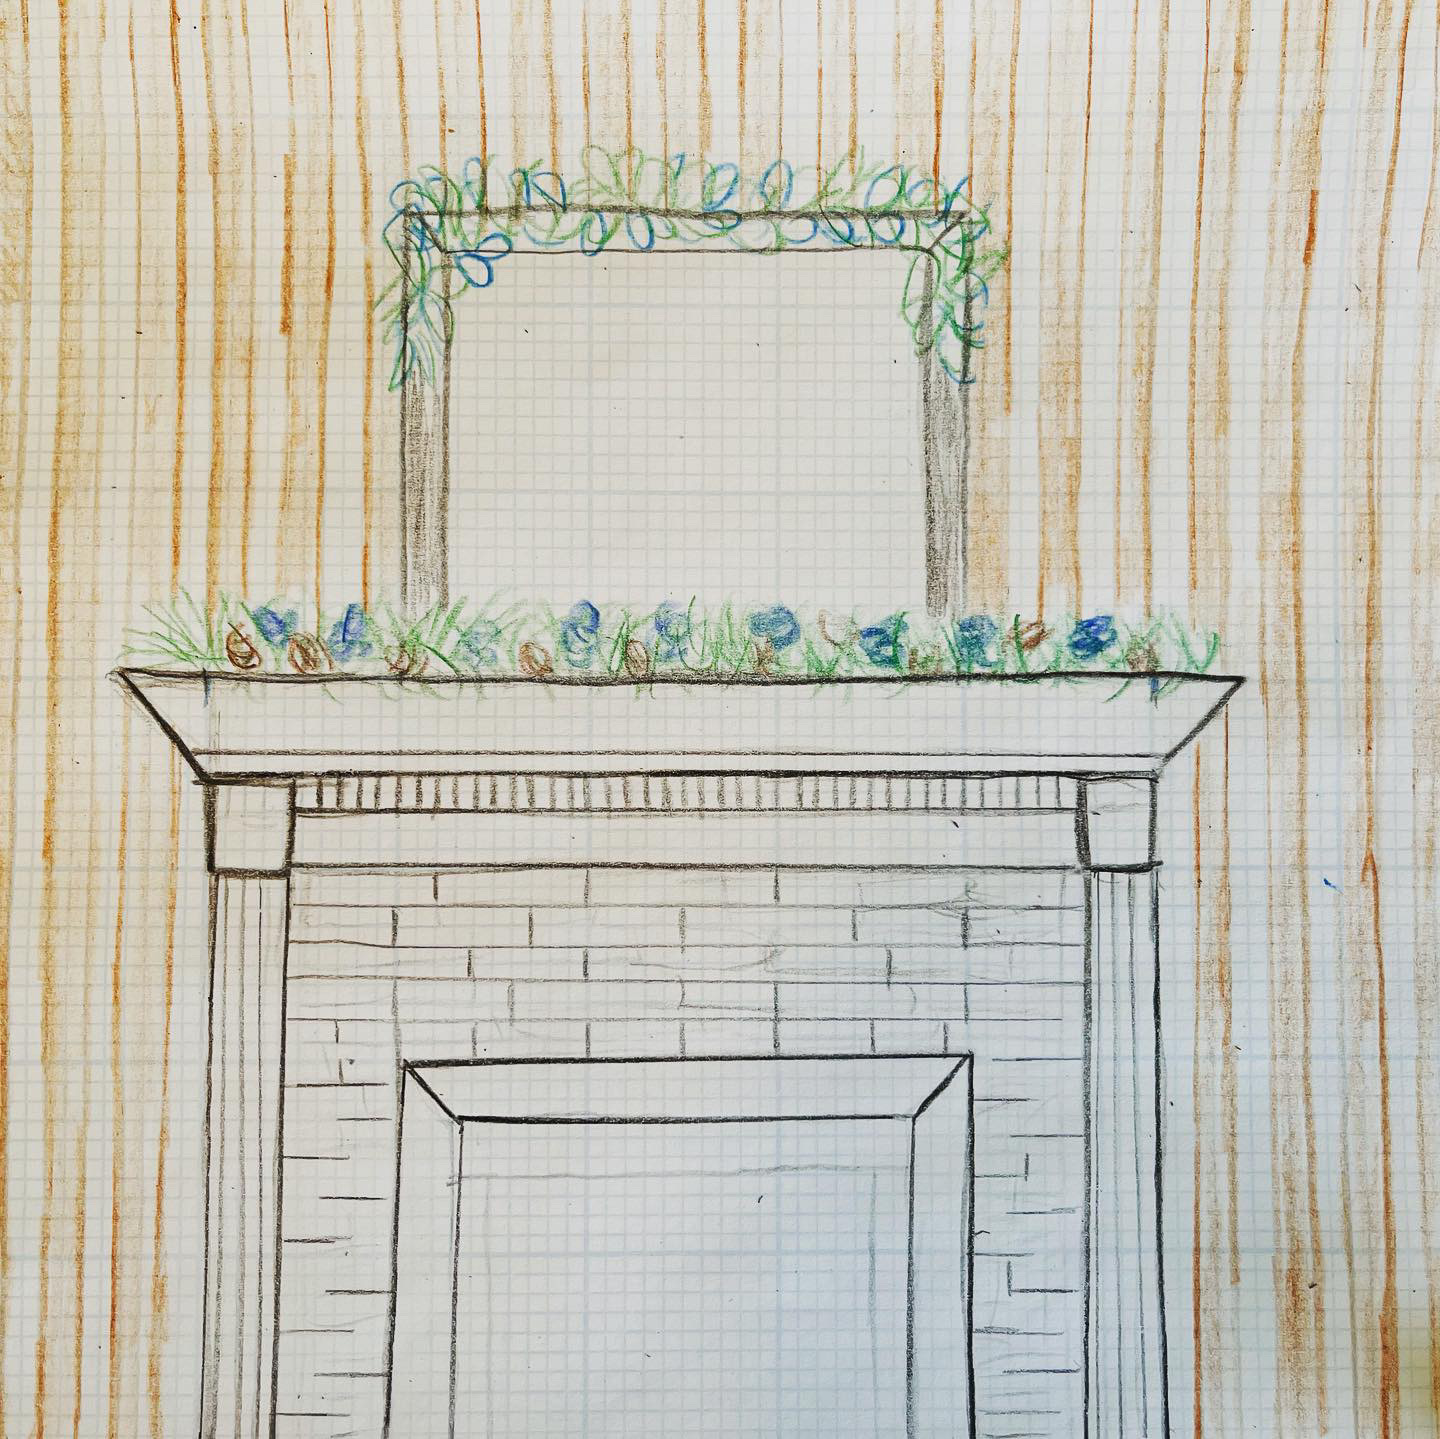
Drawing the Design
The first decision I had to make was if we wanted the wood slats to lay horizontal or vertical. I wanted to do vertical because I thought this made it look taller and thought it was a modern sleek look.
Choosing Materials
I wanted to use a lighter wood with a more natural tone to make the living room keep its lighter feel. We went to Home Depot and found really great wood that was actually meant for shiplap. I loved the color and it was already stained so we didn’t have to stain it or sand it. (You can do this yourself to make the color more custom)
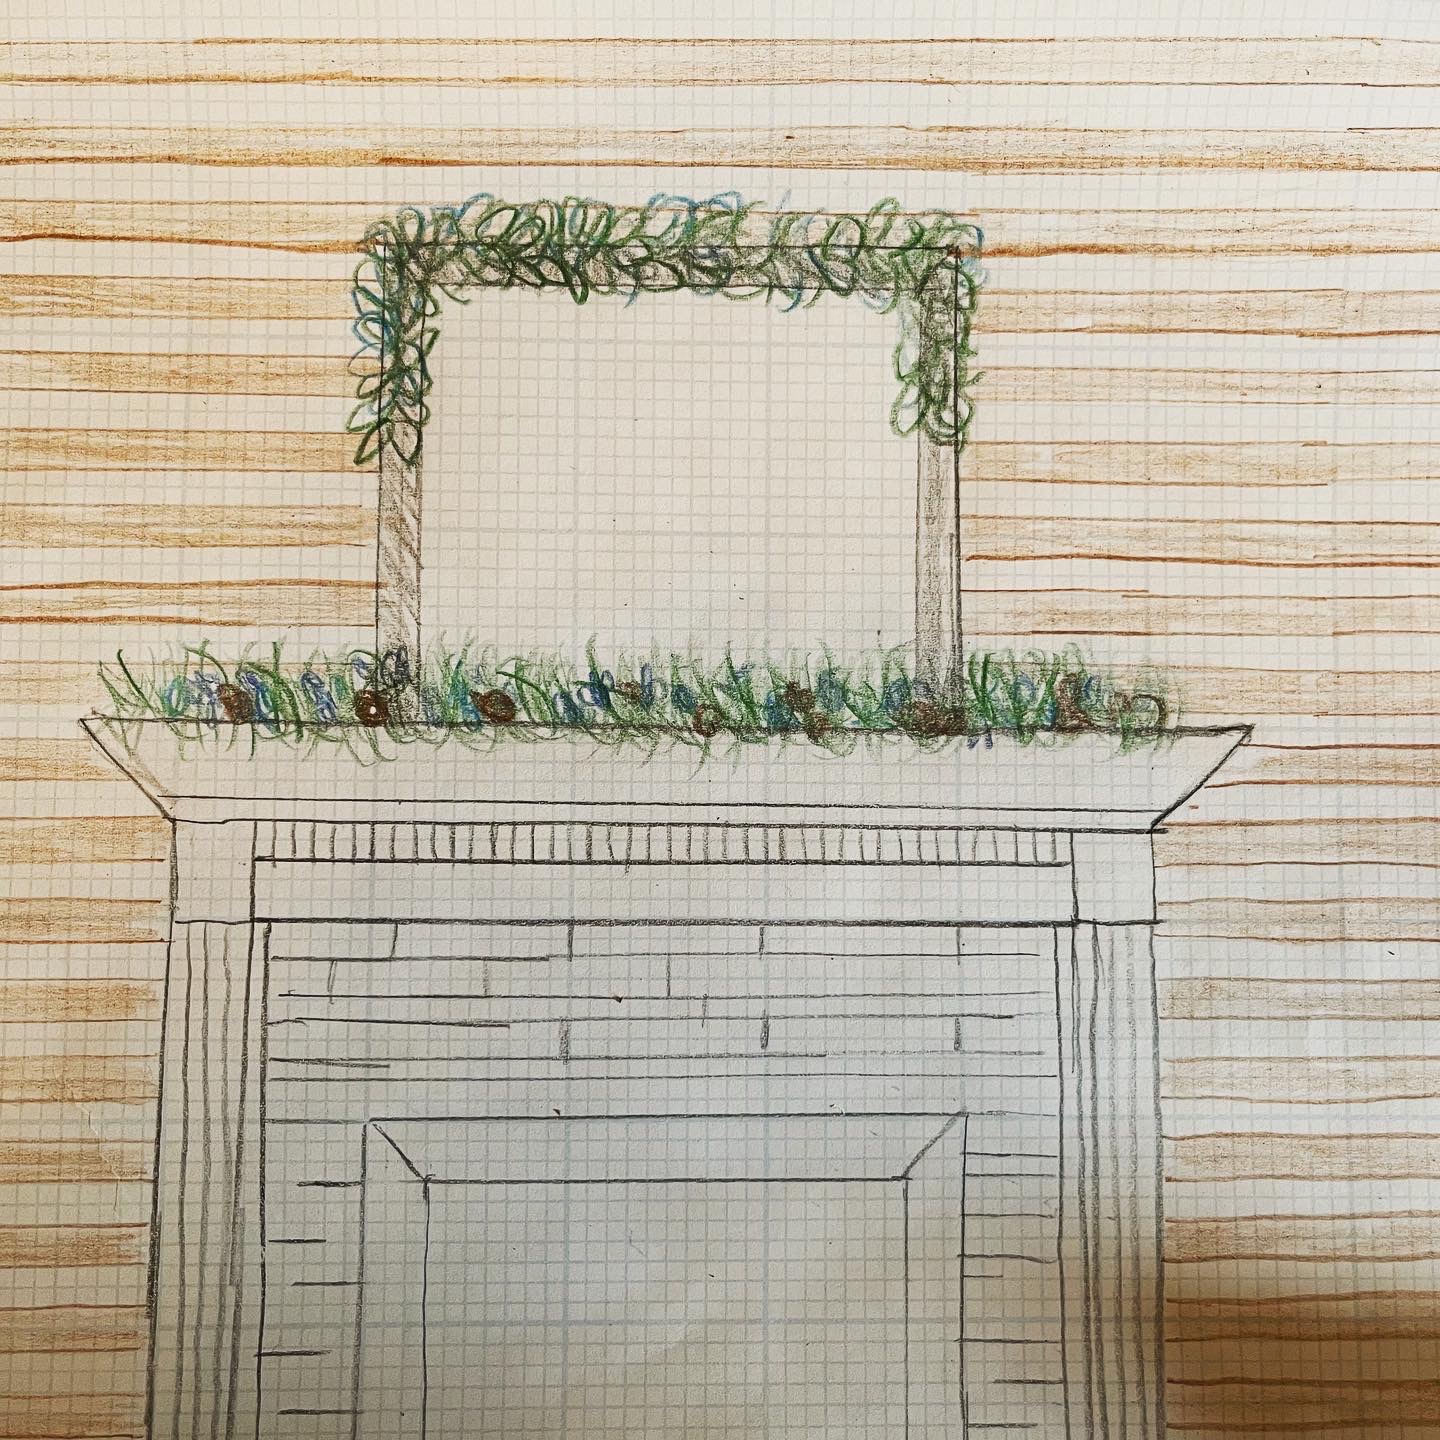
Finalizing Design Decisions
We had to decide how thick we wanted each piece to be and if we wanted to have the slats narrow or wide (See Below). We cut the wood into 1” slats and decided to lay the slats in the narrow style to give it more depth.
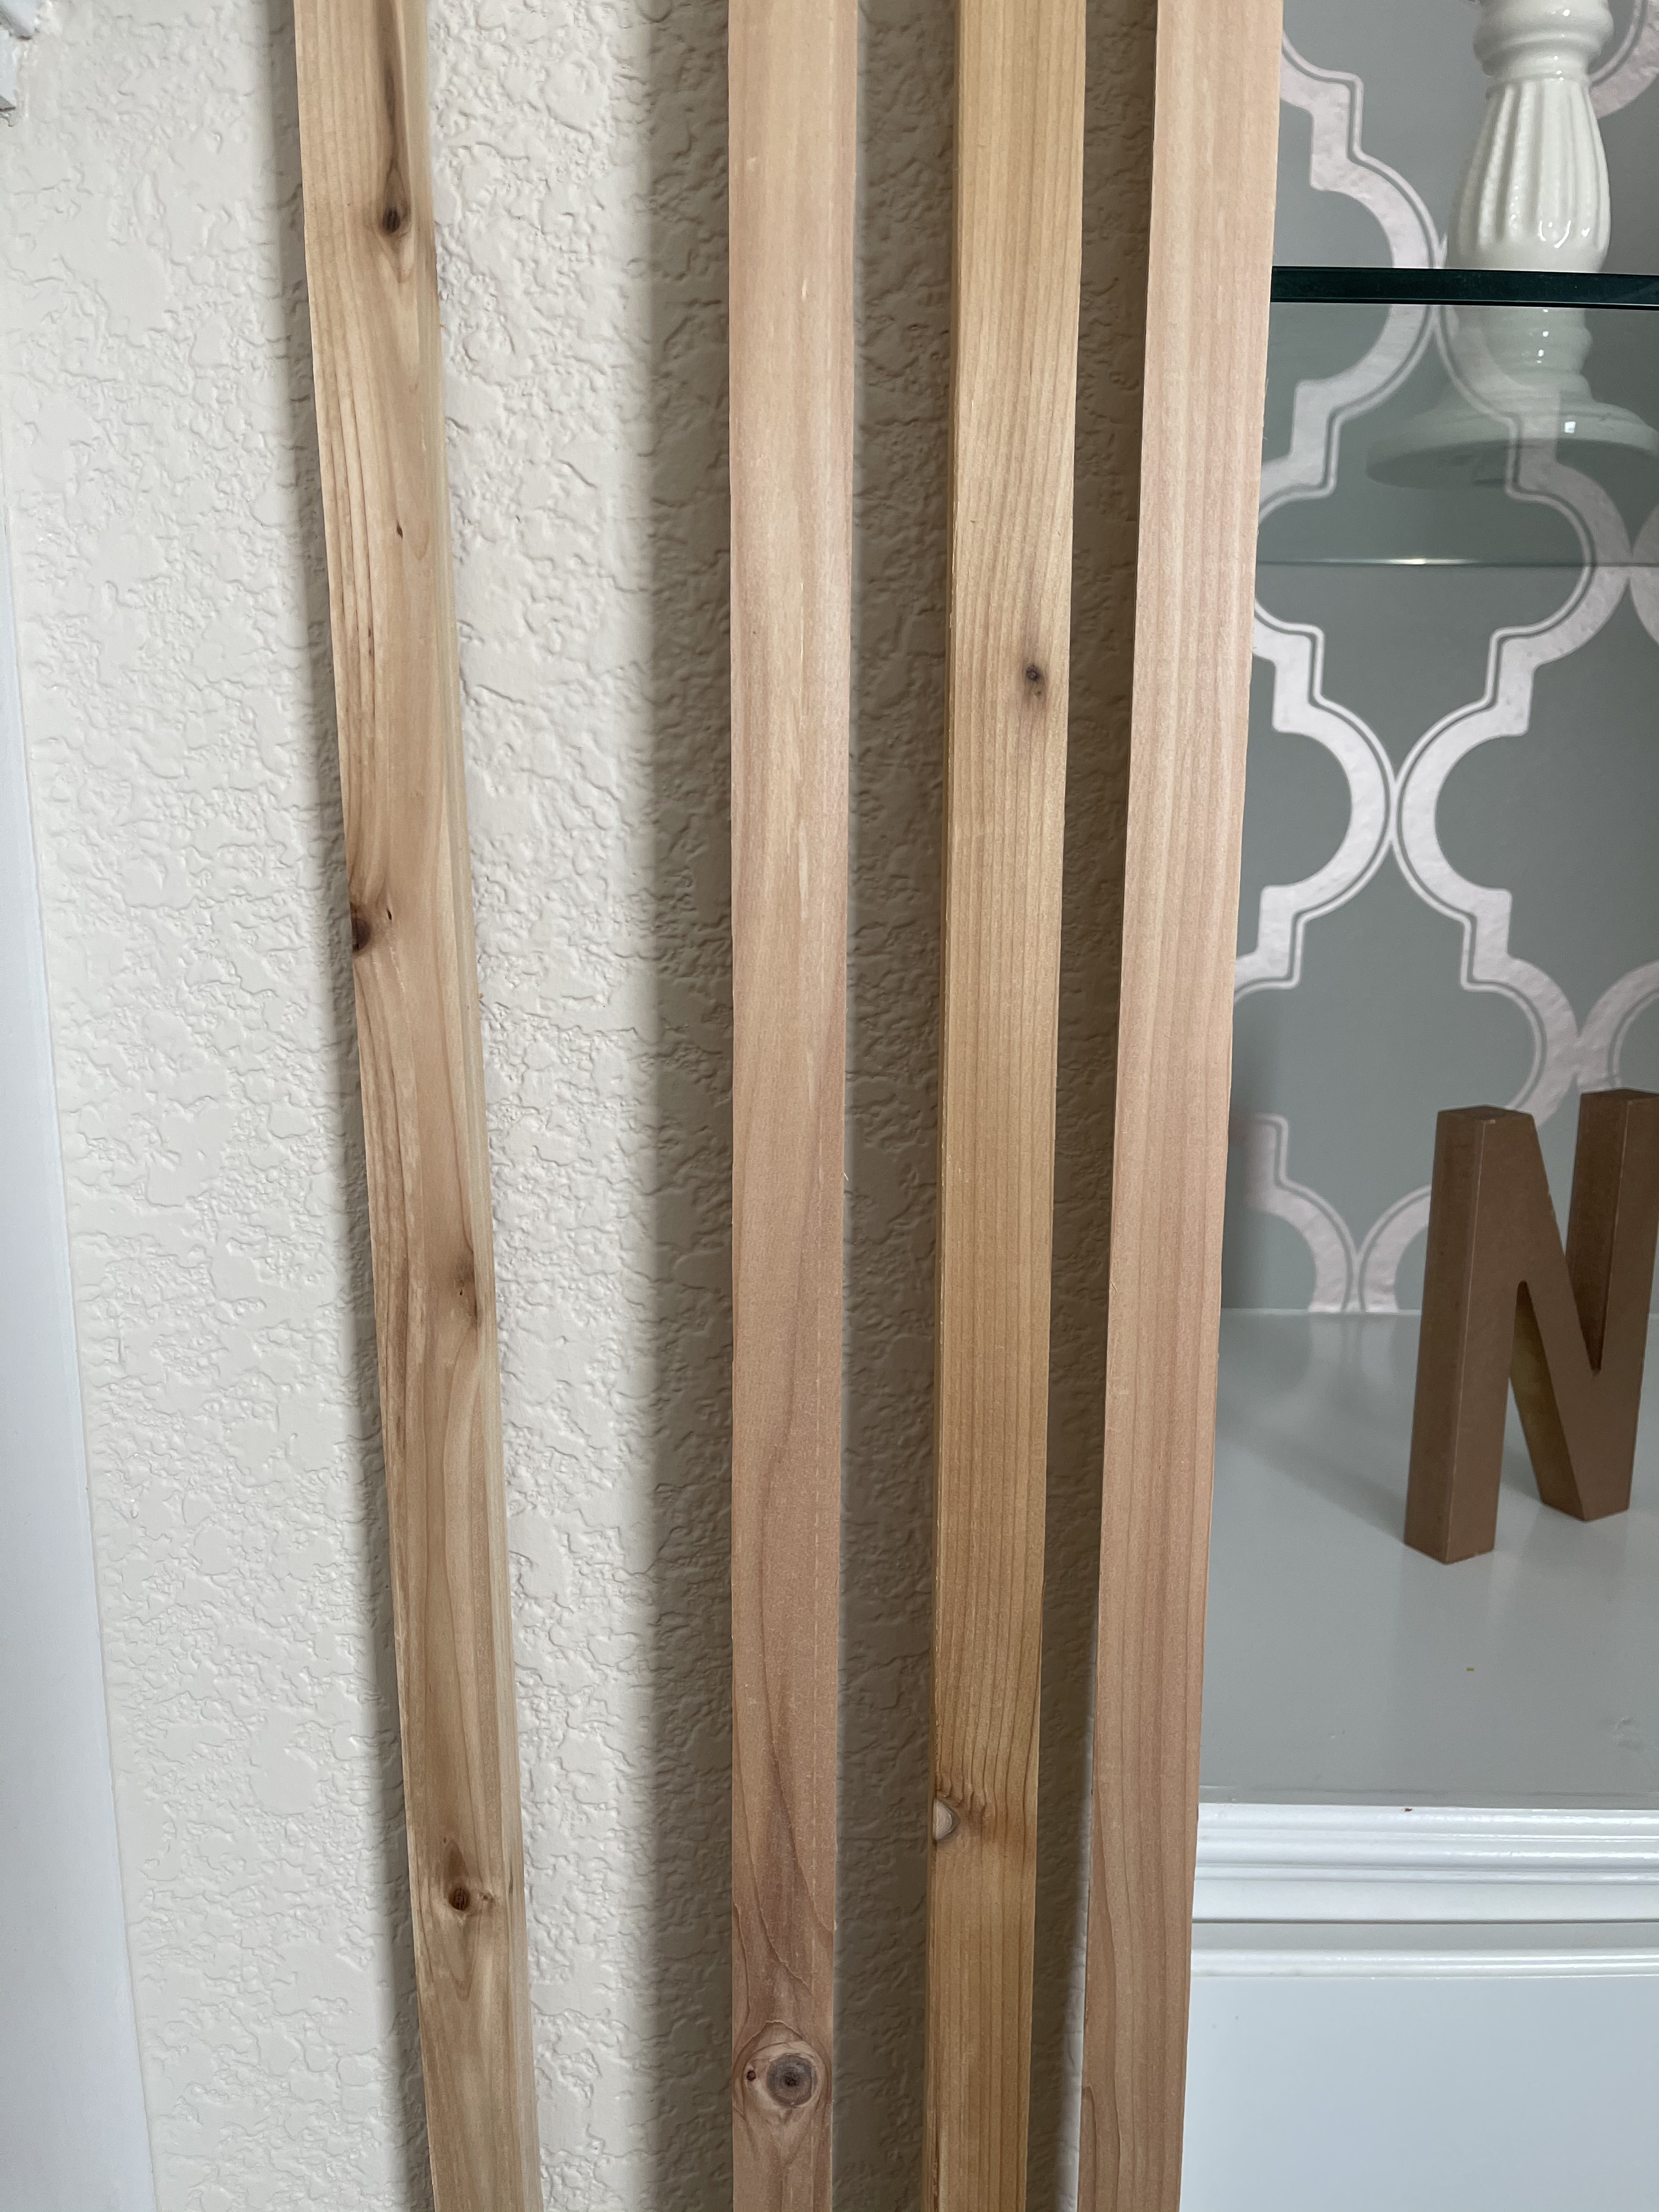

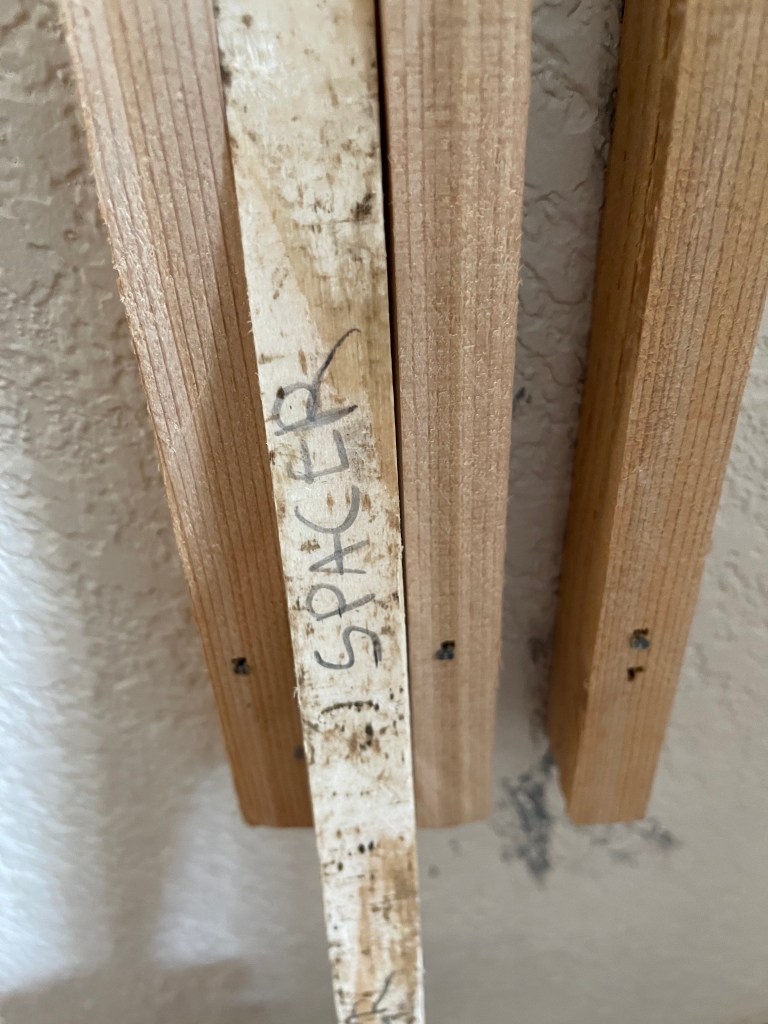
We decided that we wanted the slats to be .75′” spaced in between so we made a spacer out of a wood piece.
Gluing the Wood
Now I was able to start gluing the slats. I used liquid nails and glued the side on the wood pieces that I wanted to stick on the wall. I tried to keep the look consistent so I tried to make sure the side that would face outwards had less wood swirls. (This was a personal preference you may want more wood swirls in yours just make sure to keep consistent)
Nailing The Wood To The Wall
We were ready to put up the first wood slat. The first slat was the most important to make sure was straight because we used that slat to determine the placement of all the other slats. We used a laser level to determine the straight line and then used a regular level to verify and mark the line that we would place the first slat.
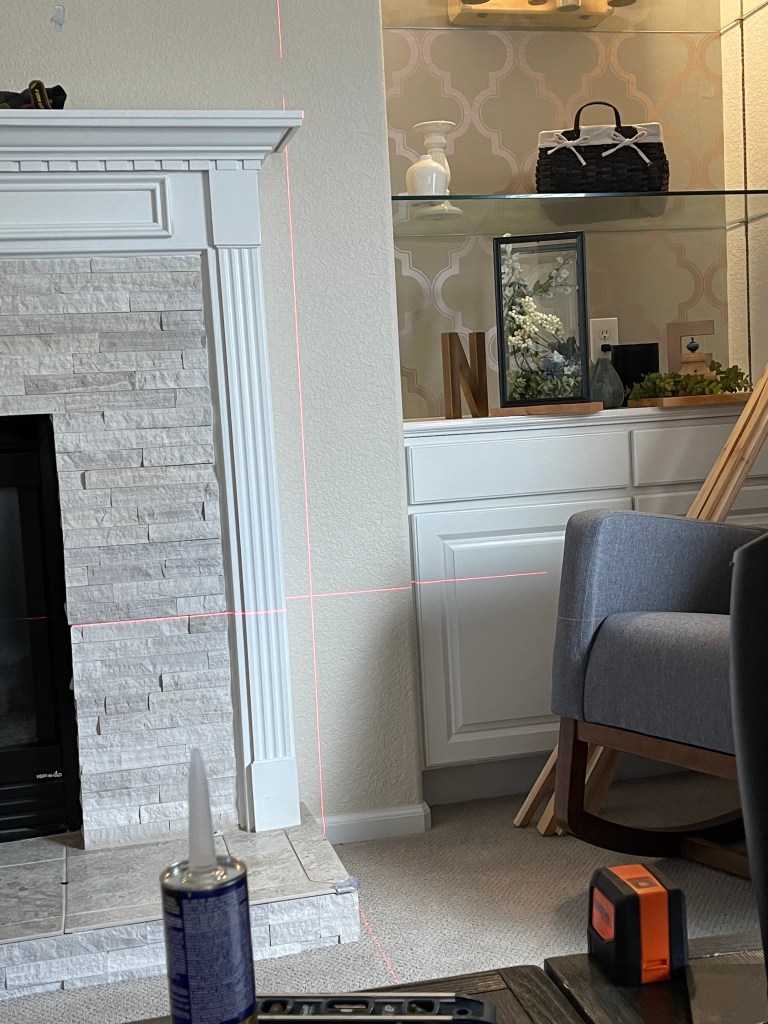

Once we had the line determined we placed the first slat and then nailed it on the wall with a nail gun to secure it at the top and the bottom. We repeated this step all along the fireplace until completed. We had to cut different lengths for the center of the fireplace and then add smaller wood slats at the bottom to extend the sections that were too short. We thought it would be better to have the extended pieces at the bottom so that the transition lines were less visible.
Decorate
This didn’t take very long since we didn’t have to sand or stain. Once we were done I put up the decorations